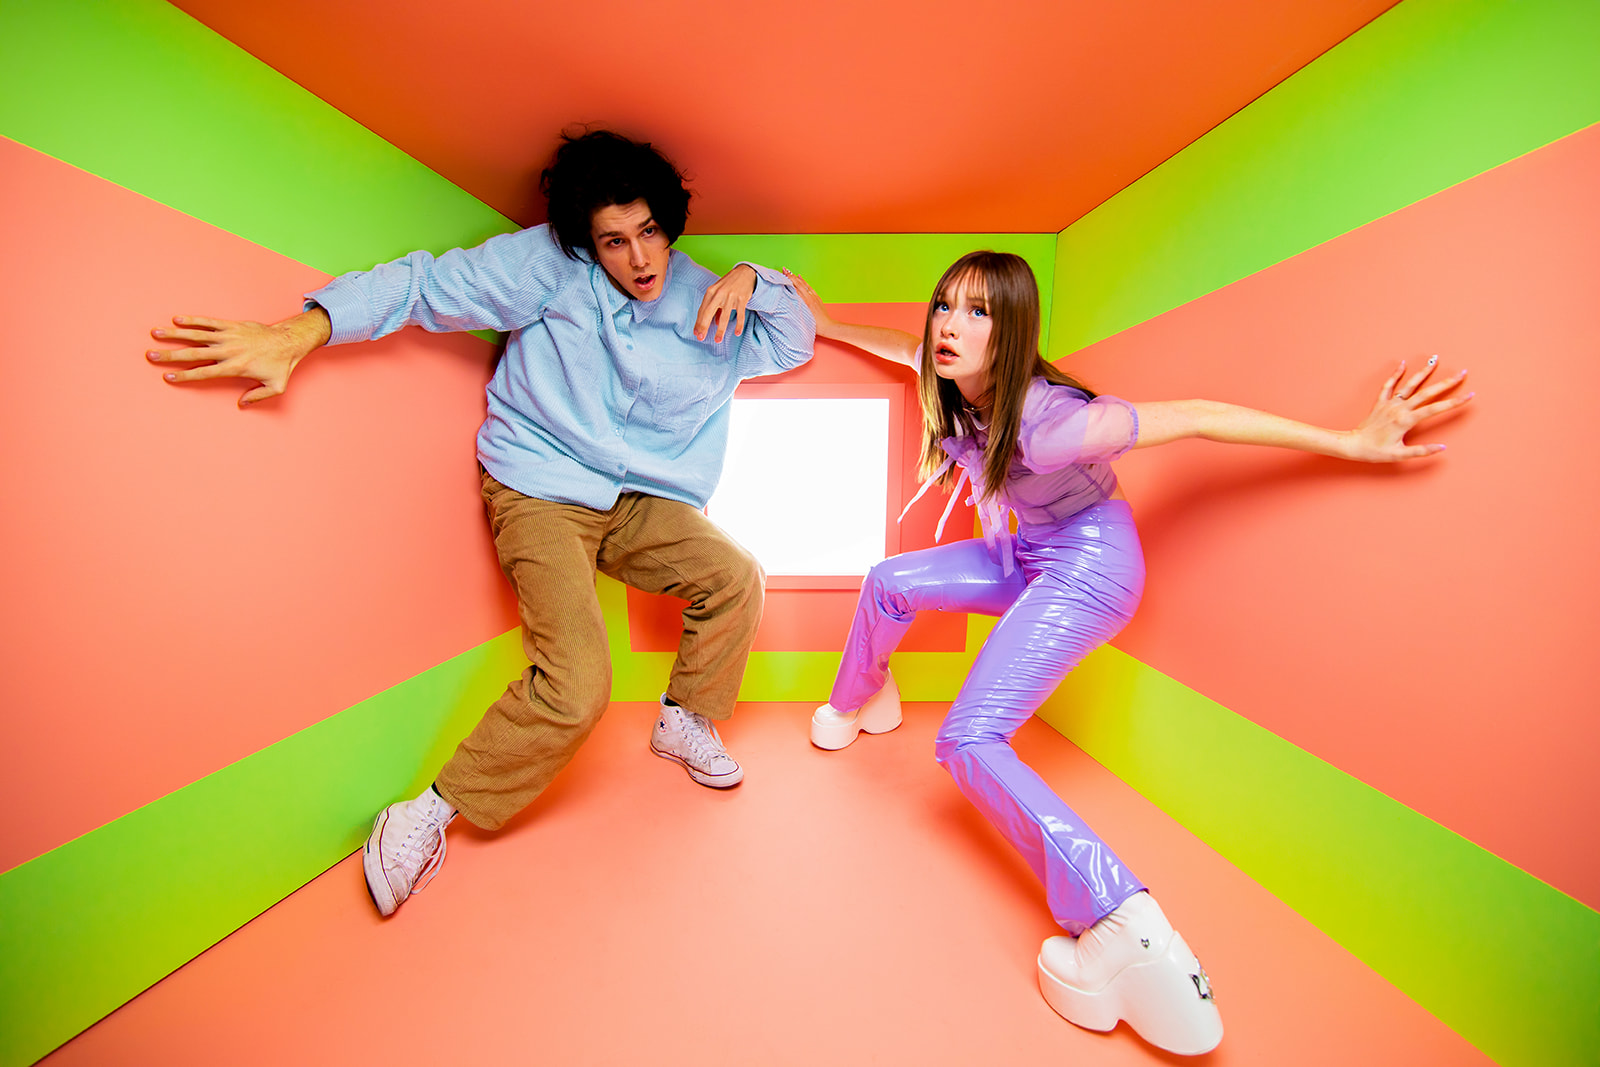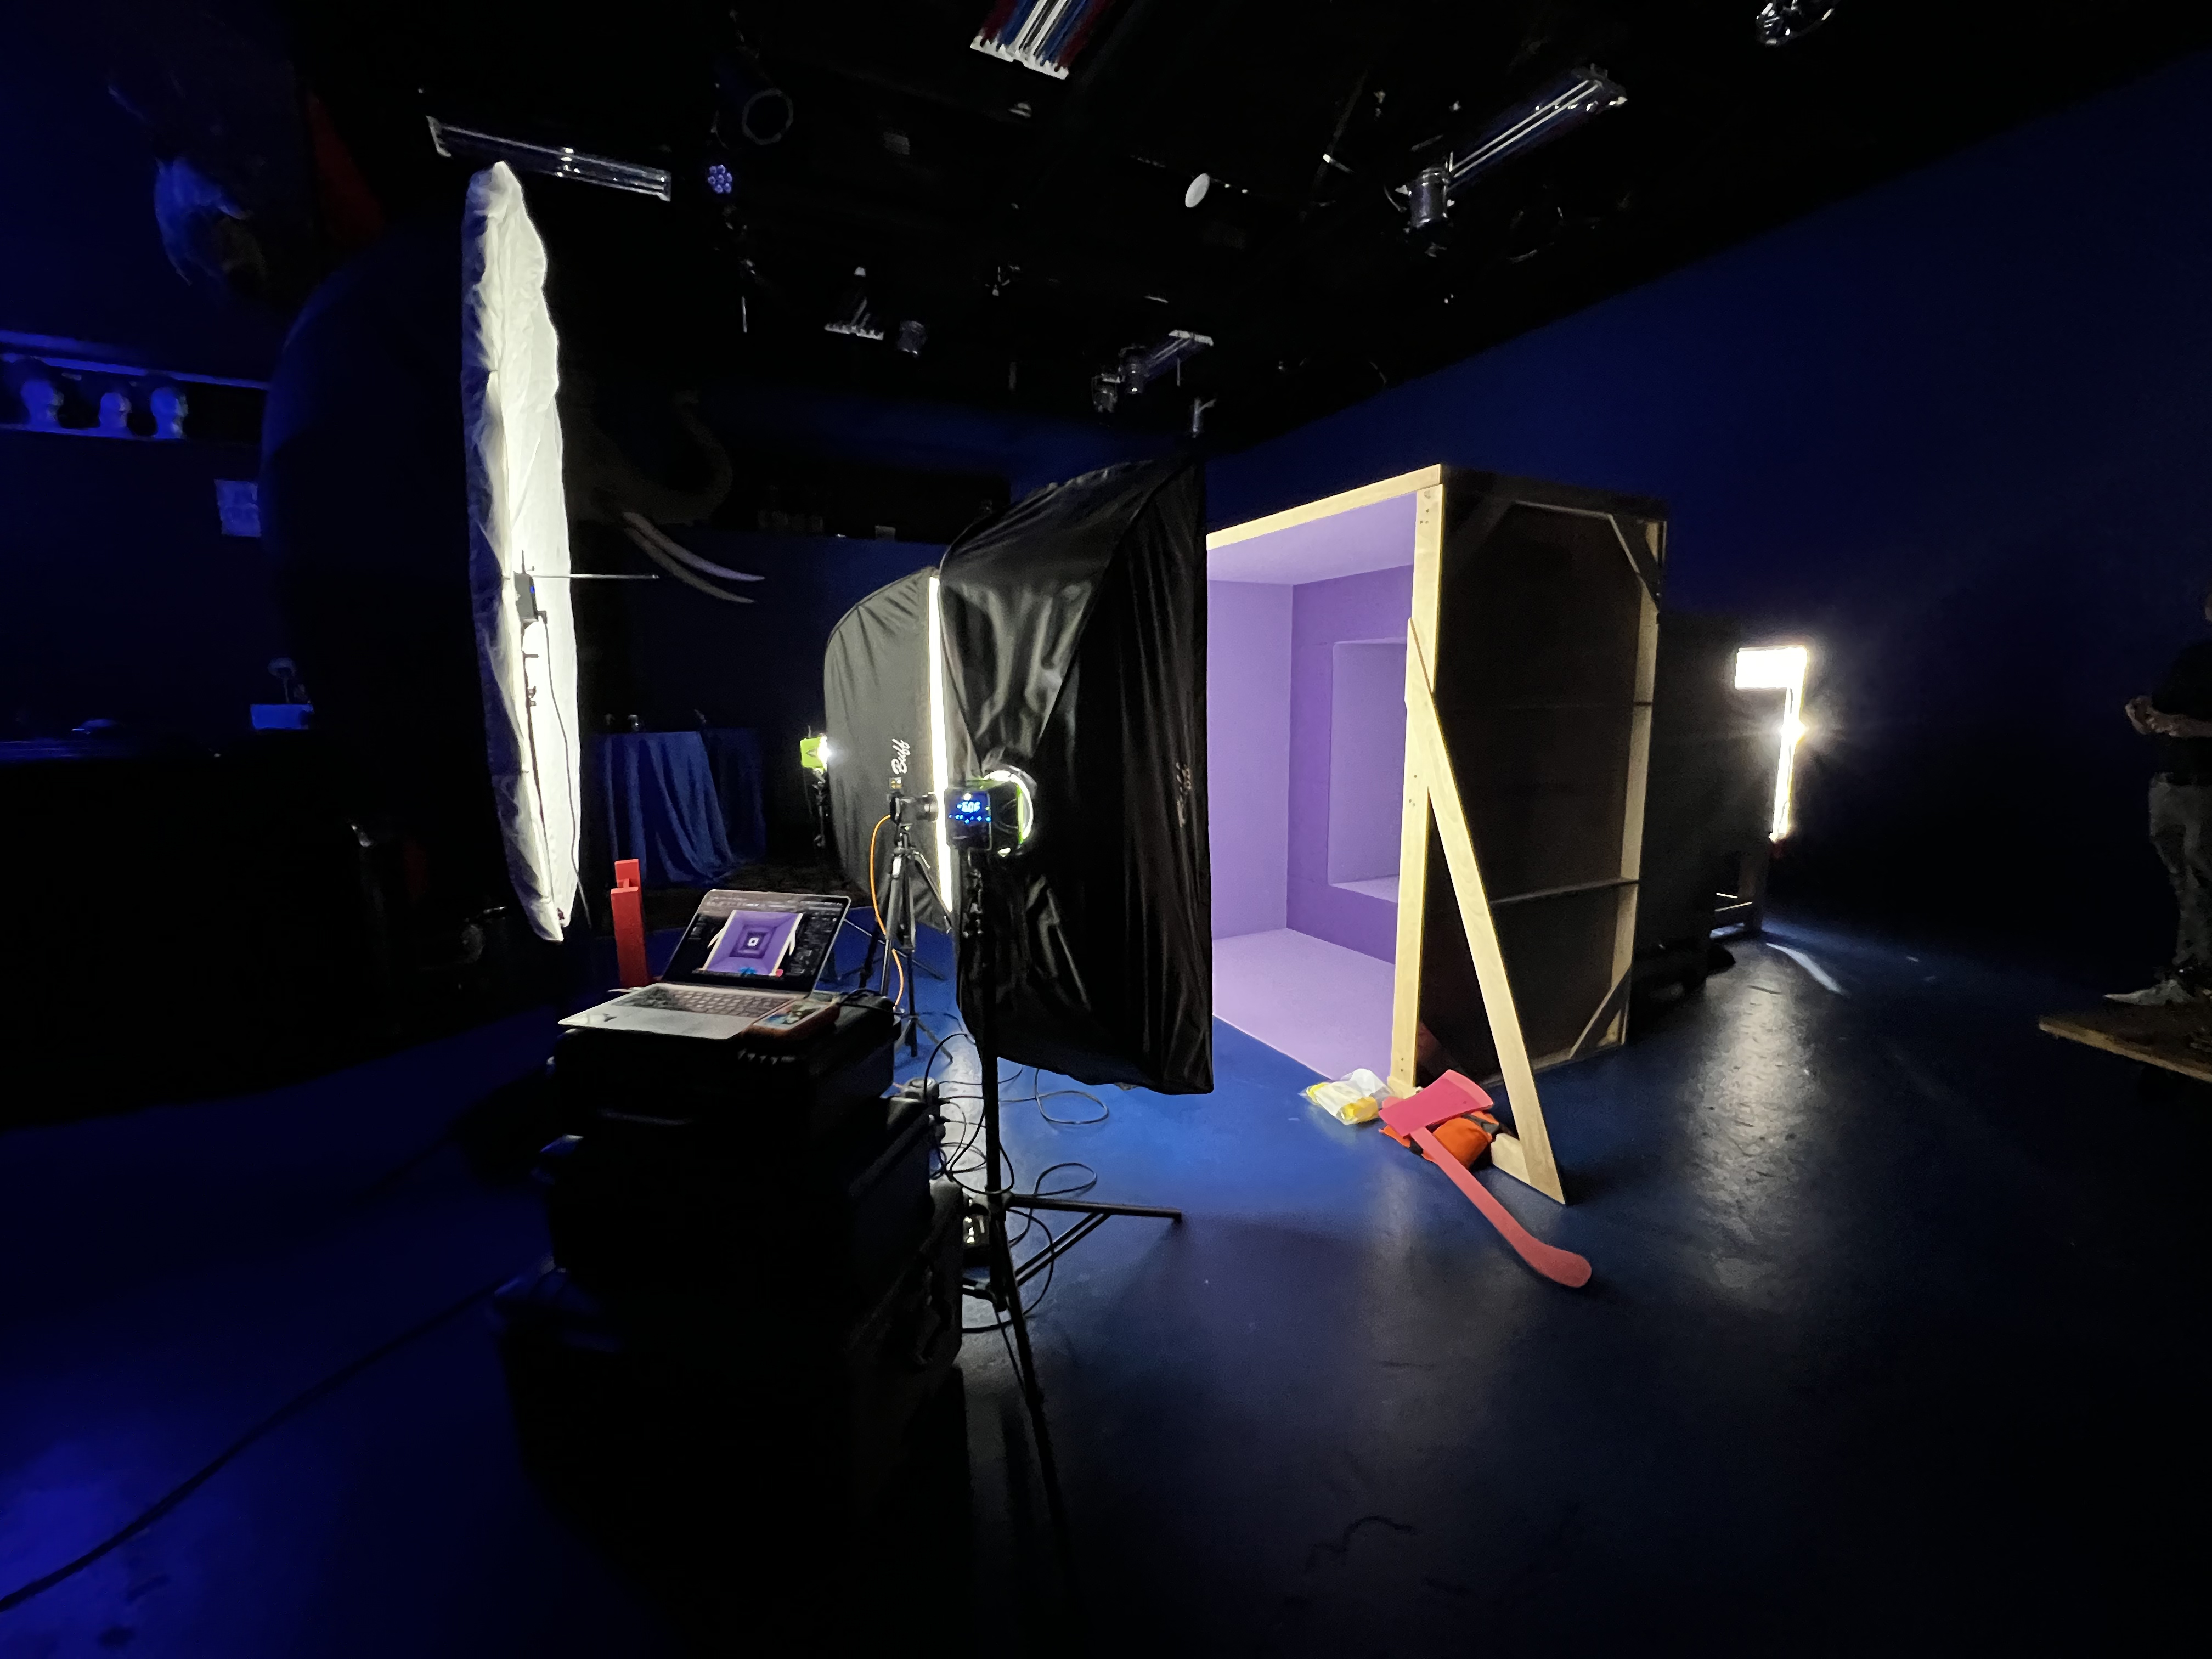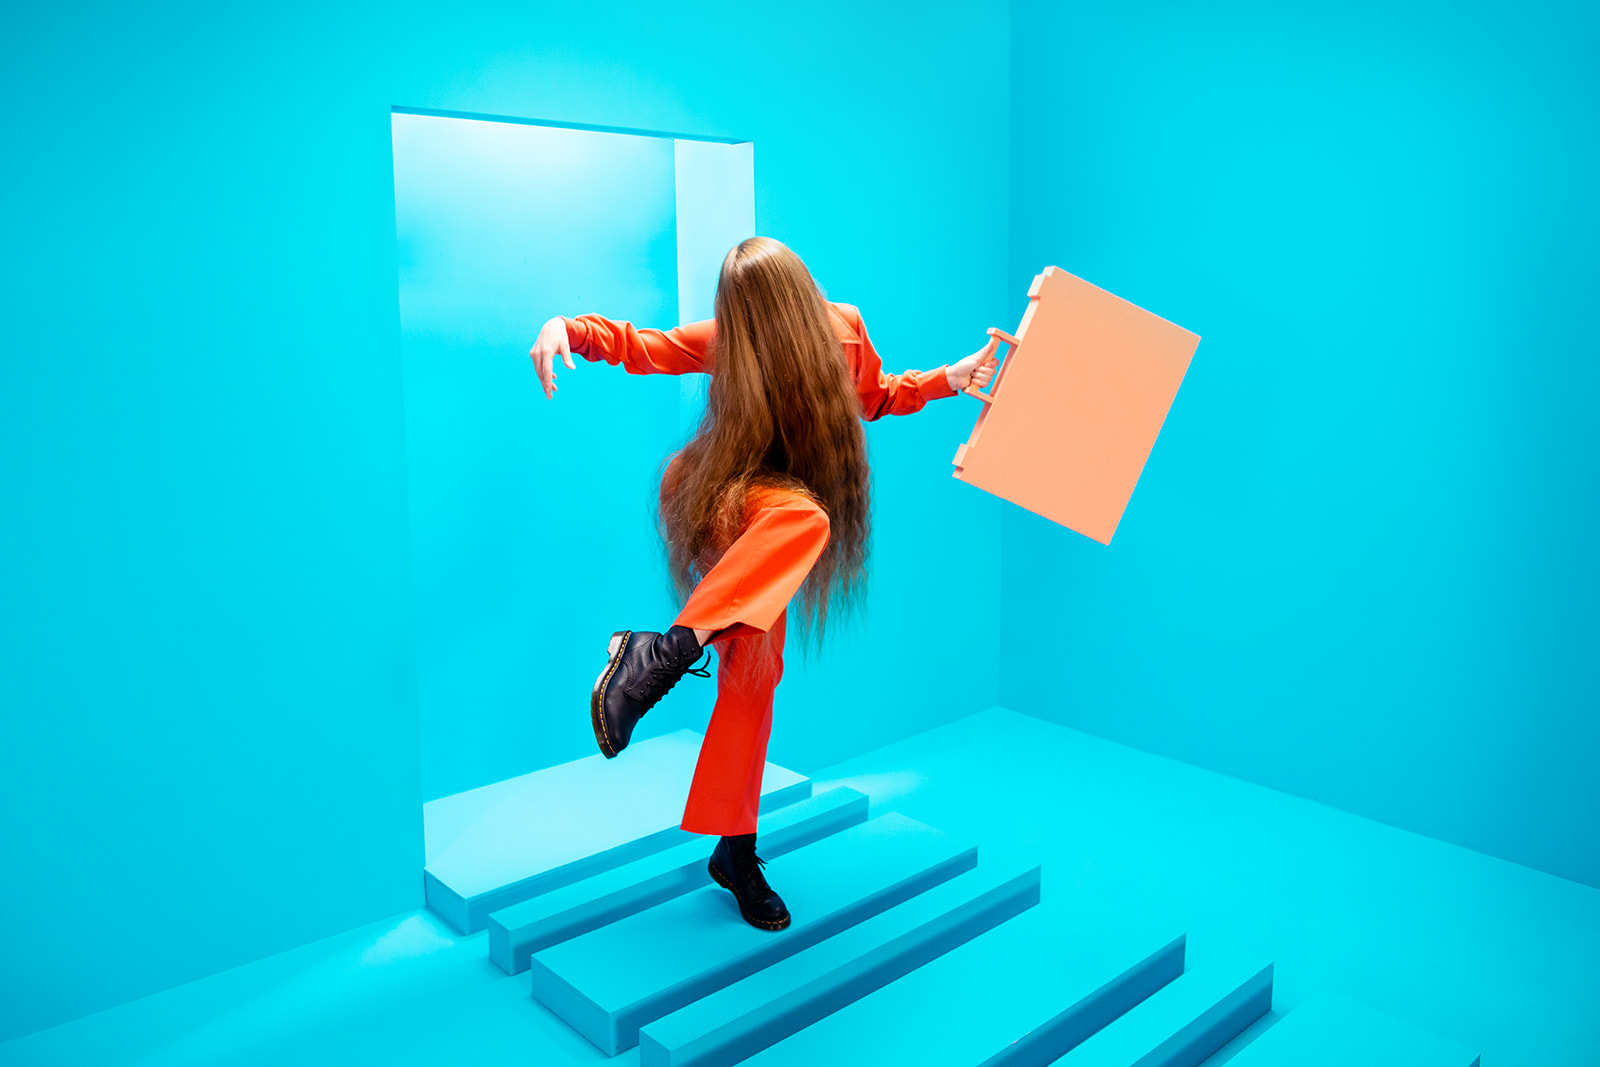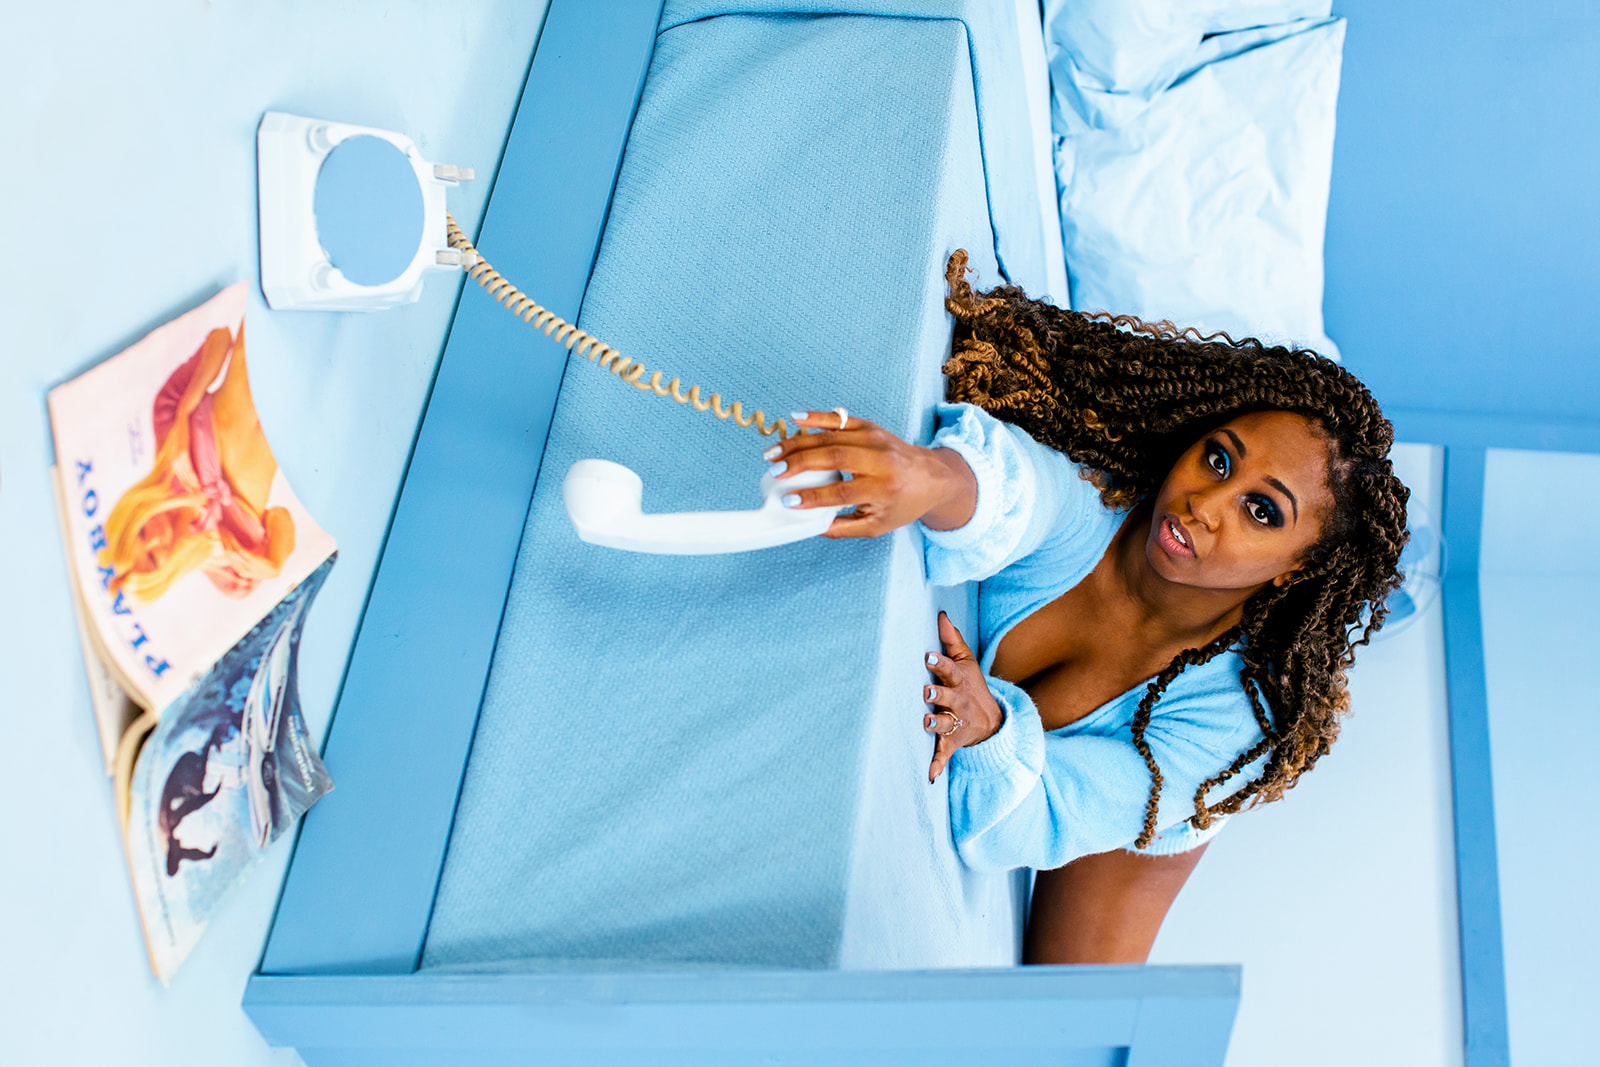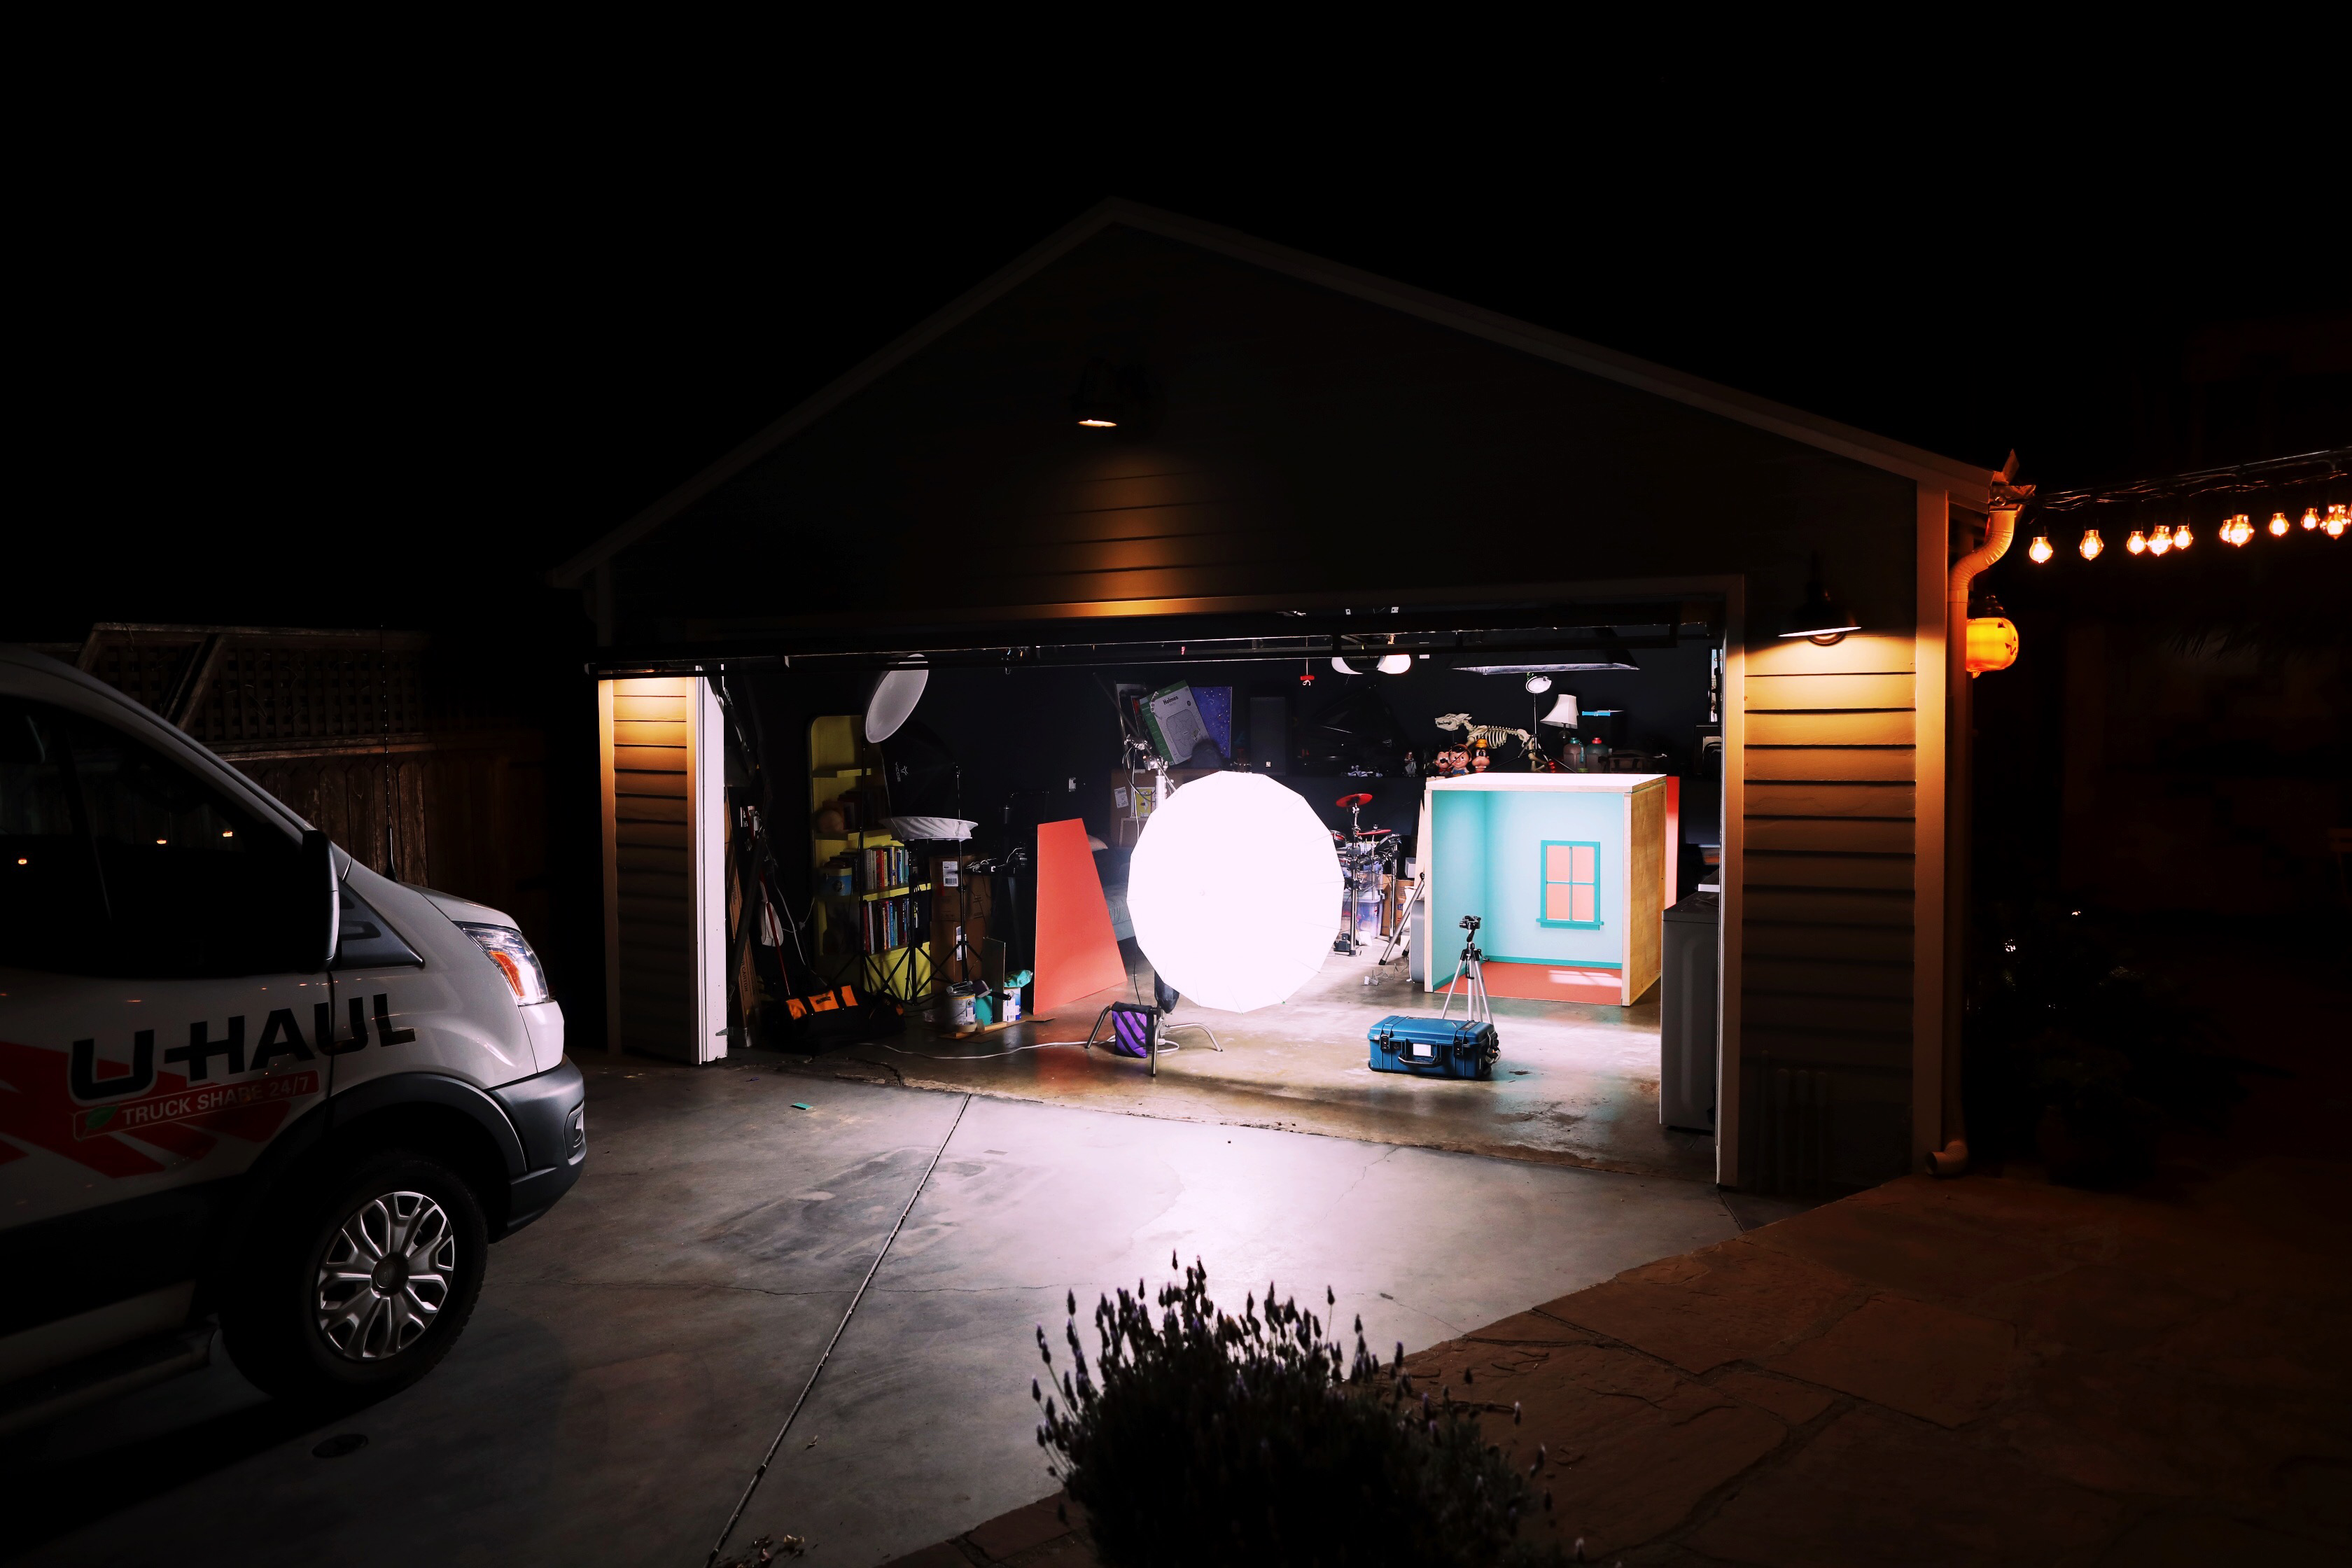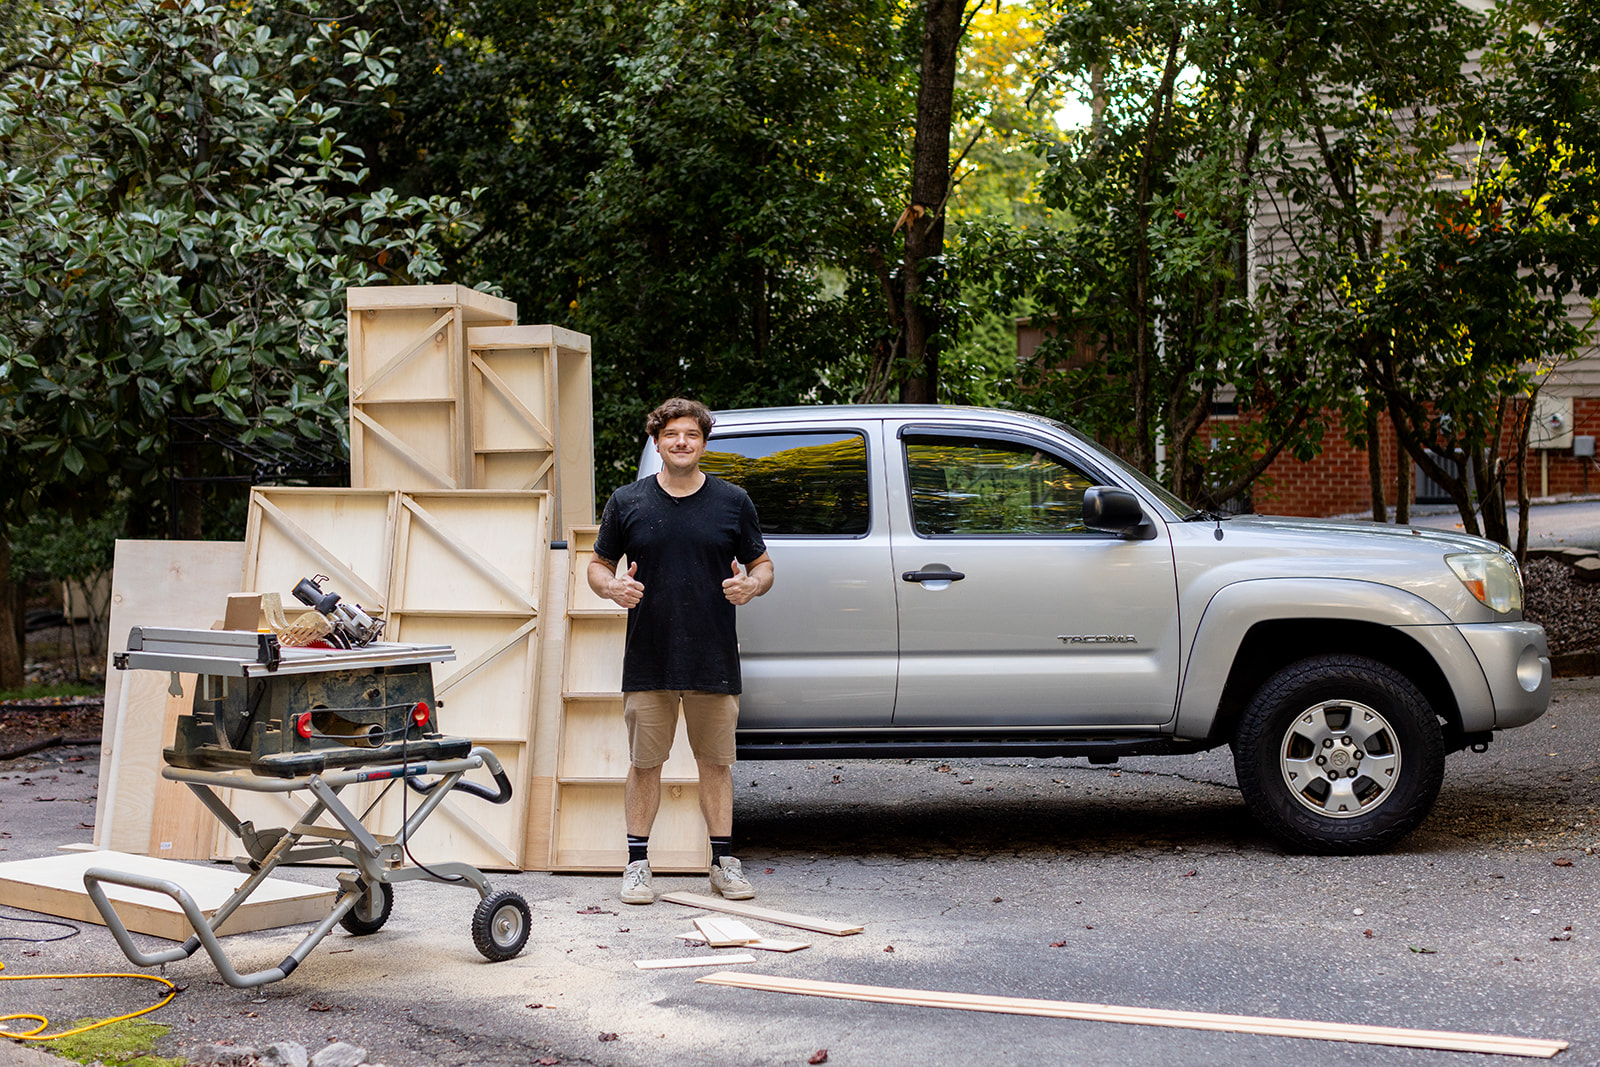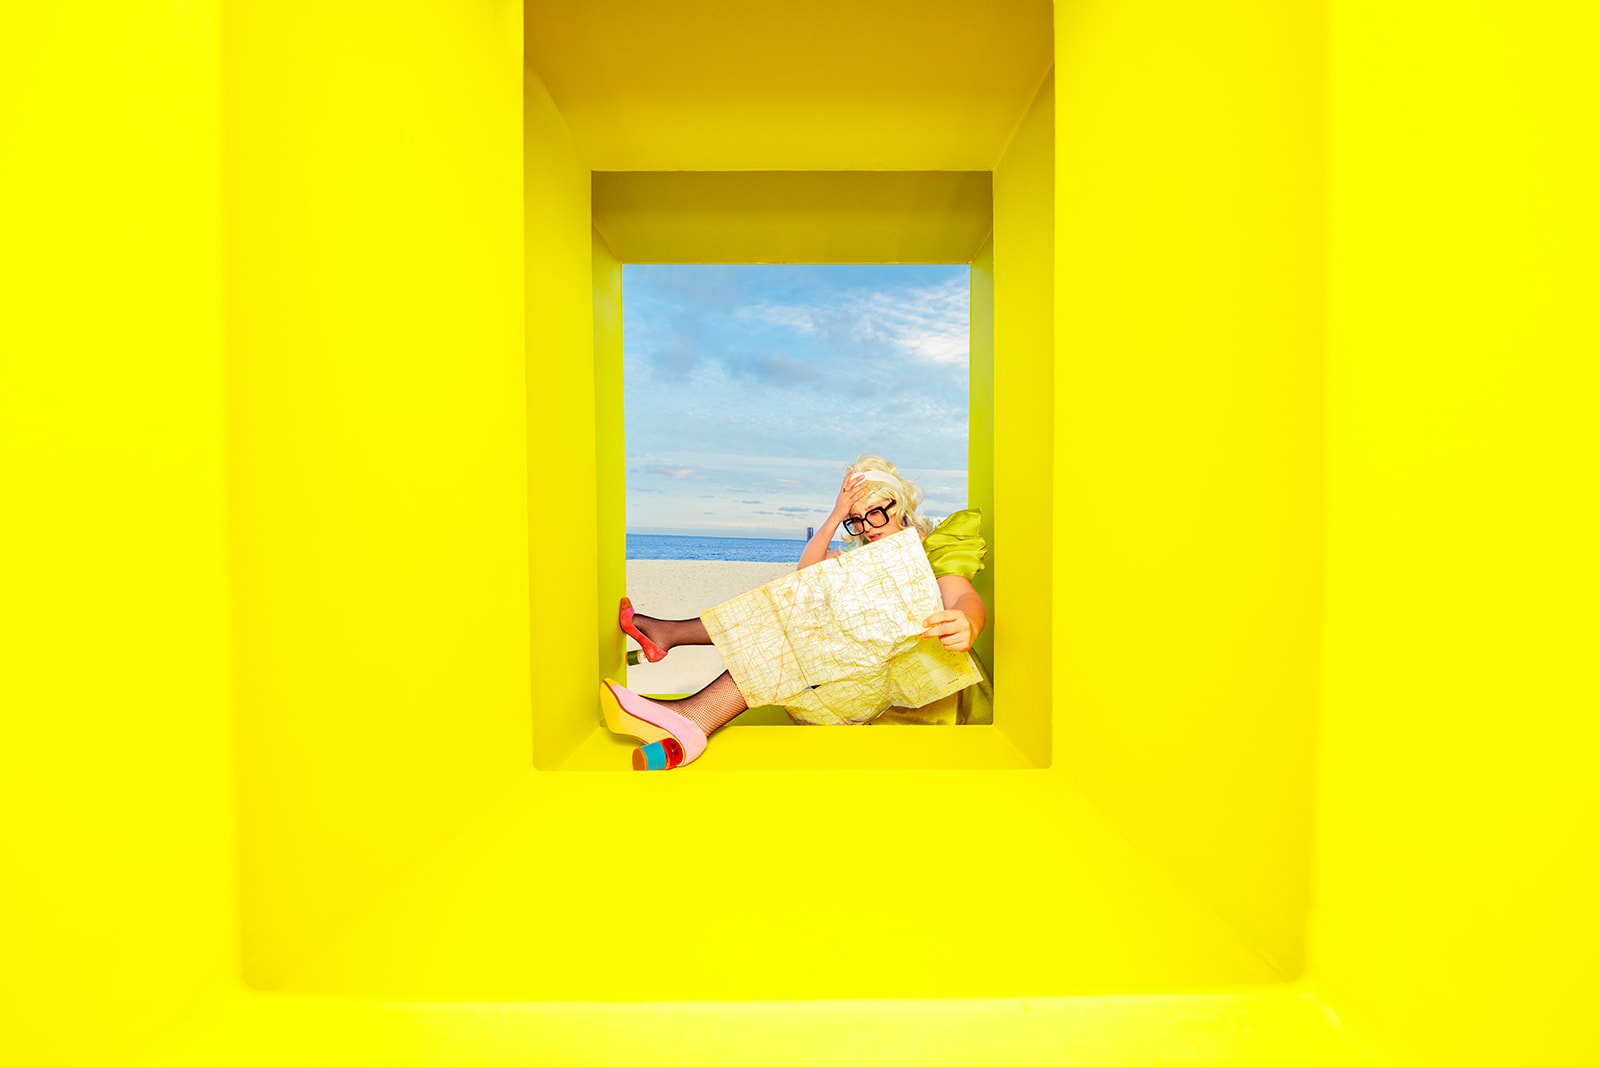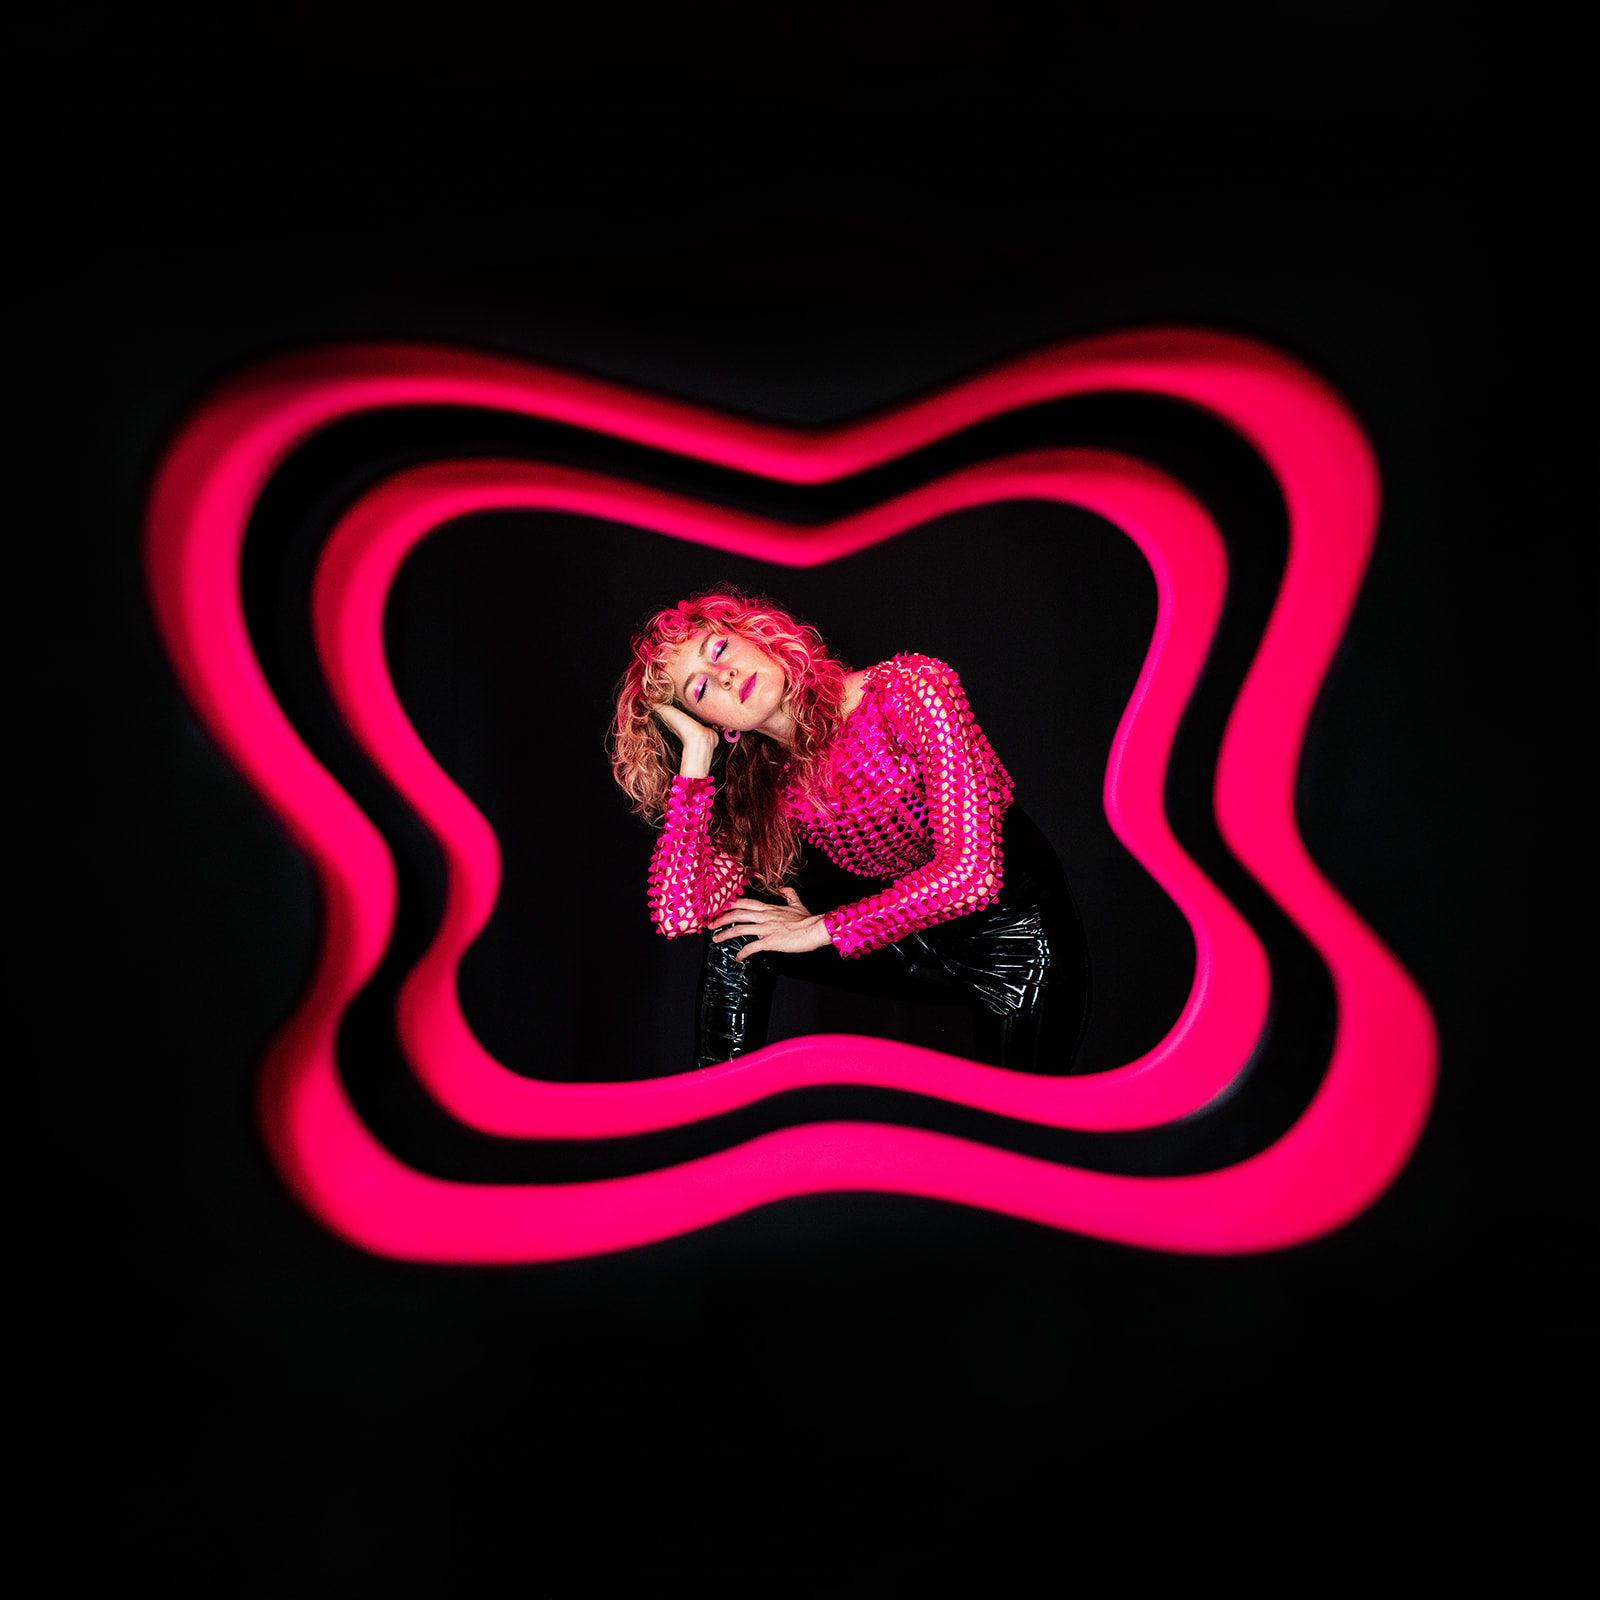
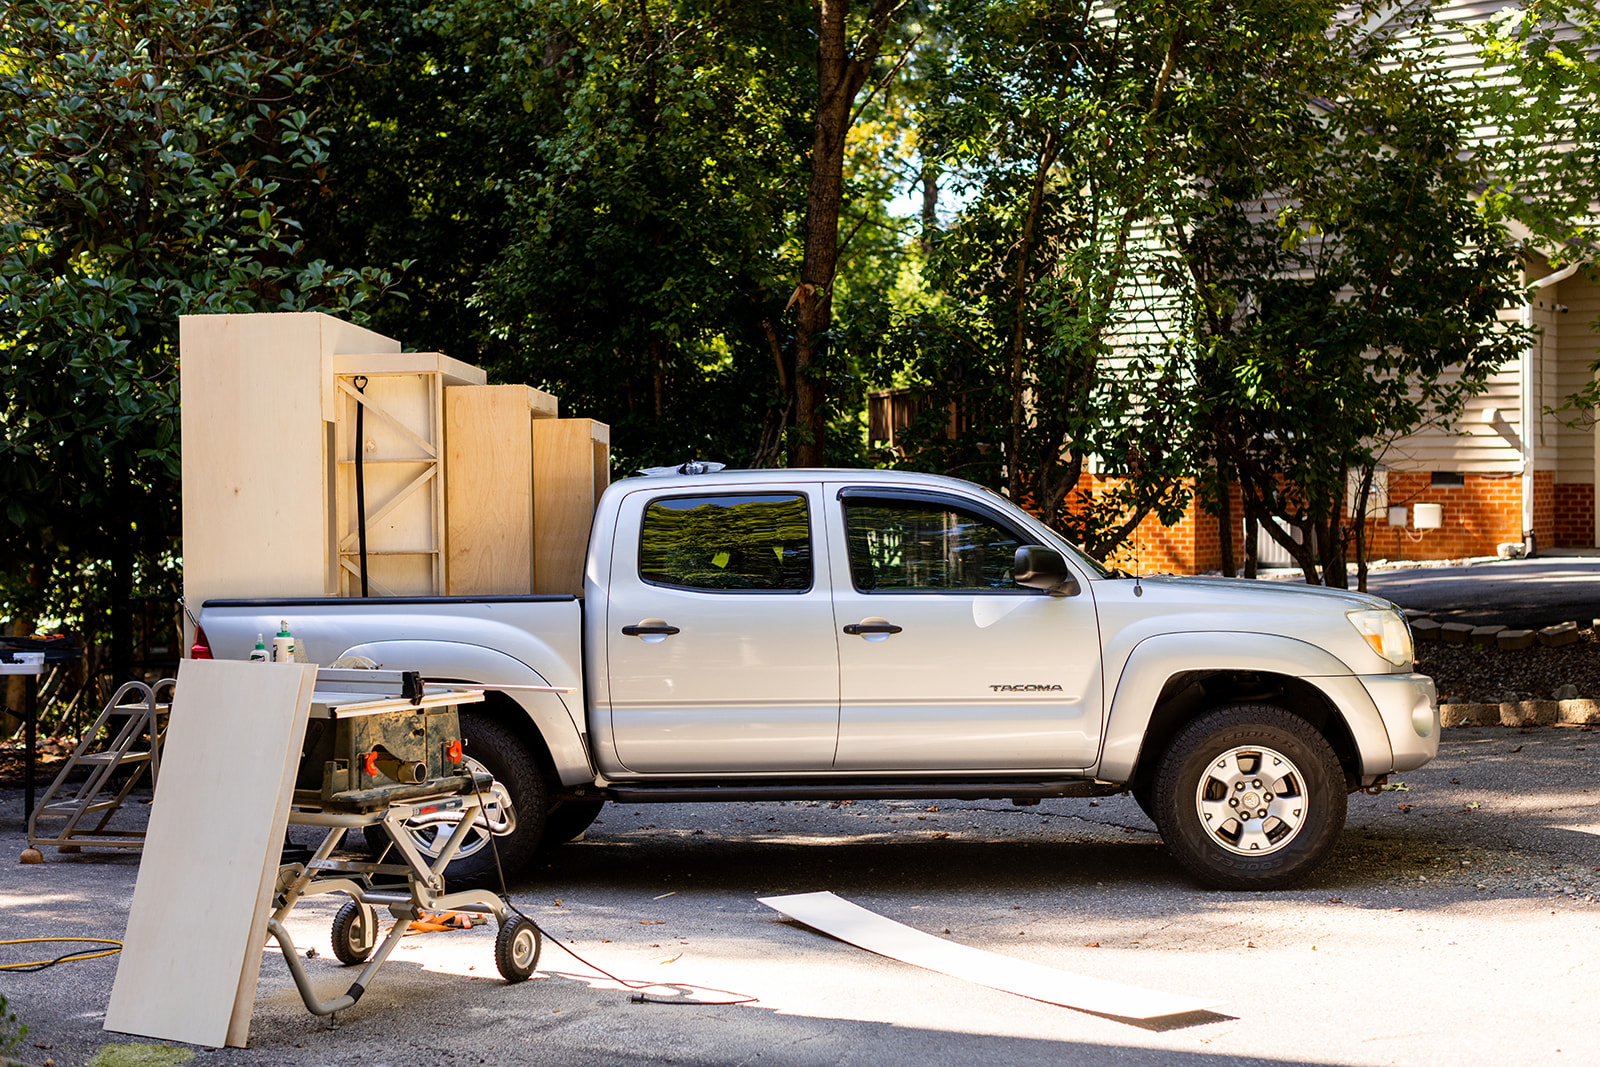
By Day 6, the set was finally starting to look like David’s original sketches for the truck bed photo set.
But we still had one pretty important question to answer: How exactly were we going to secure this thing to the truck?
David had theories. Lots of theories. The challenge was finding a way to make the set secure enough to travel thousands of miles without making it look like something that had just been strapped into the back of a pickup truck. We wanted it to read more like a sculpture sitting in the truck bed, with as little visible hardware as possible.
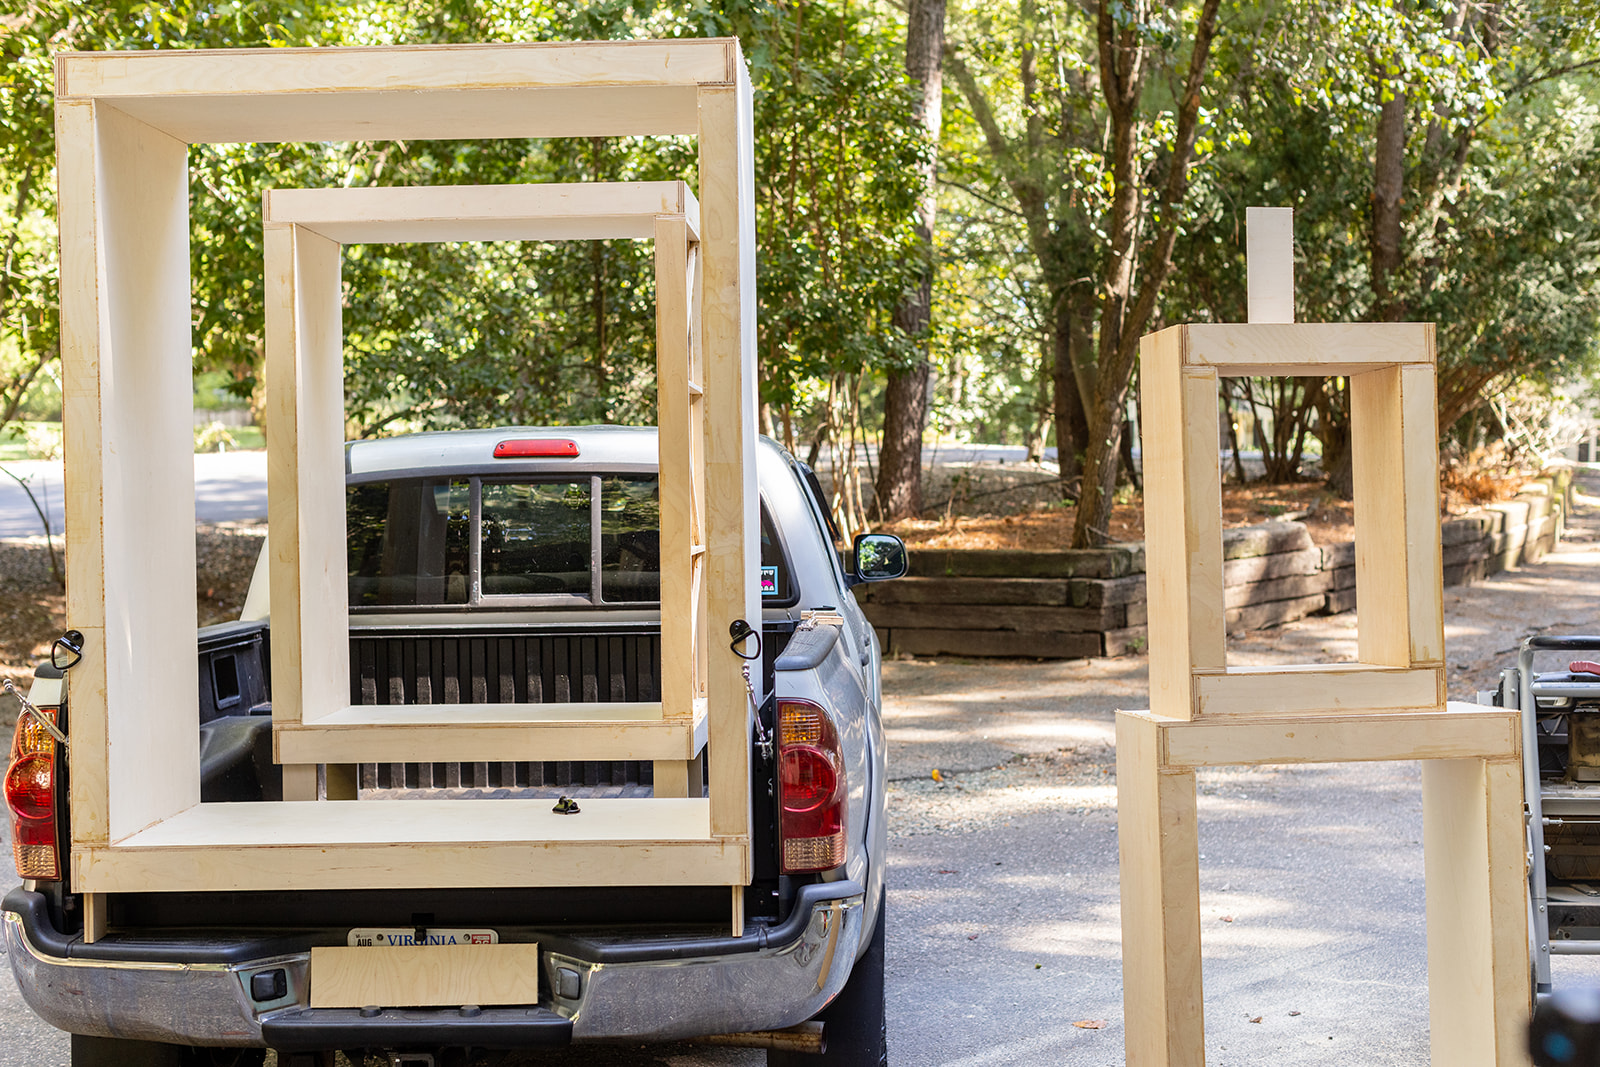
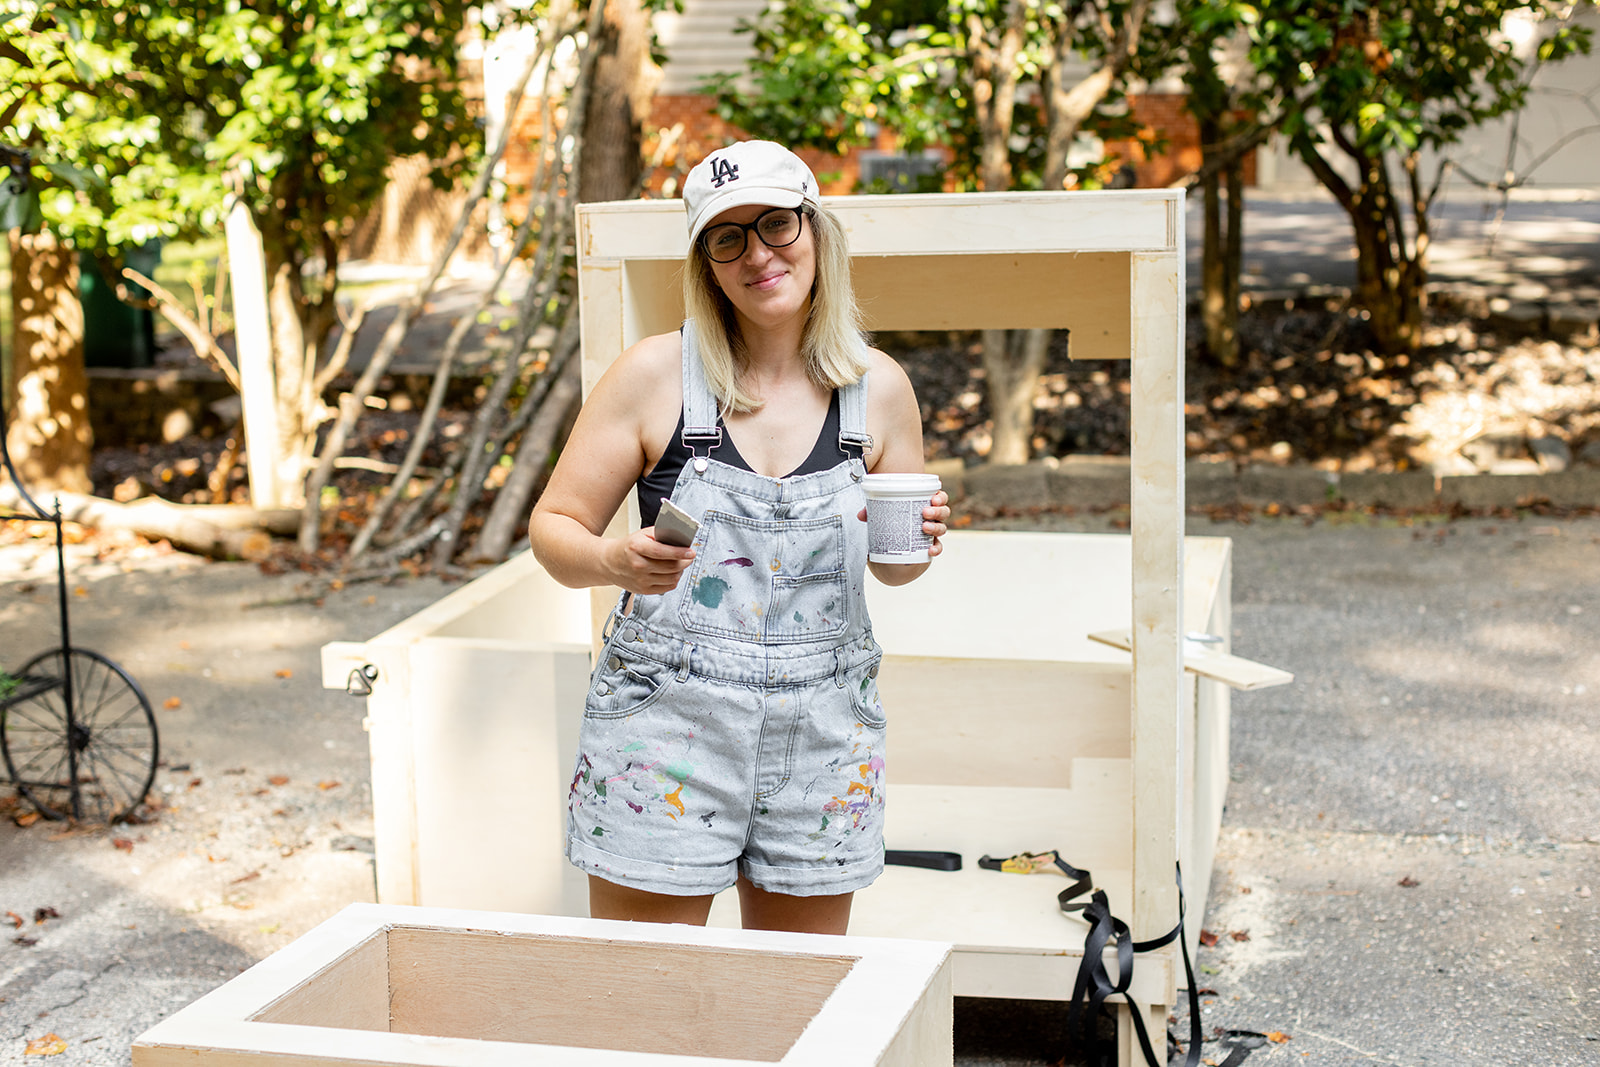

The solution was a combination of D-rings and hidden ratchet straps that allowed us to anchor the set tightly to the truck while keeping most of the actual securing system out of sight.
This was a big moment in the build. We had designed around this idea from the beginning, but Day 6 was when we finally got to implement it and find out if it actually worked.
It did.


From there, Days 6 and 7 became a lot of the less glamorous work that gets you from “built” to “ready for paint.” We added the legs, started assembling the different sections of the set, wood-filled seams and screw holes, and sanded. And sanded. And sanded some more.


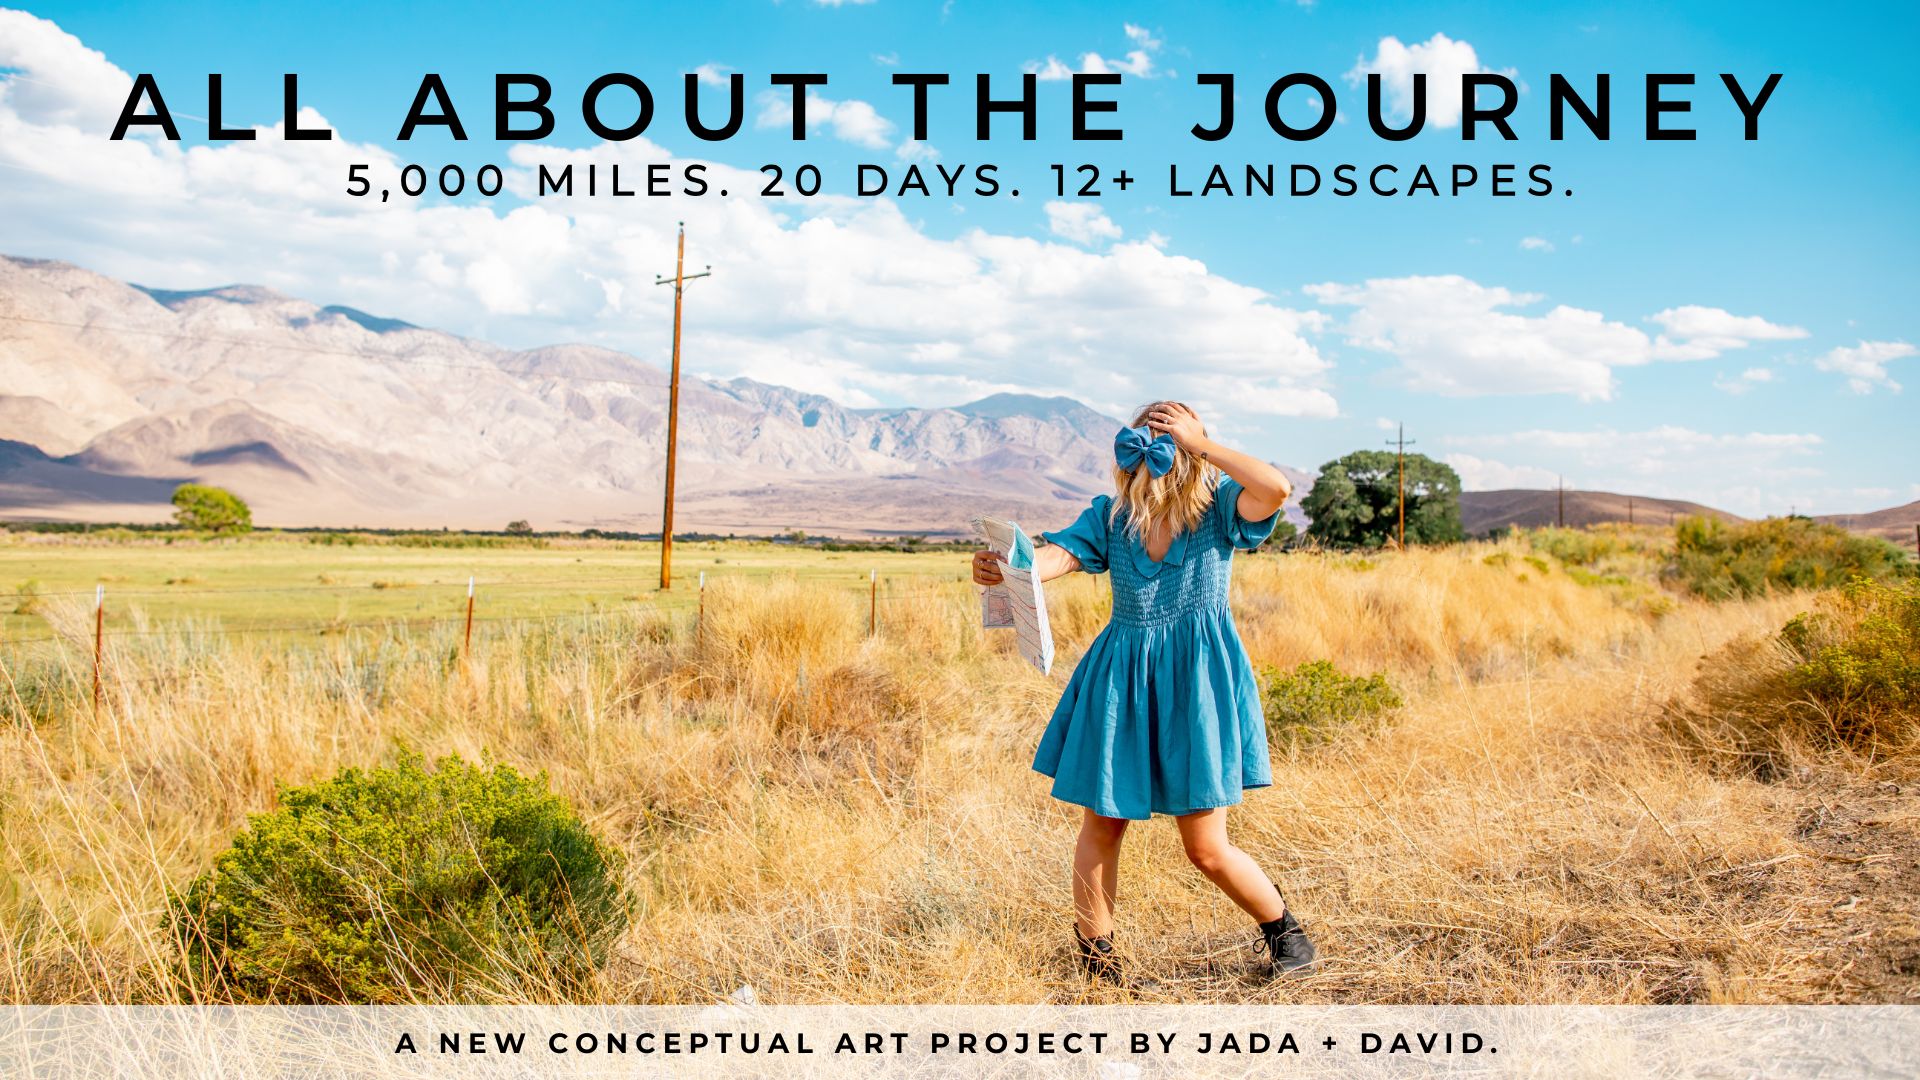
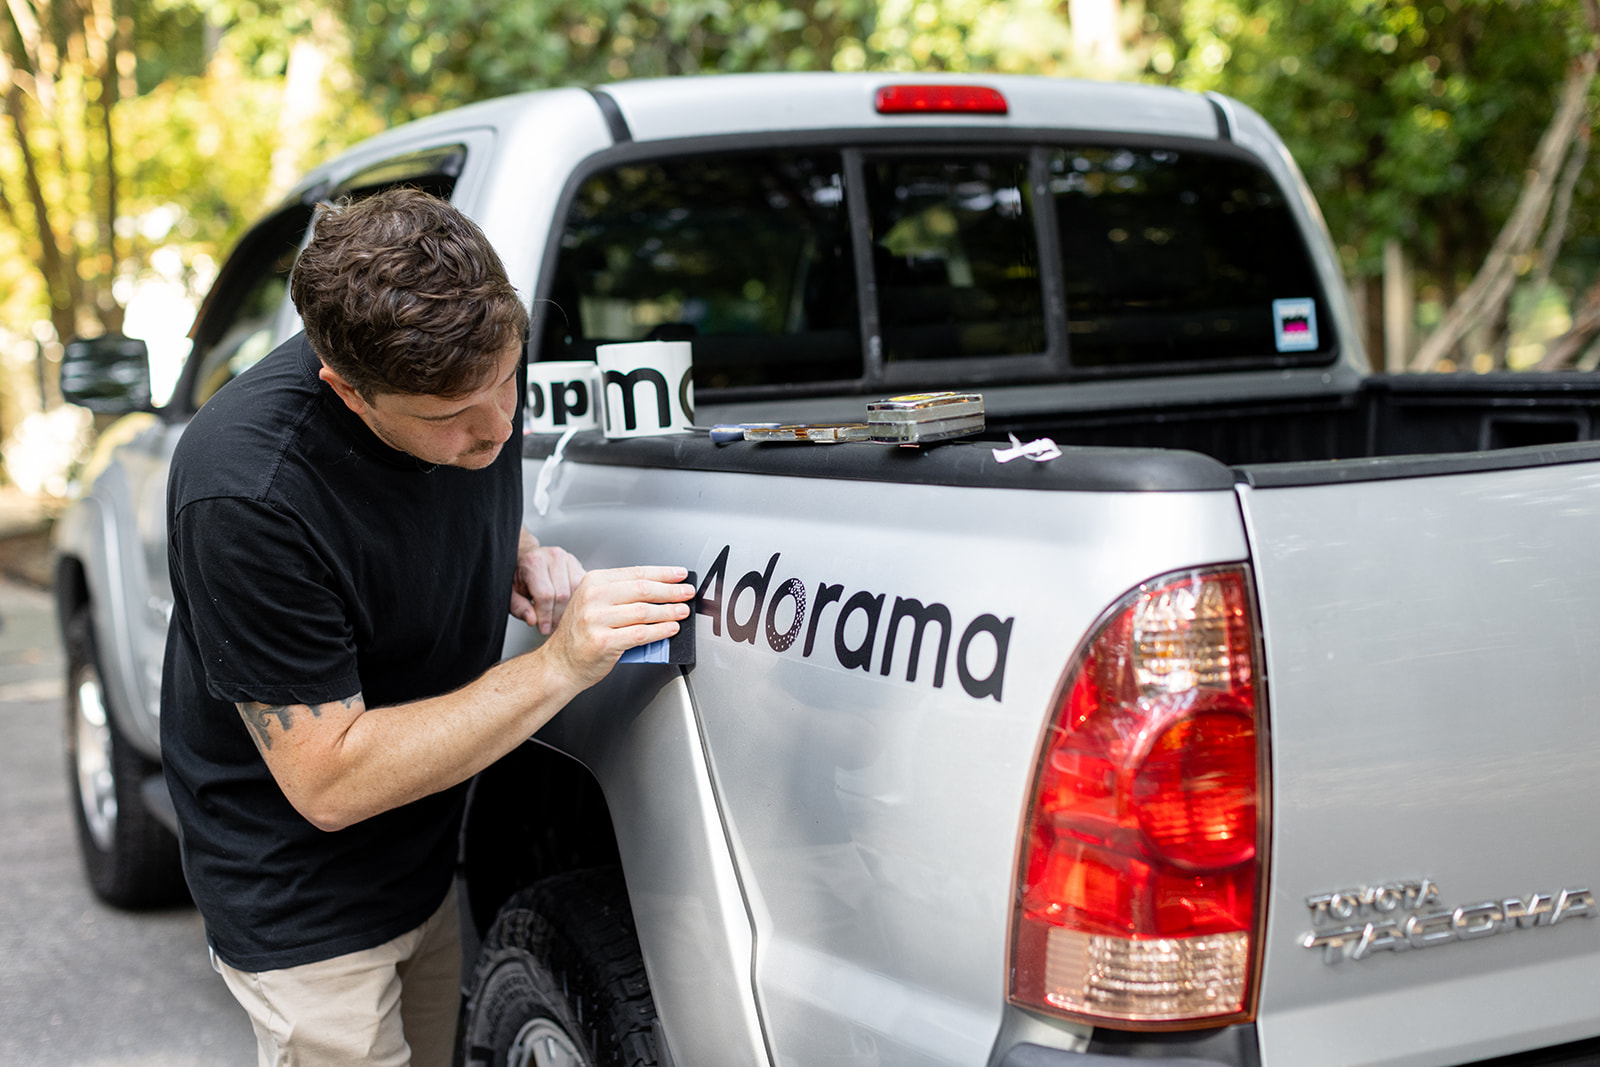
We also added decals to the truck with our QR code and presenting partner logo for Adorama, which made the whole project suddenly feel a little more official. The whole idea with the QR code is that people we see ont he road can scan the truck, find out what we are doinng, and follow along with The Journey.


By the end of Day 7, the set was secured to the truck, the pieces were coming together, and everything was being prepped for primer and paint.
There was still a lot to do, but one of the biggest unknowns of the entire build had finally become a known: we had figured out how to keep the set securely attached to the truck without changing the way we wanted it to look.
Next up: primer and a whole lot of paint.