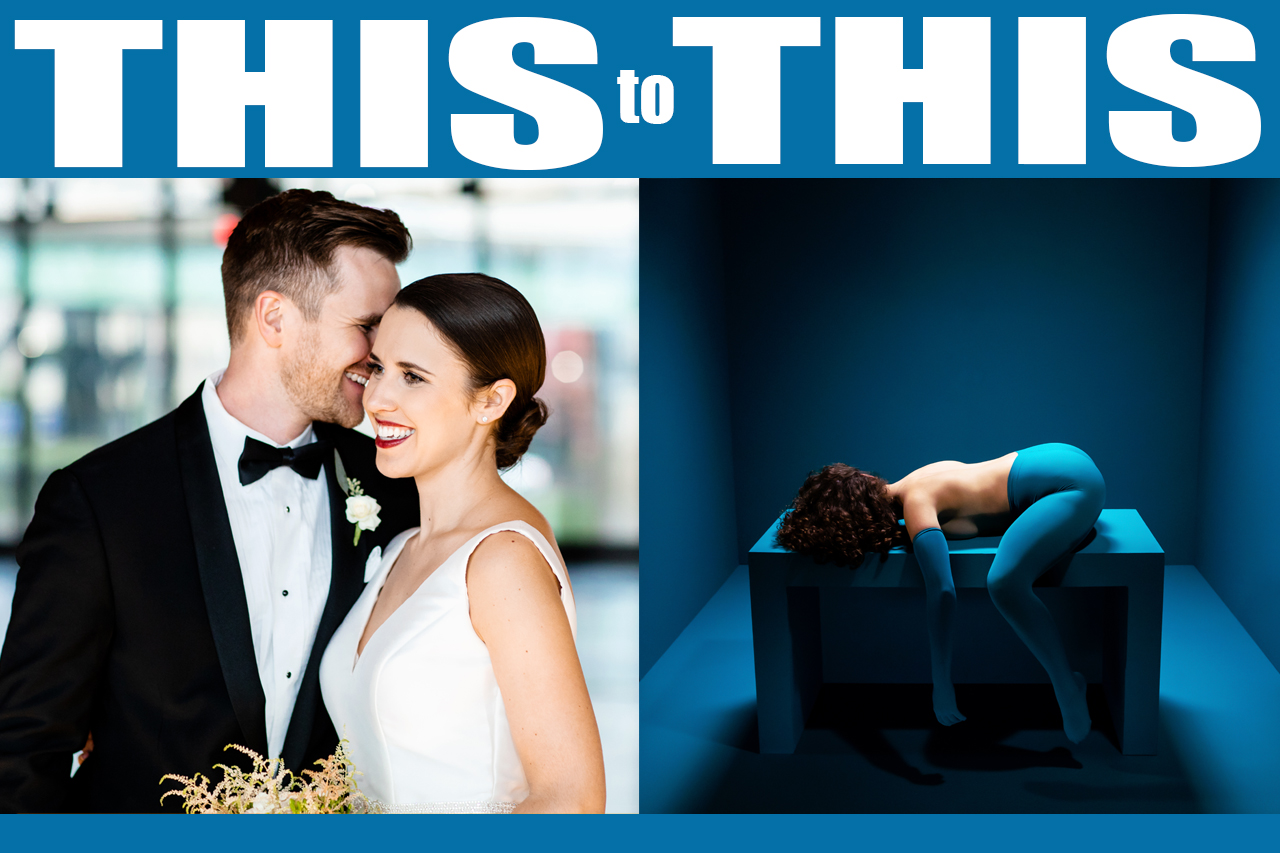
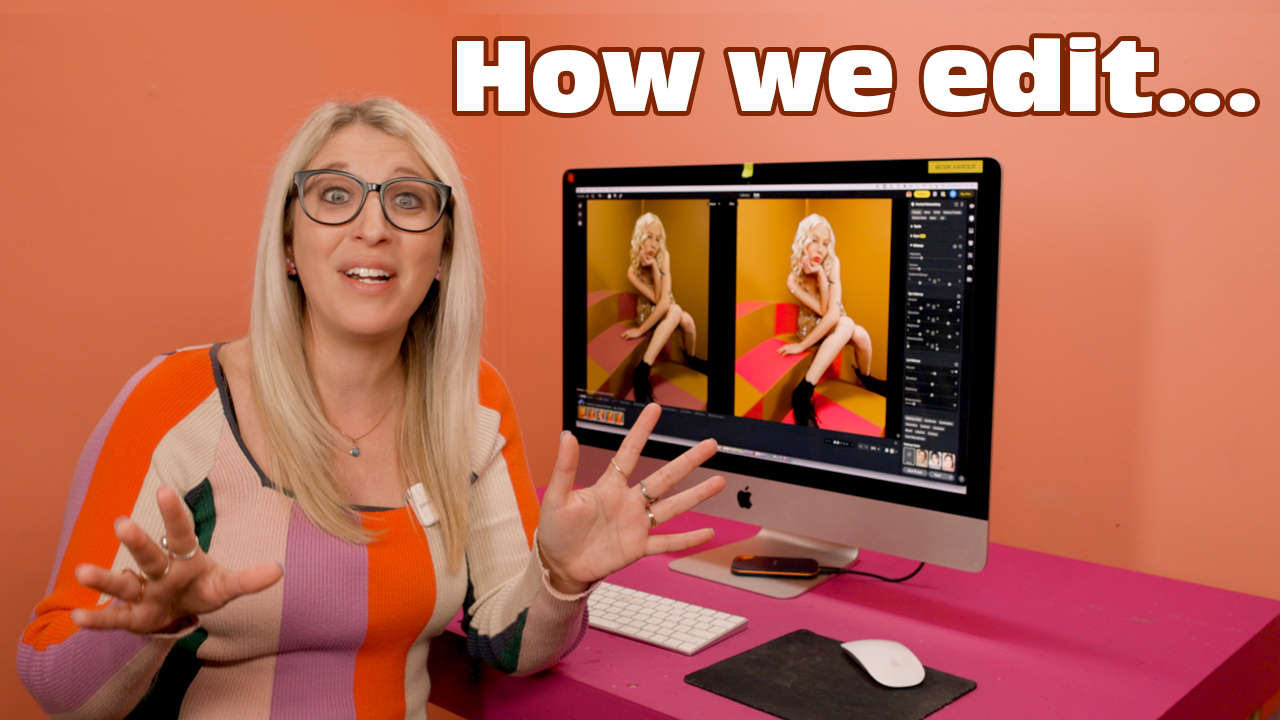
People kept telling us to try Evoto… and we finally did.
And honestly? It completely changed the way we edit.
We’ve been photographers long enough that we’re pretty set in our editing routines. We have a good flow, we divide and conquer (I handle color, David handles retouching), and it works. But Evoto took that whole process and made it so much faster without losing the control we love.
We started using Evoto a couple months ago… and we’ve been obsessed ever since. The speed, the control, the masking, the retouching has genuinely changed the way we edit. And honestly, we’re still kicking ourselves for not trying it sooner.
We get so many questions about our editing workflow, so we made this video (and now this blog post!) to walk you through exactly how we use Evoto to edit a full photoshoot from start to finish.
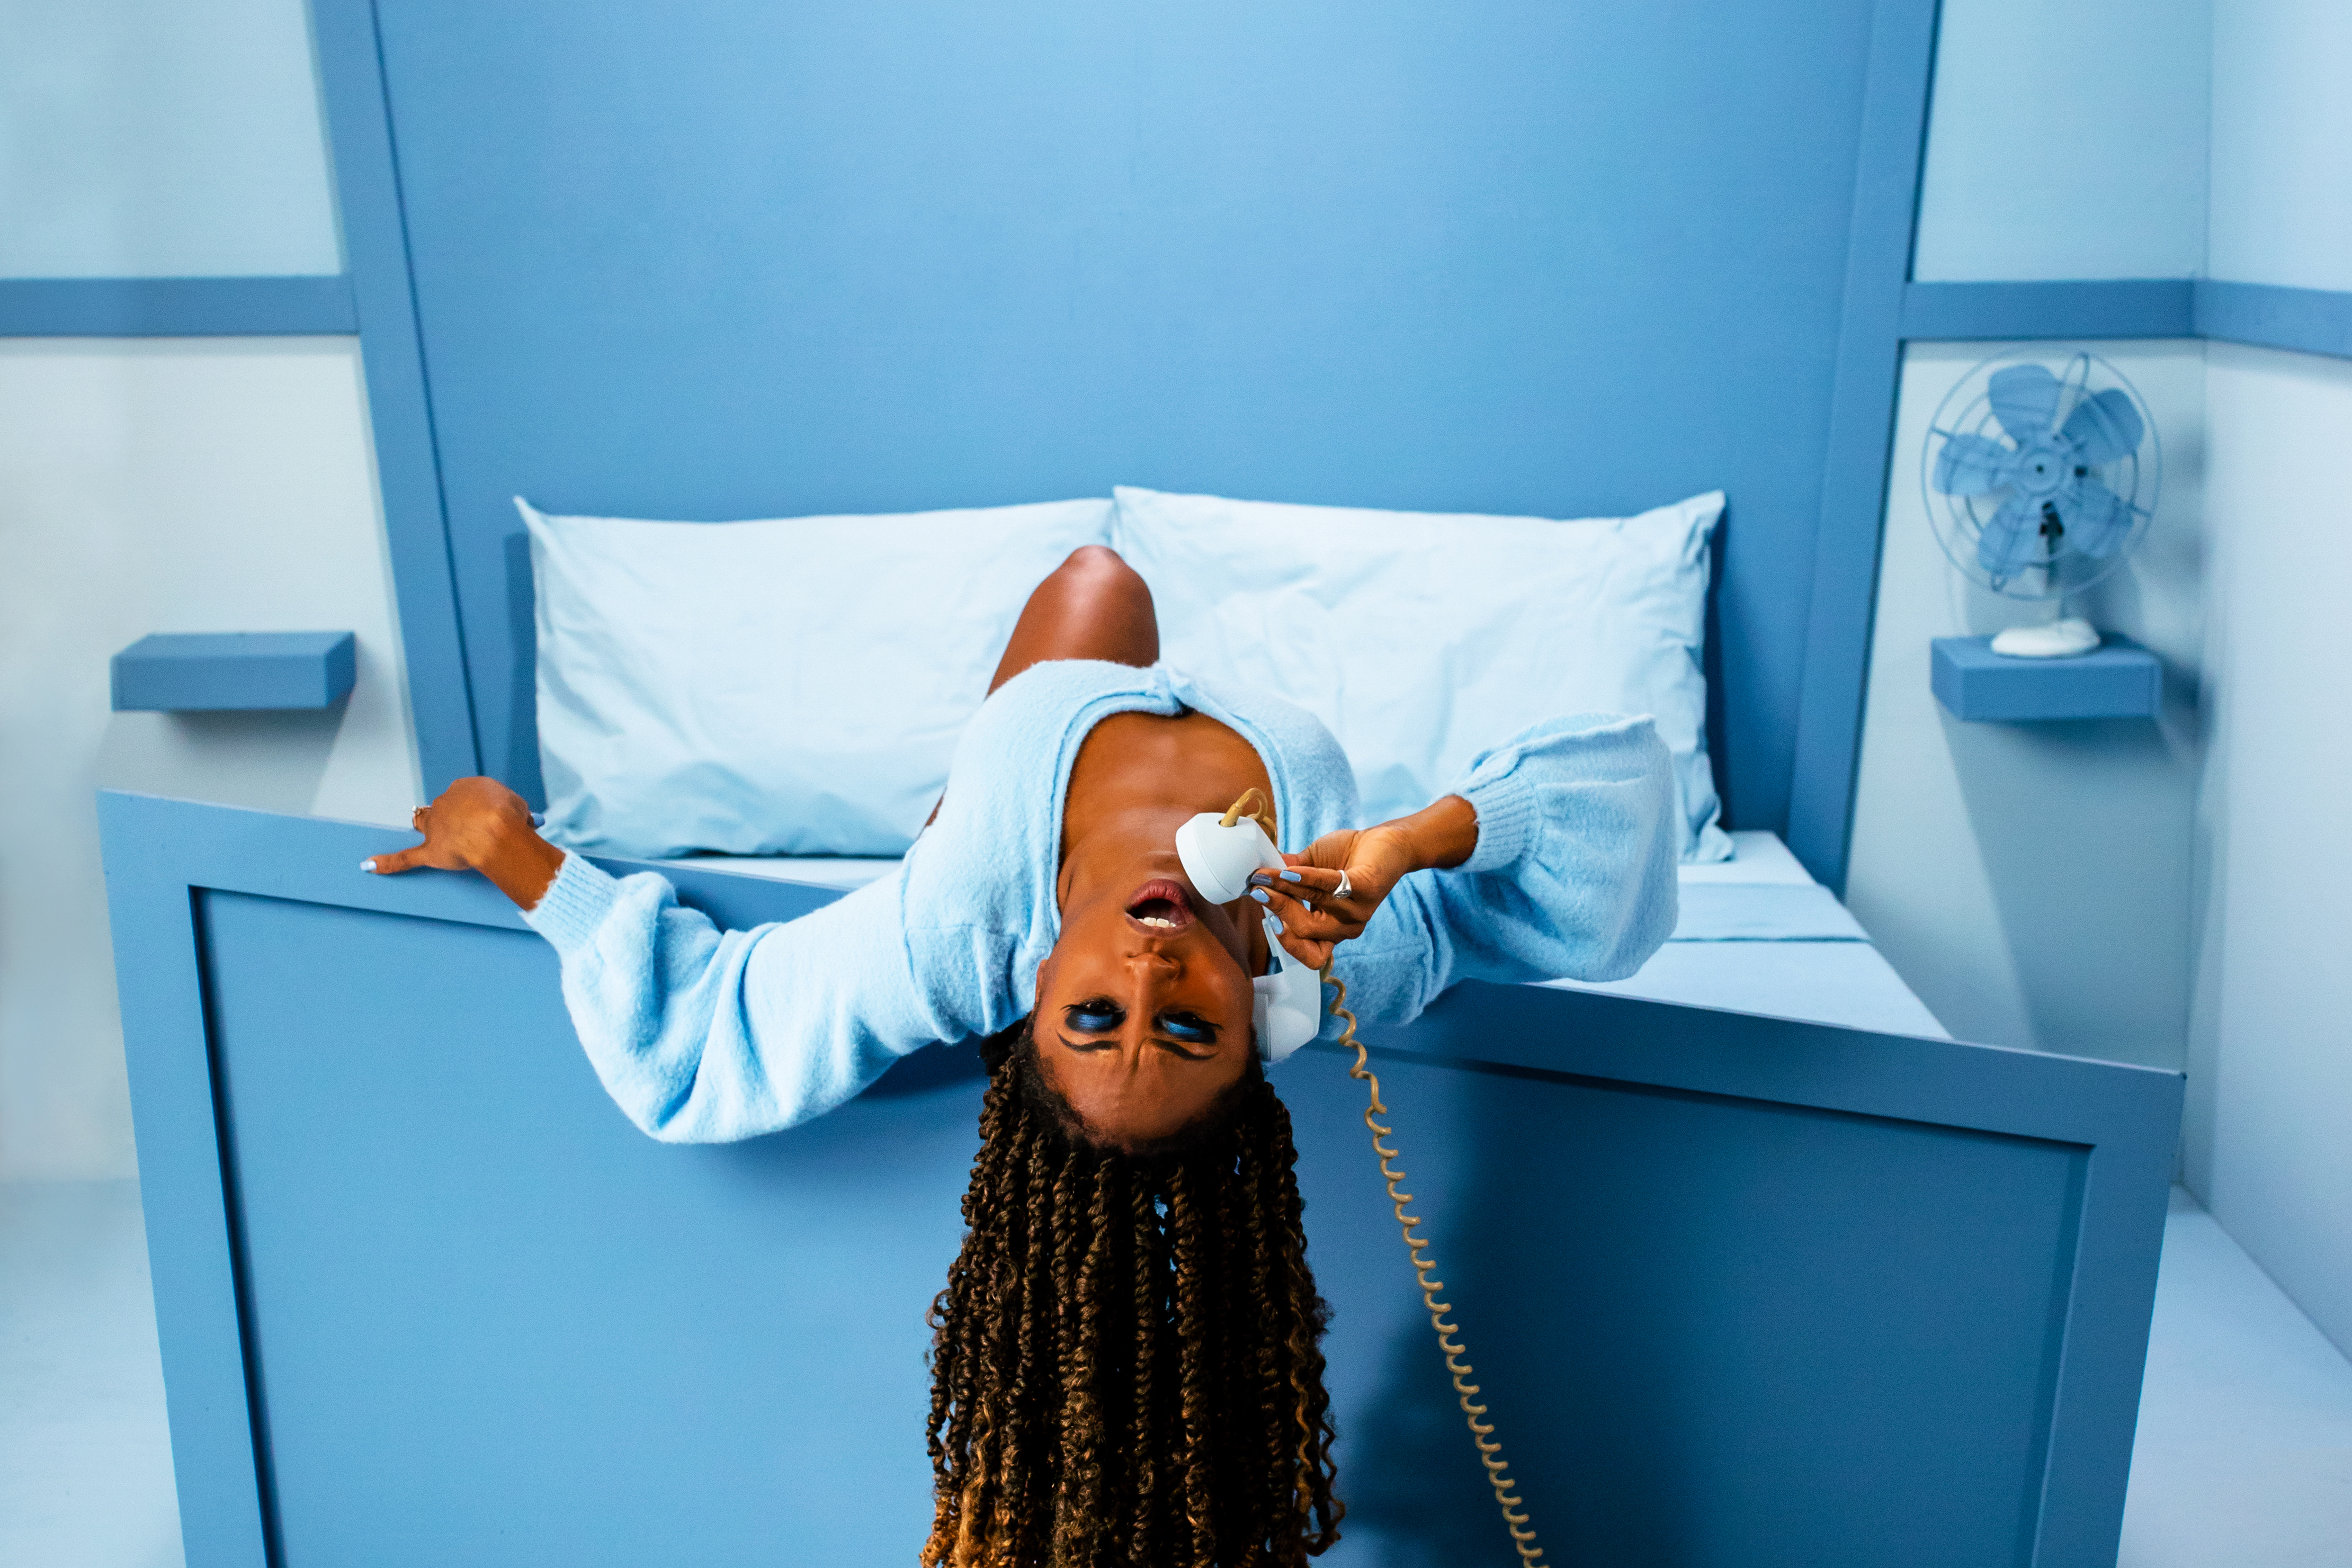
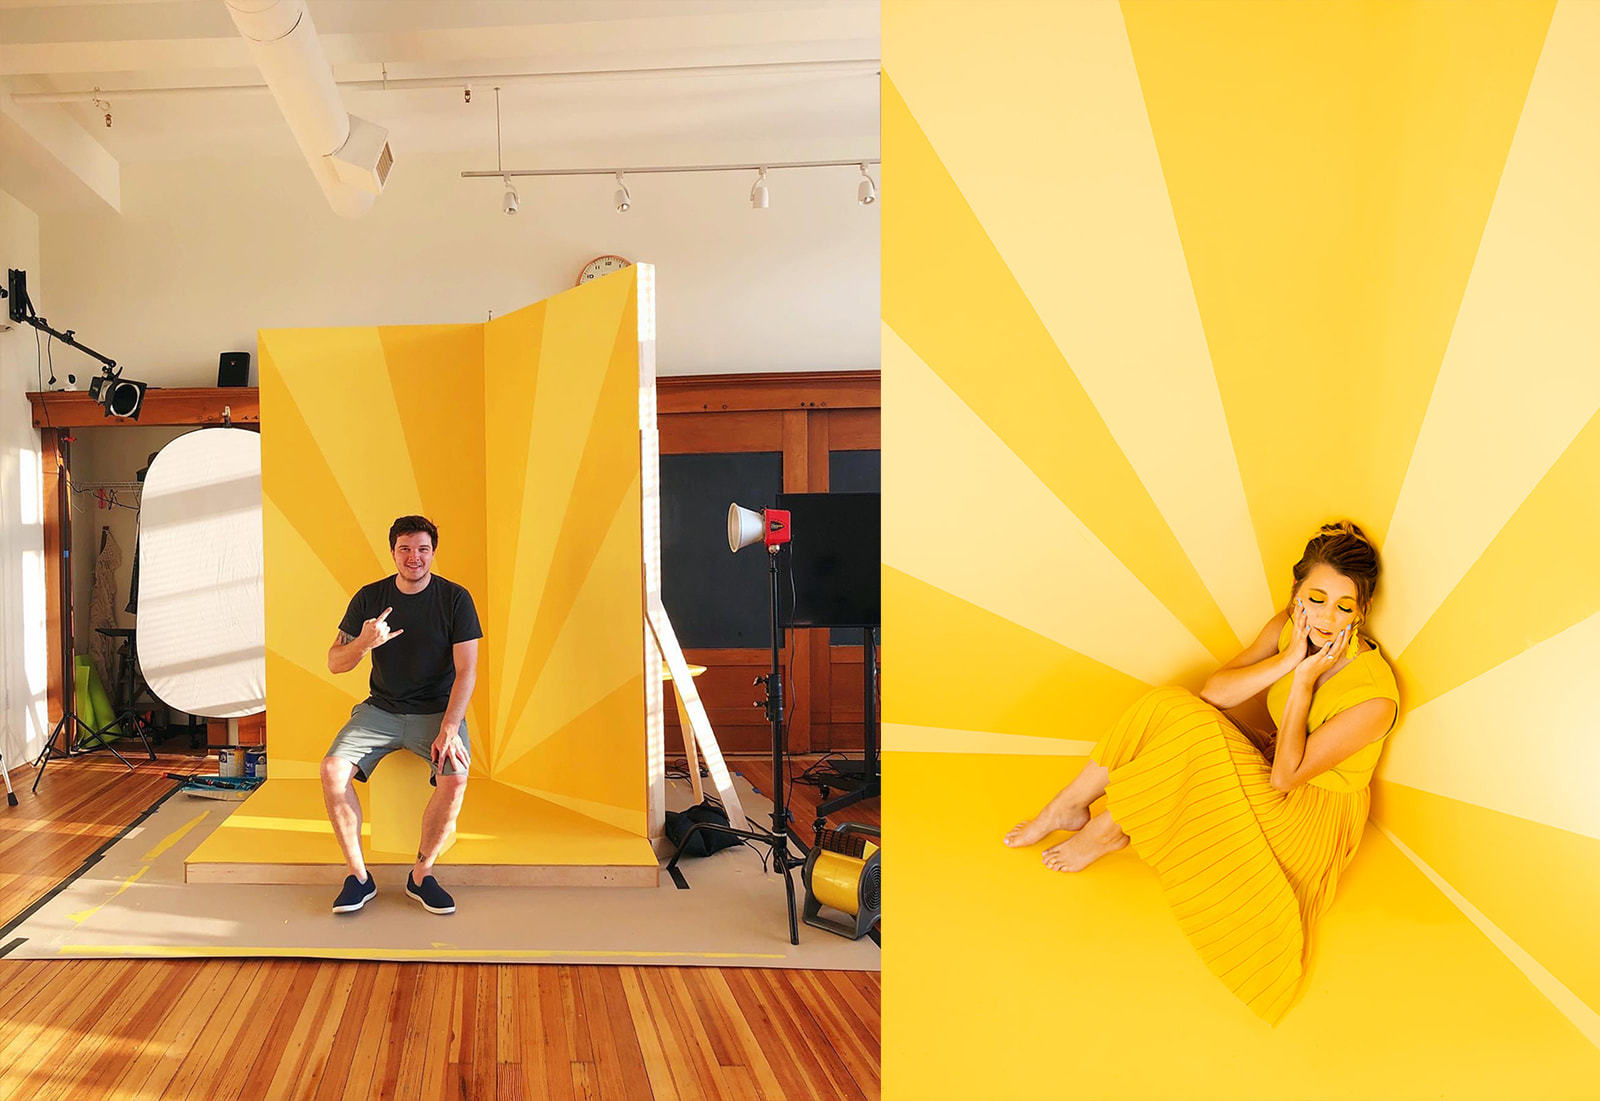
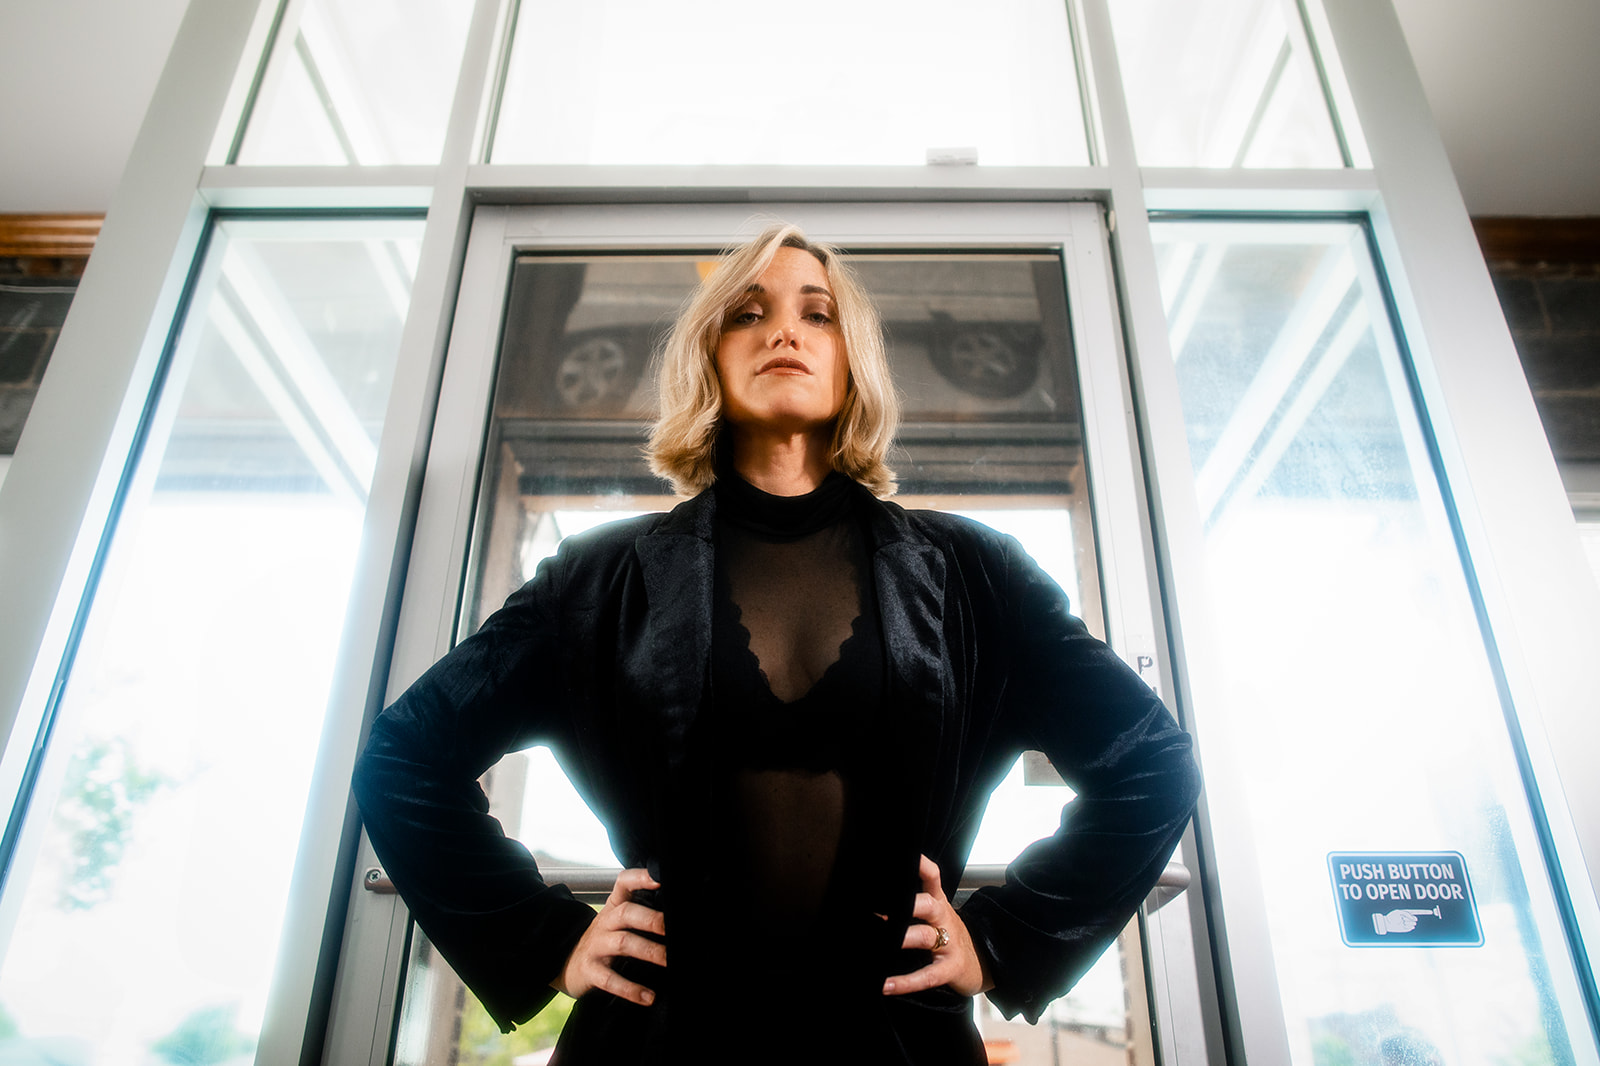
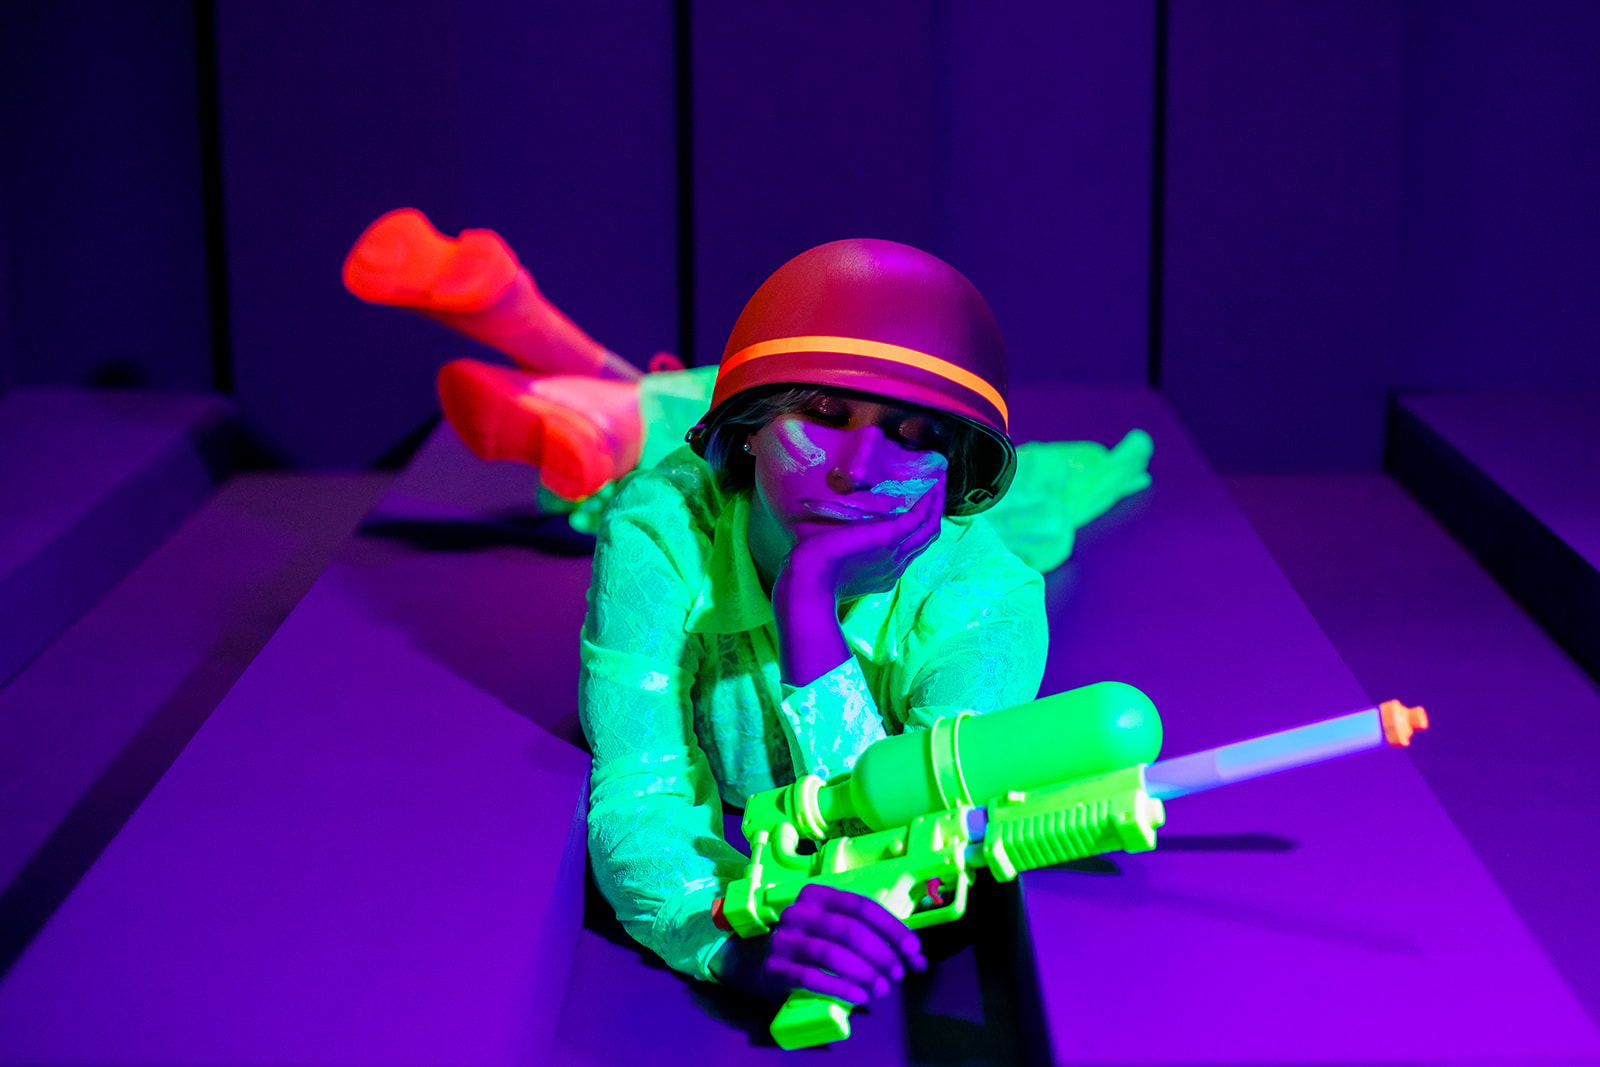
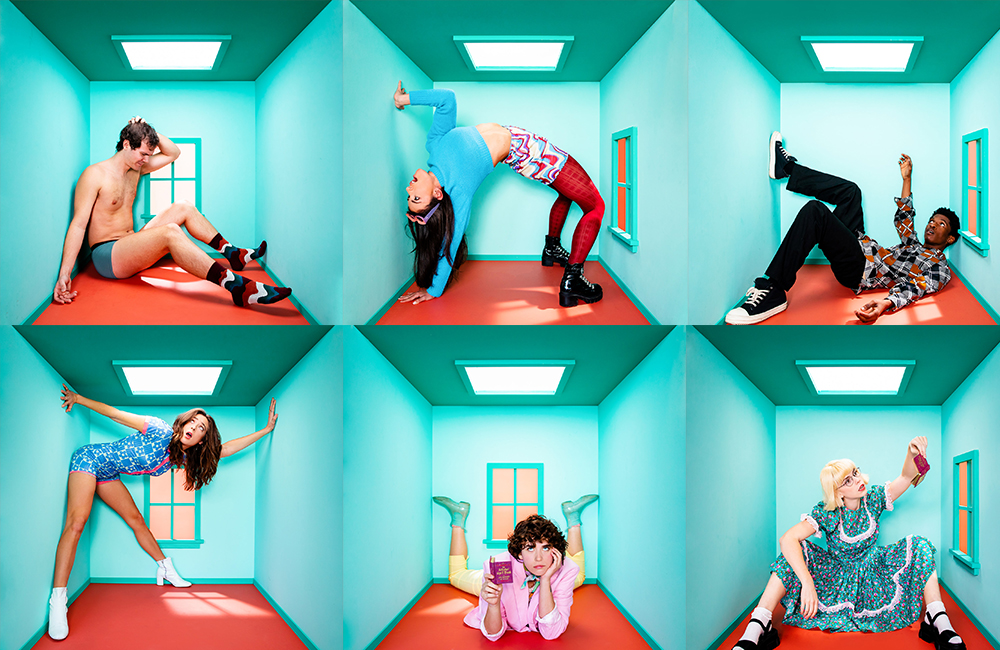
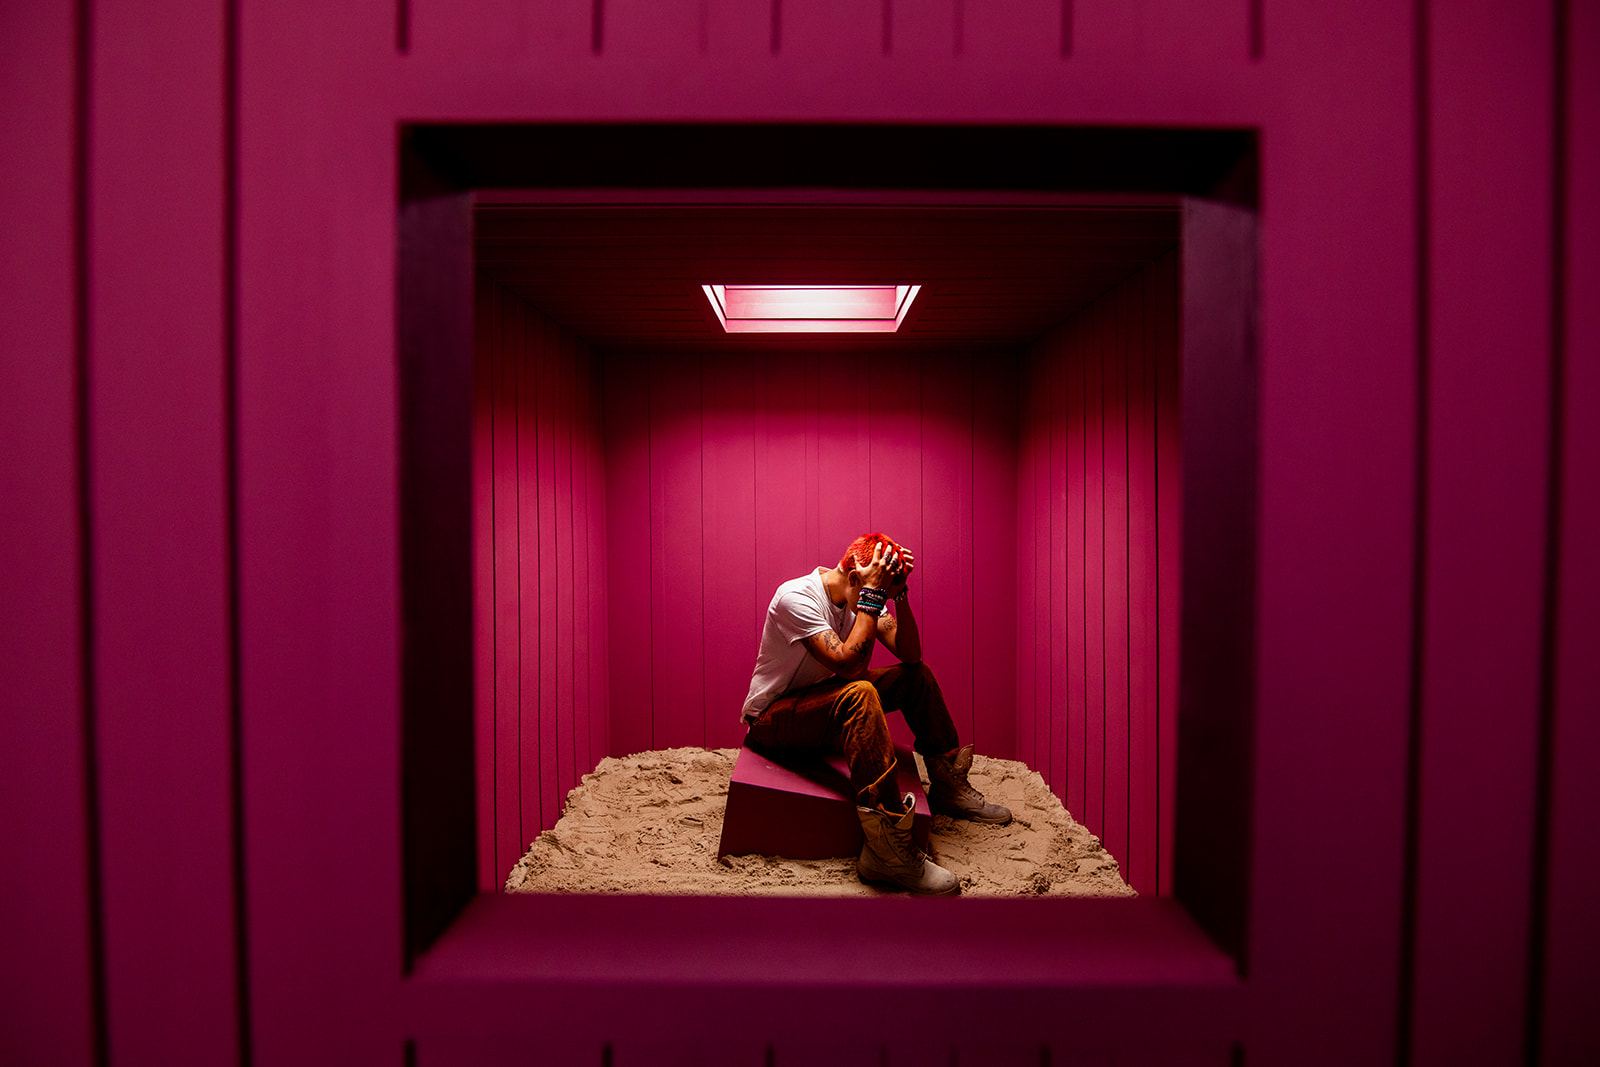
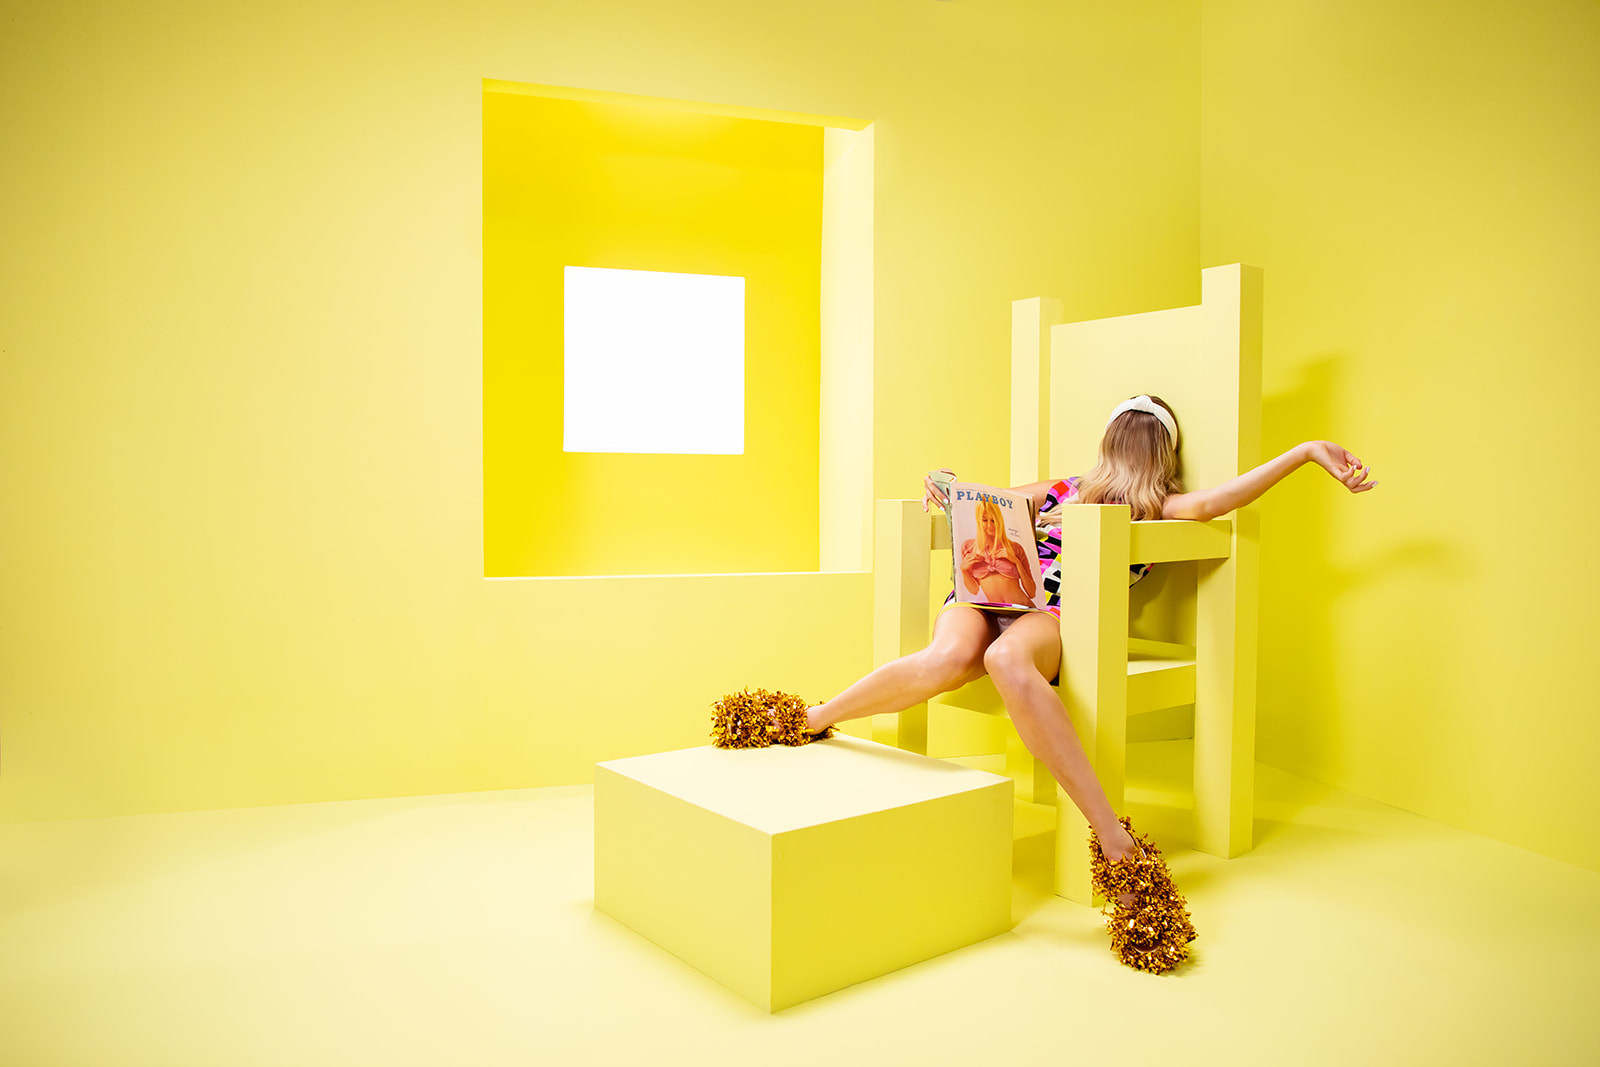
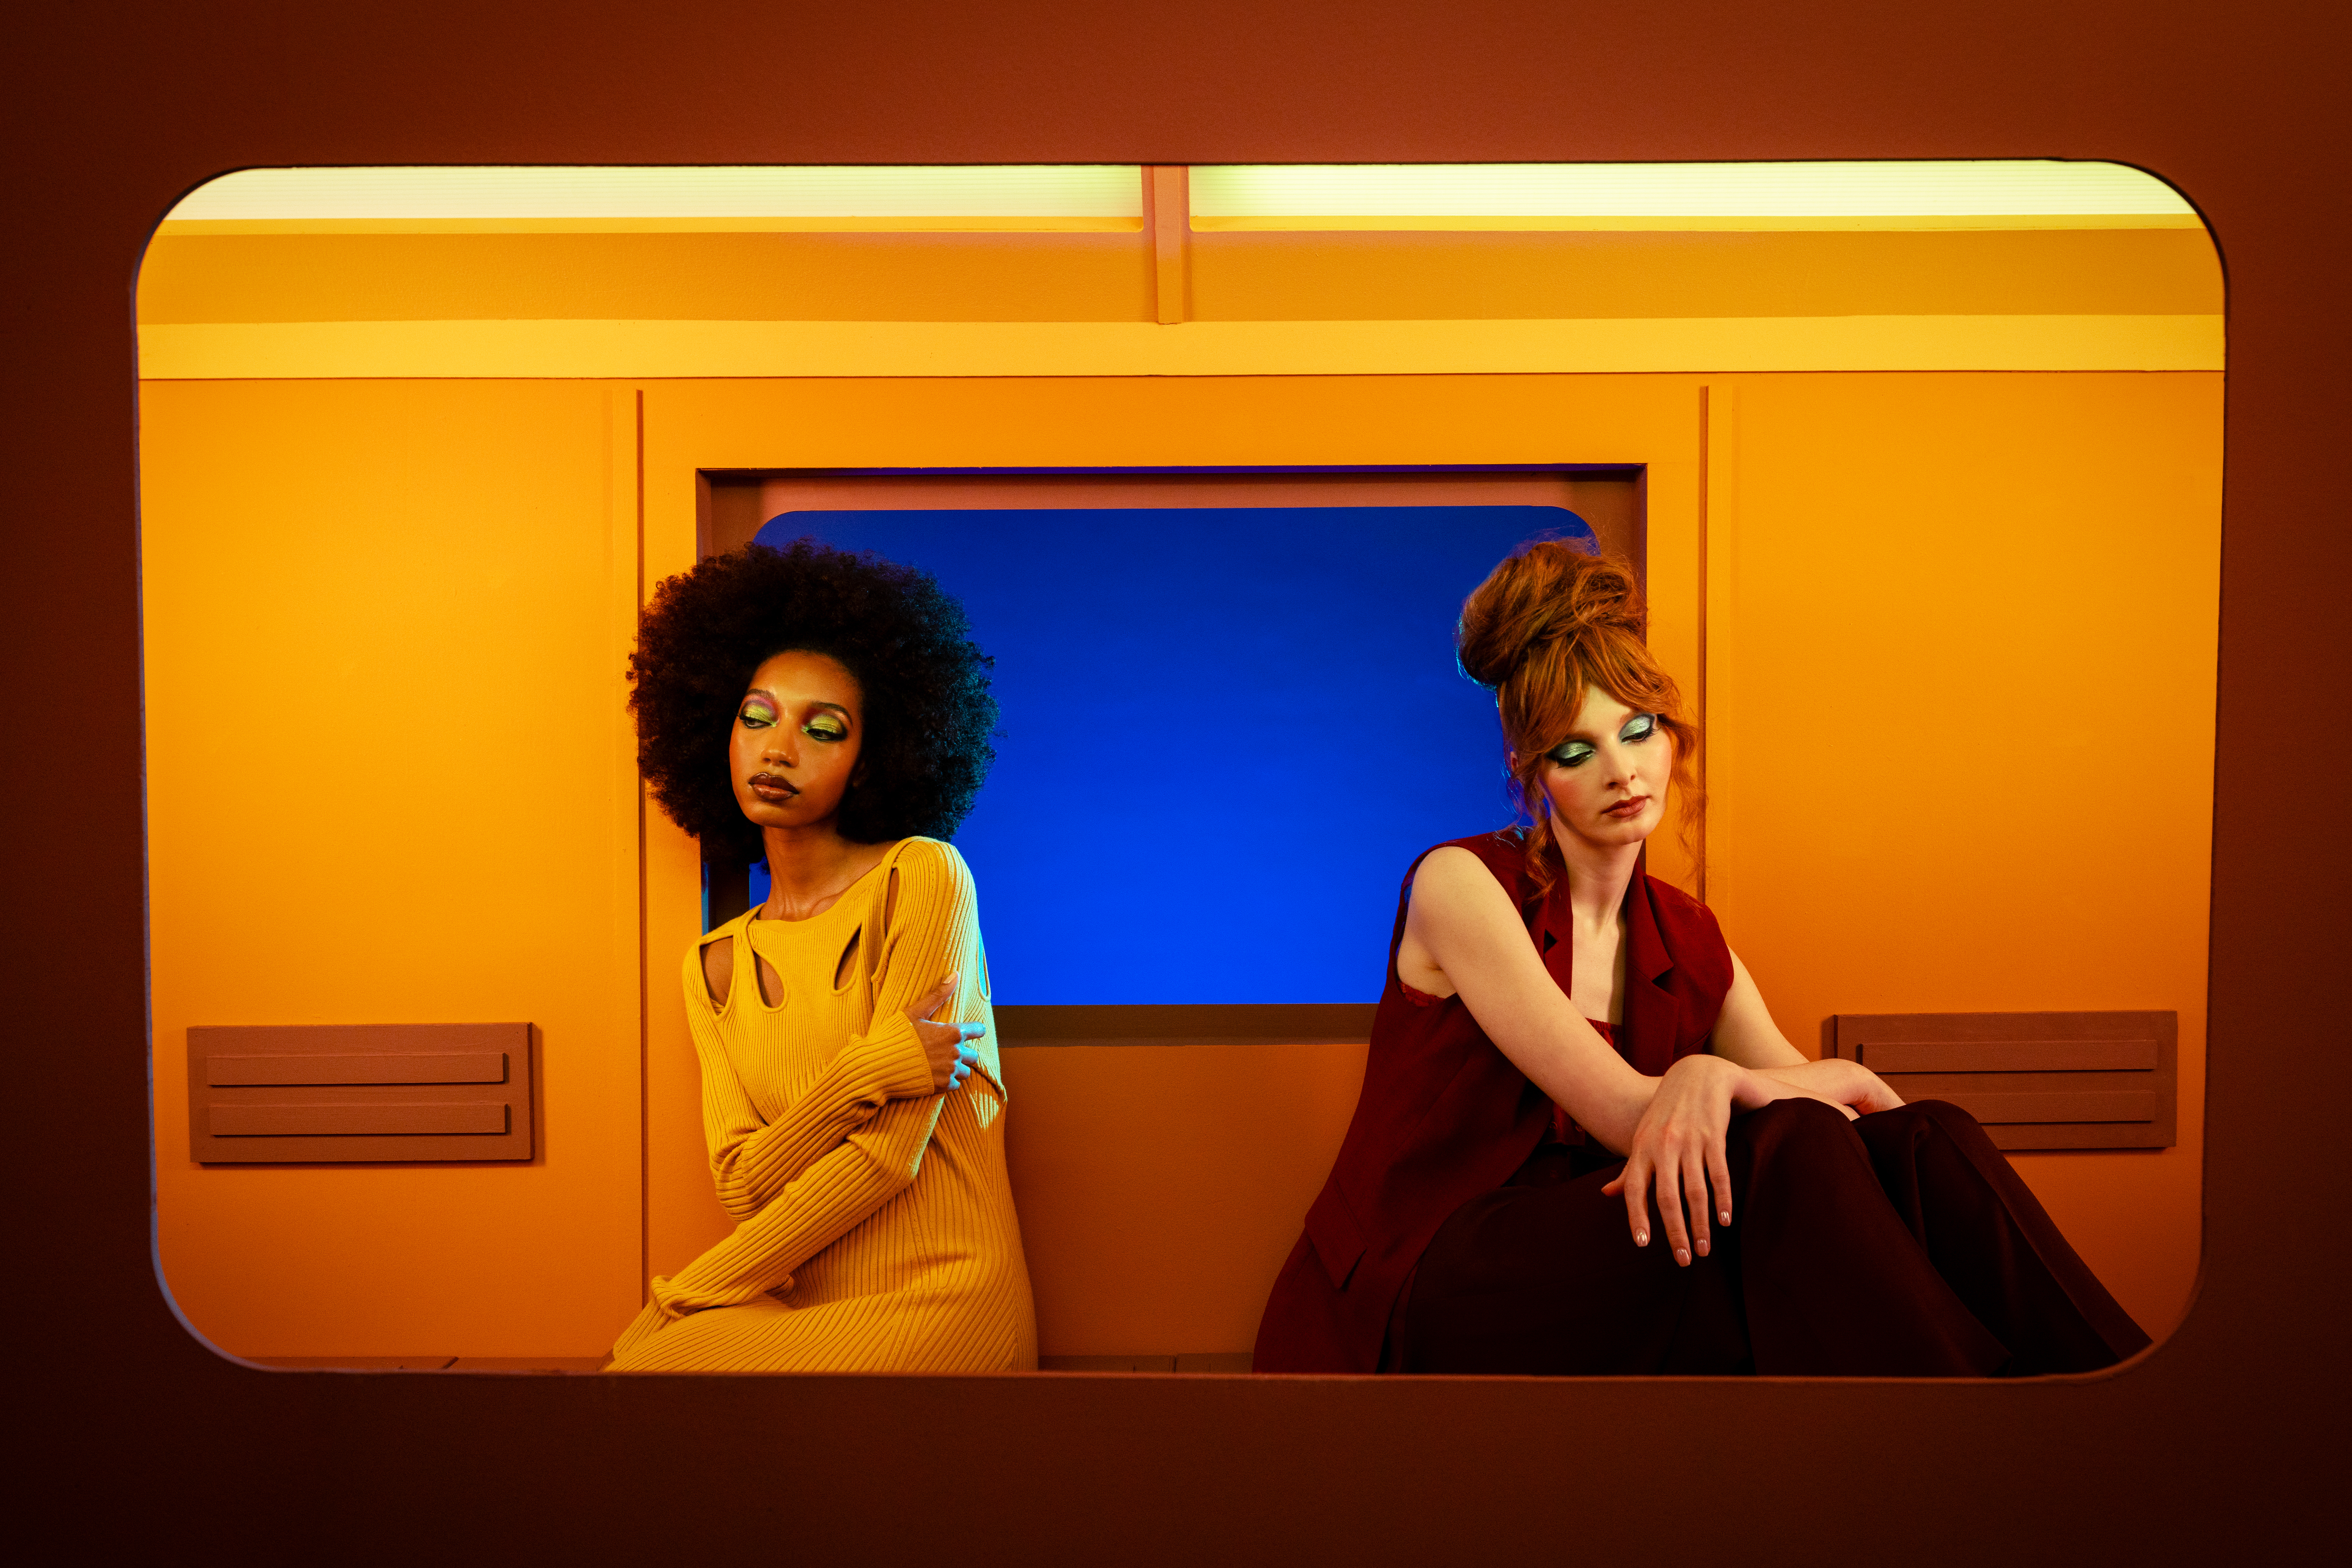
The Shoot
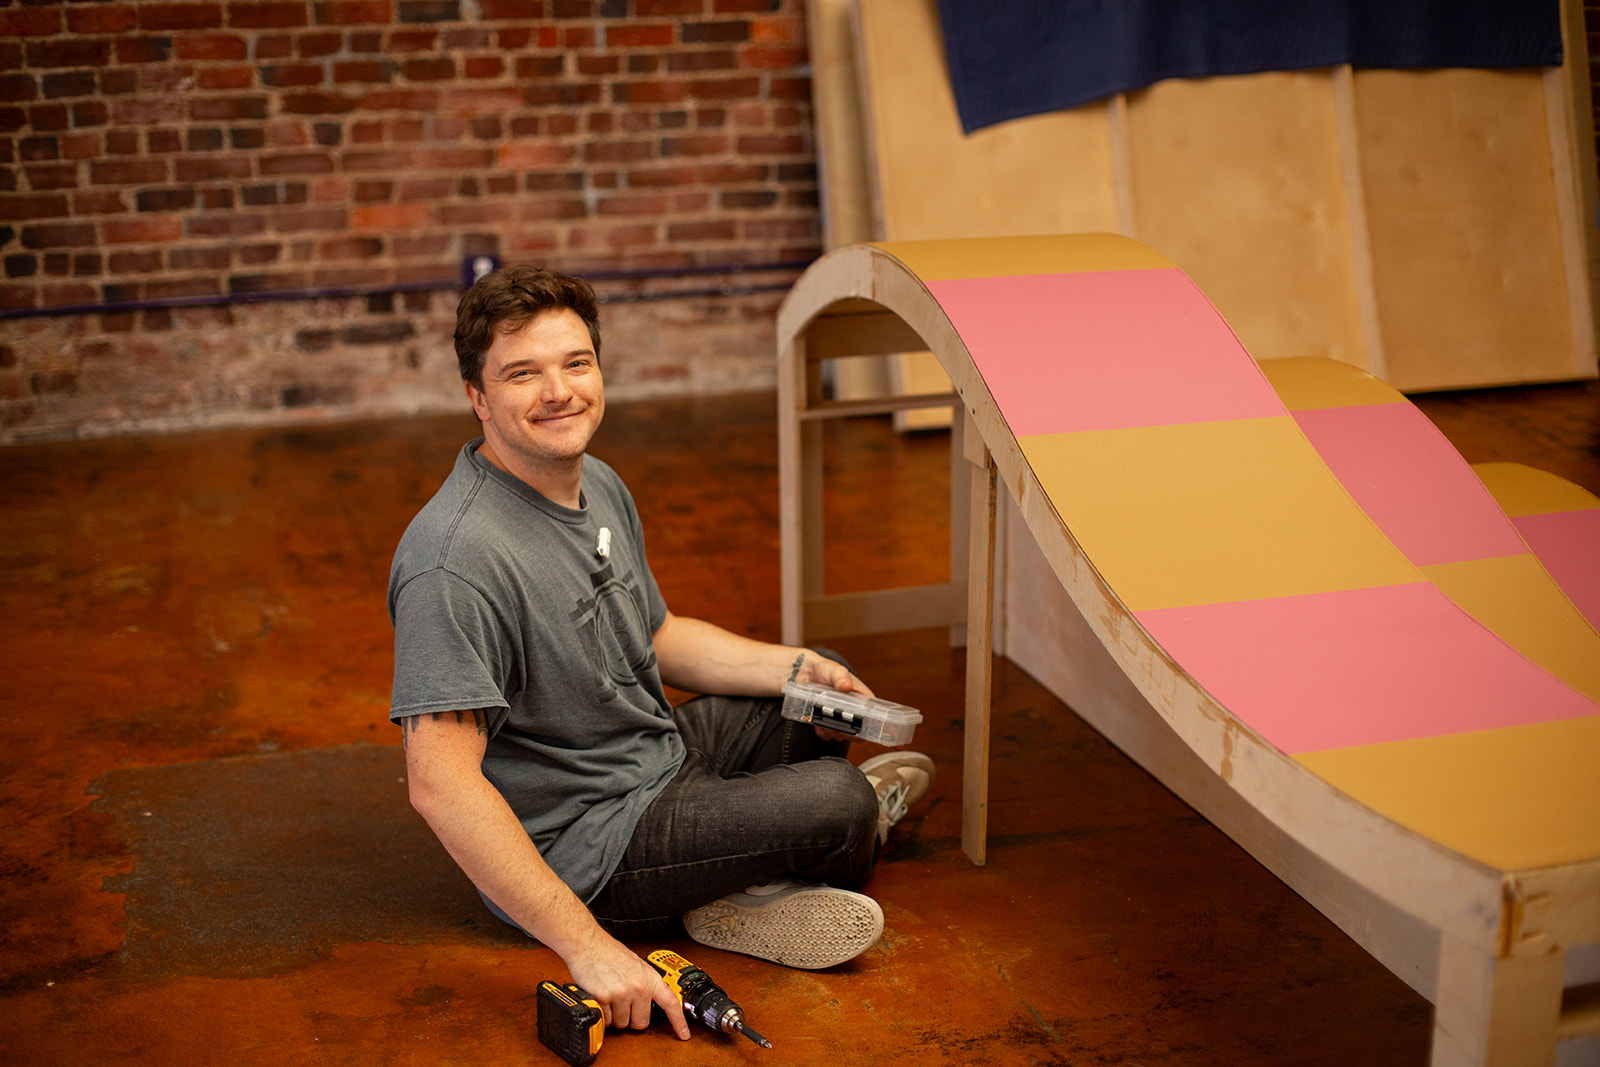
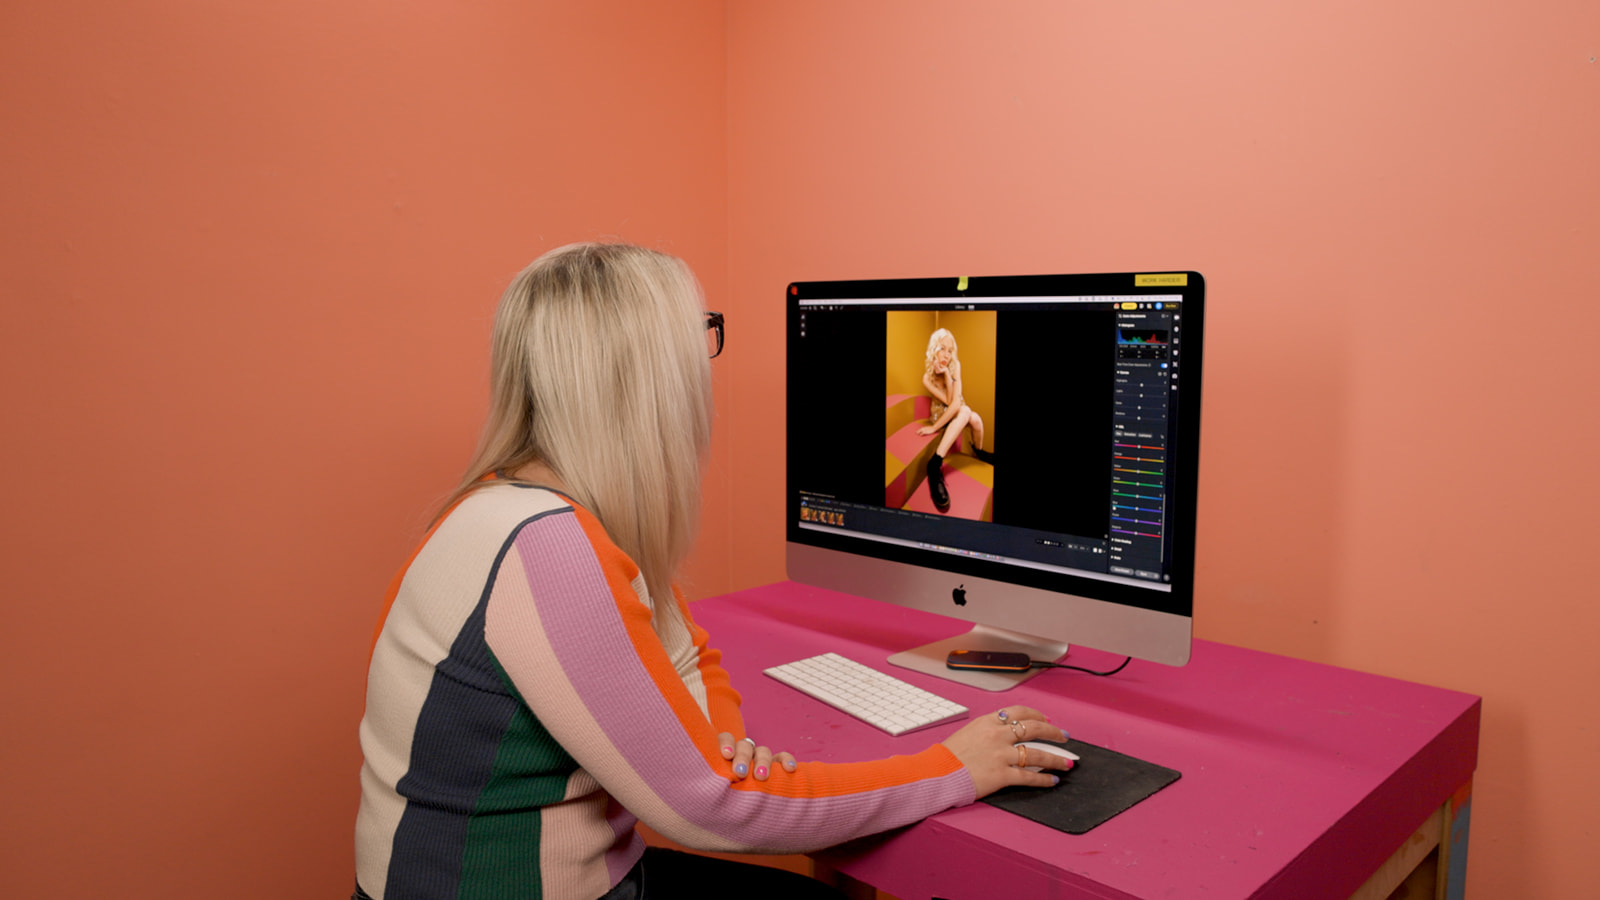
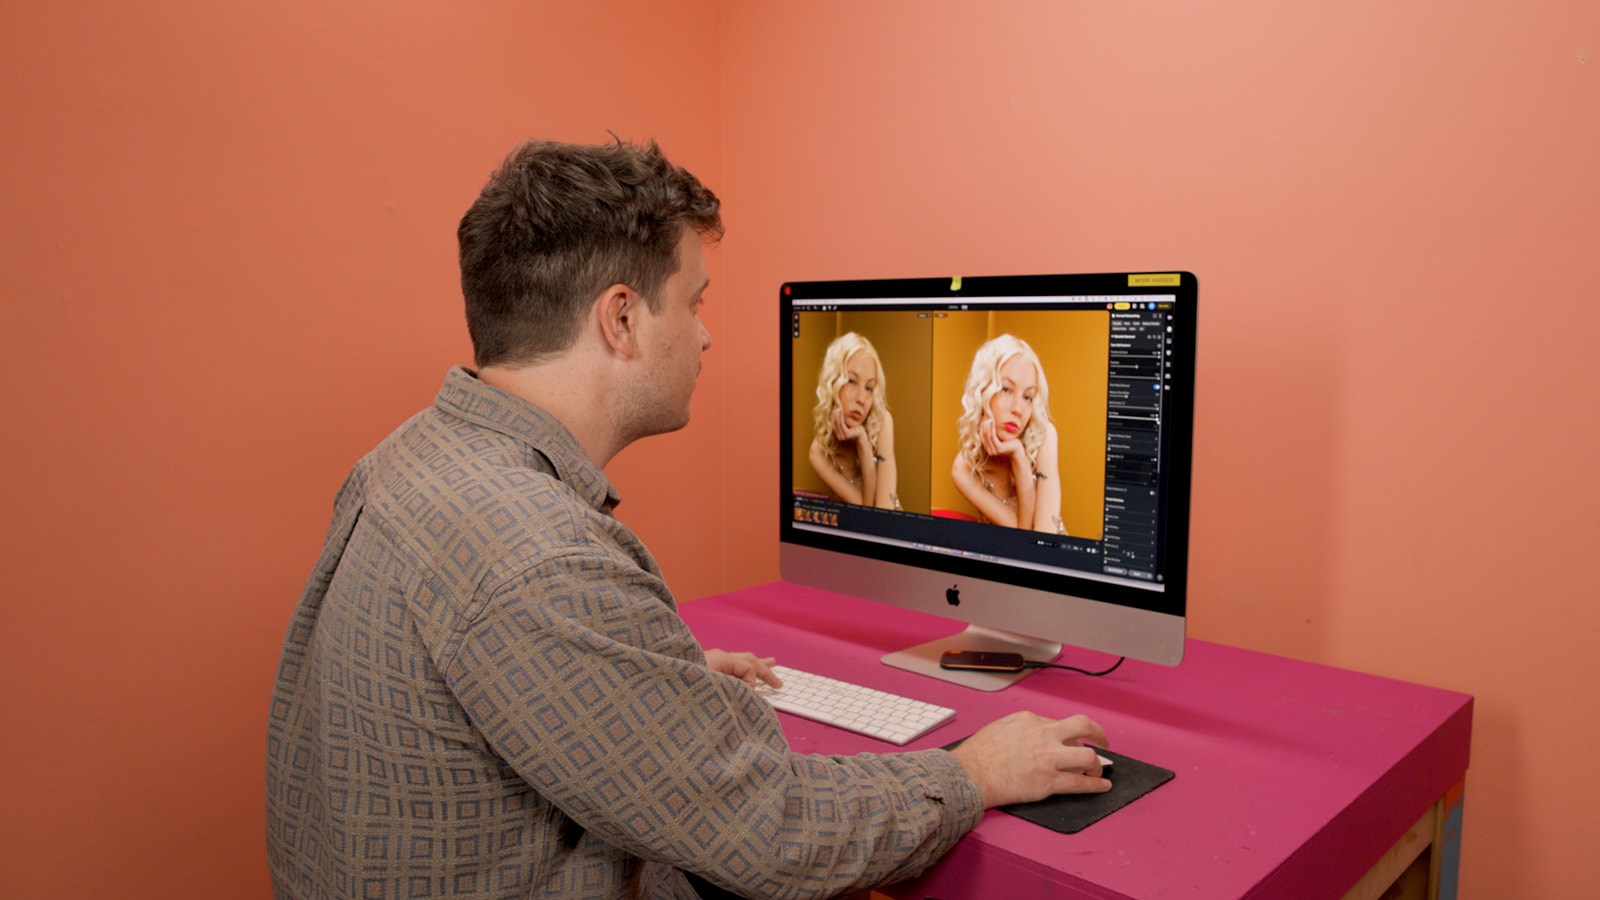
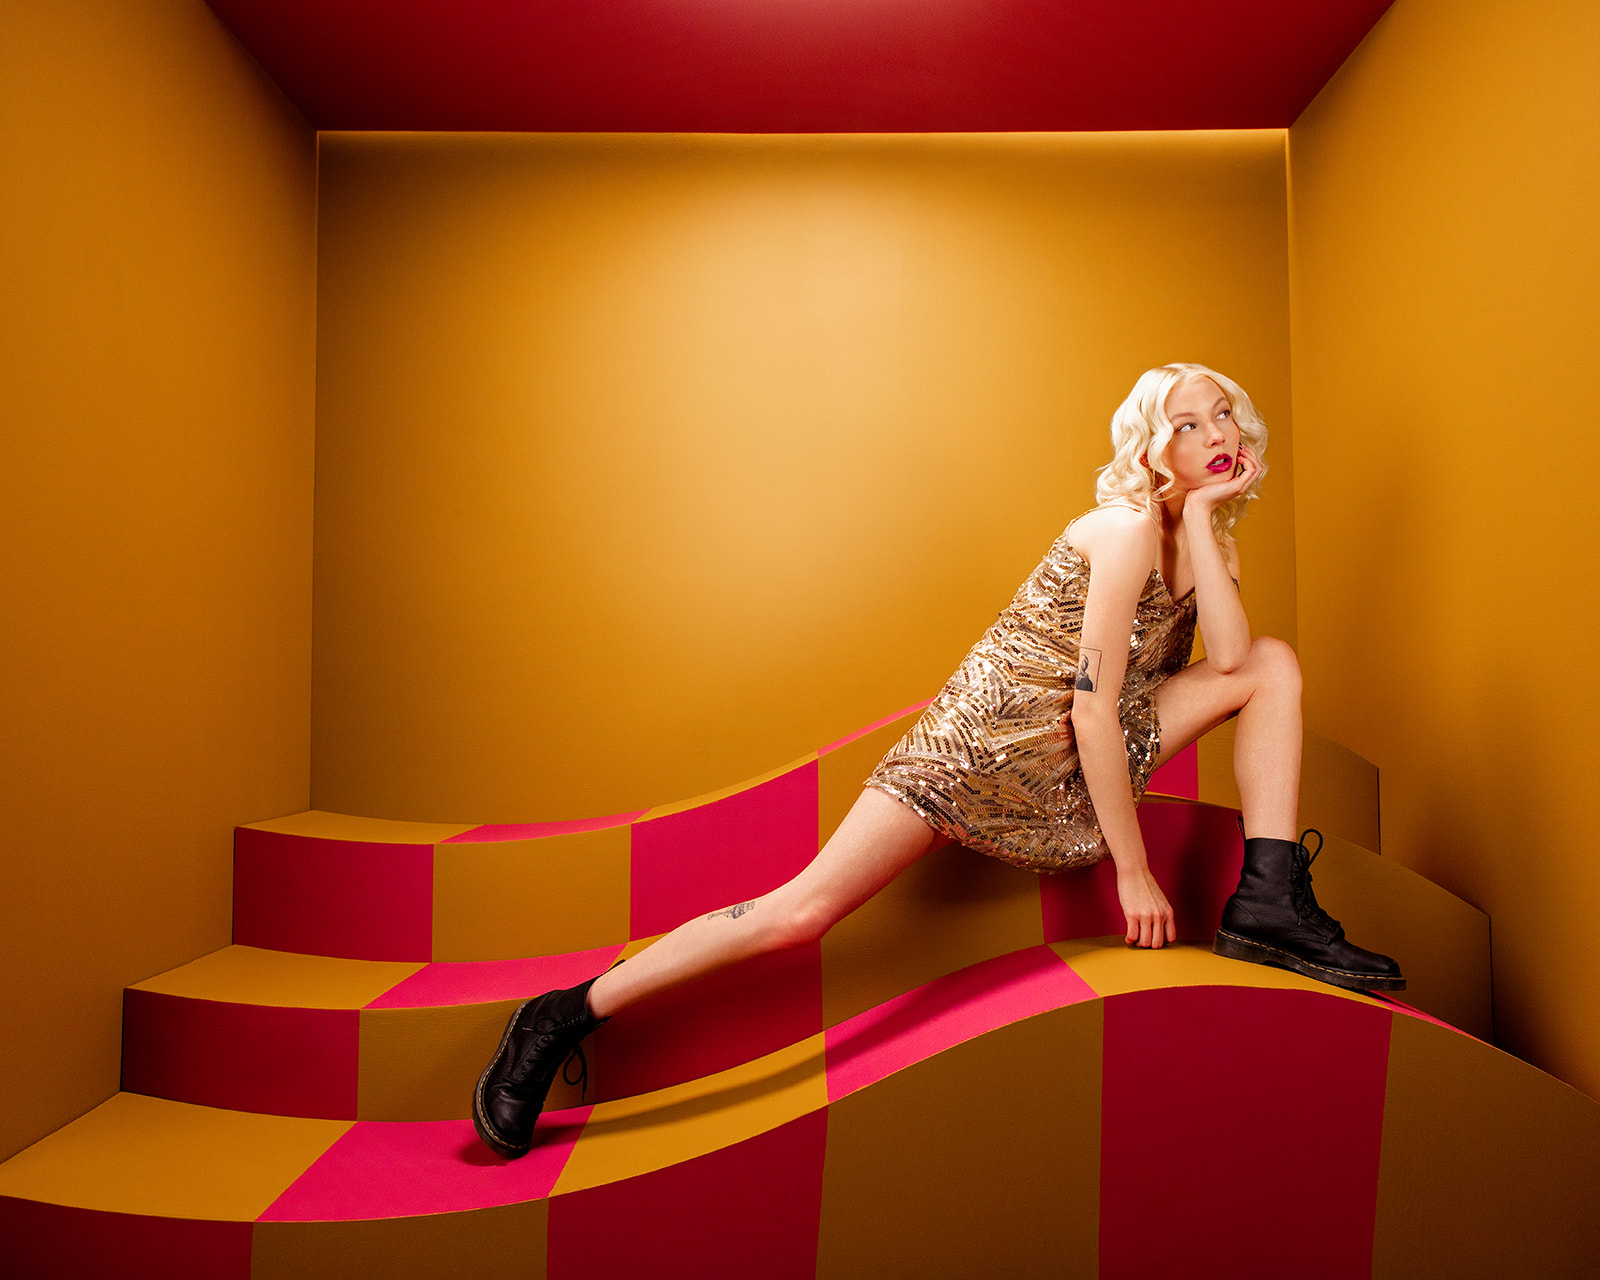
Like most of our shoots, we started in the studio building the set, dialing in the lights, and getting everything camera-ready. Once things were set, set our laptop up on our workstation and tethered our camera straight into Evoto so the images dropped into the computer as we shot.
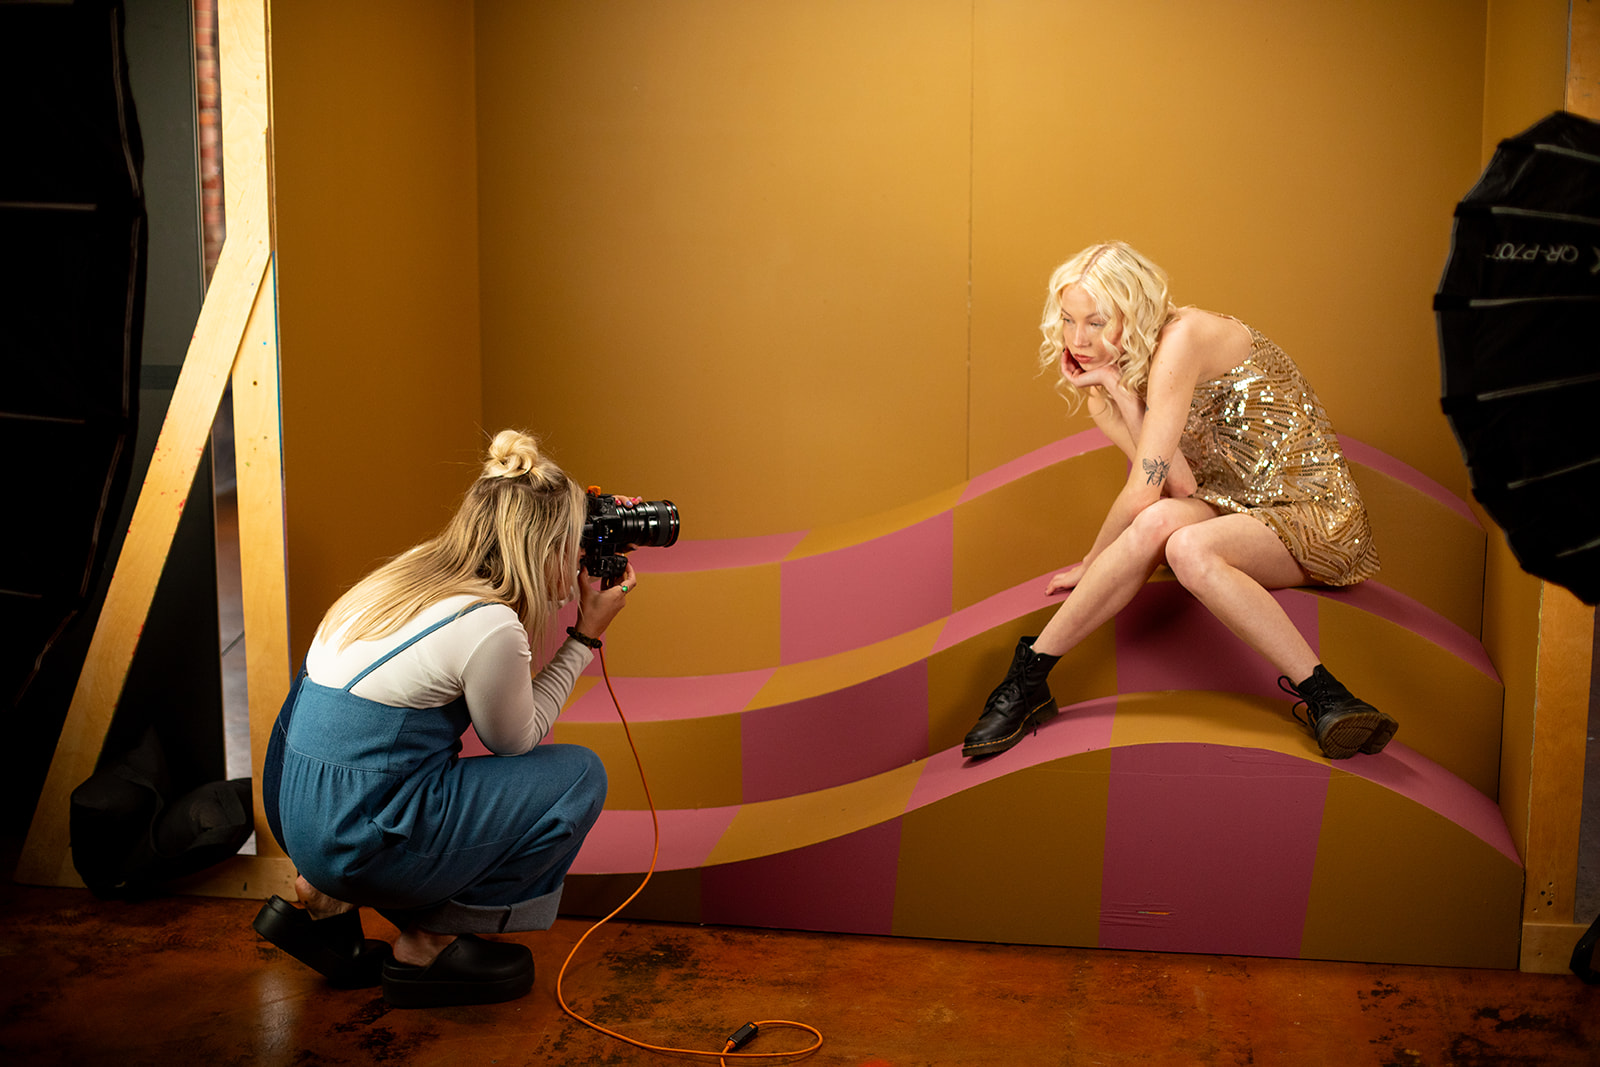
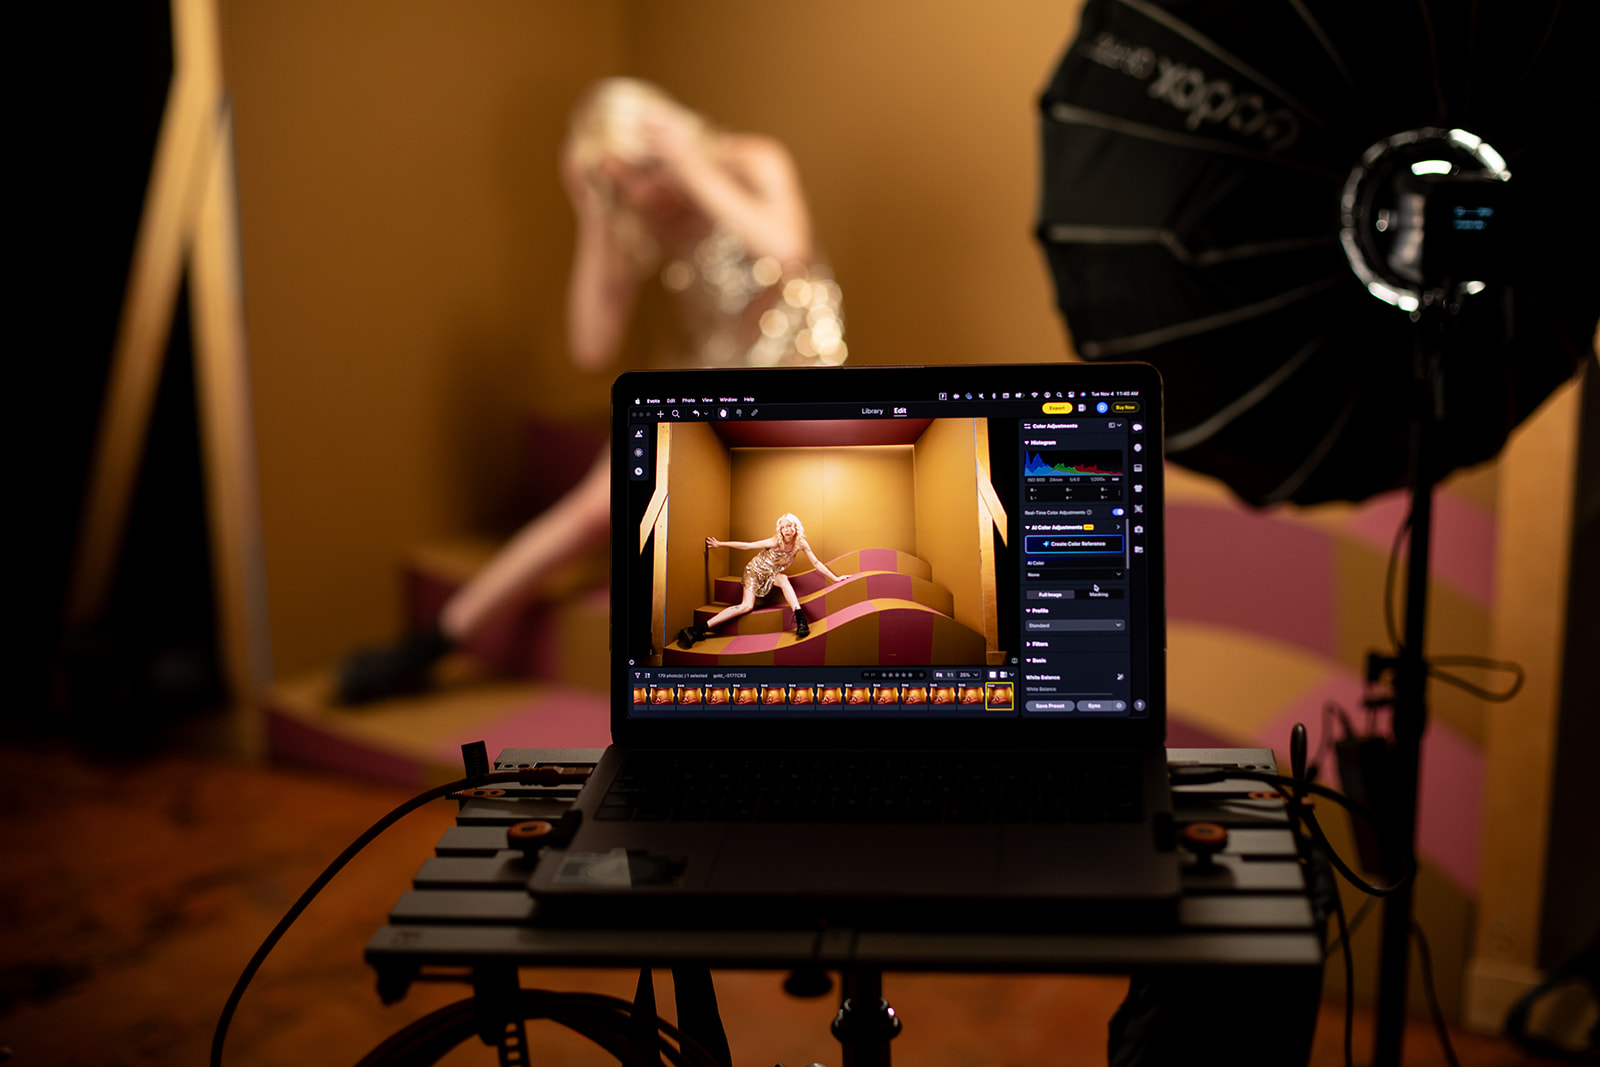
Tethering gives us real-time feedback. Seeing our images pop up instantly helps us fine-tune posing, exposure, and color while we’re shooting, which makes the editing process so much smoother later.
Culling the Images
Evoto has automatic sorting tools, but I still like manually starring my favorites. There’s something about looking through each frame and paying attention to the subtle differences of hand placement, the exact bend of a pose, and micro-expressions that lets me choose the strongest shots.
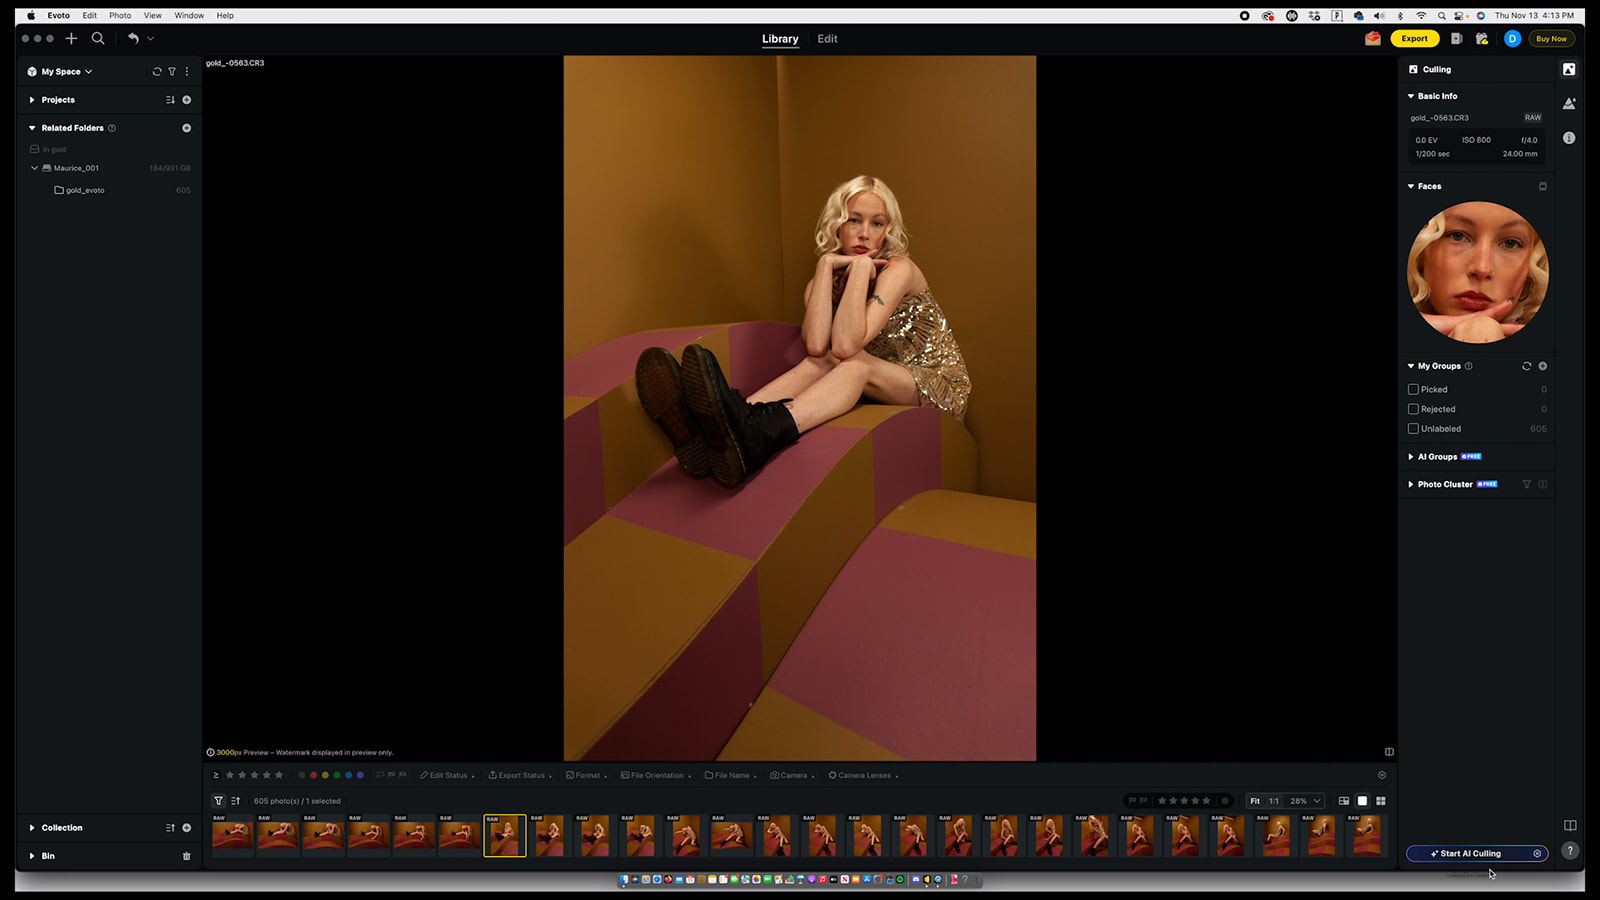
The star system is simple:
1 on the keyboard = one star, 2 = two stars, and so on.
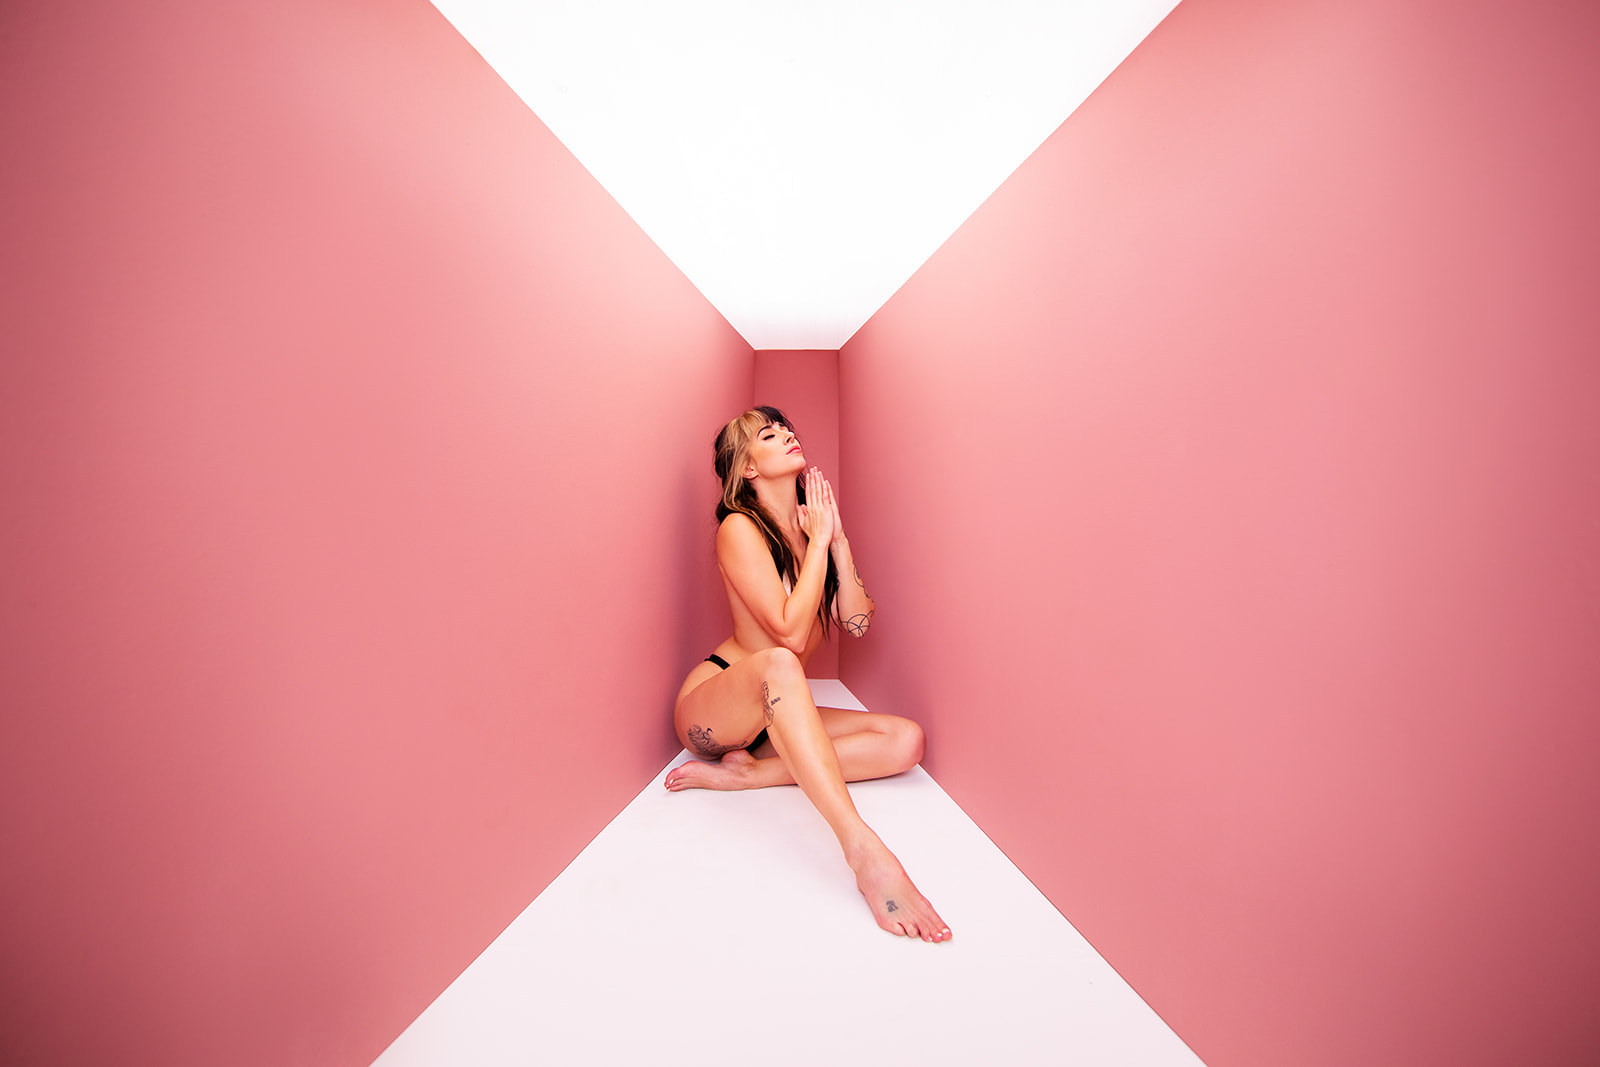
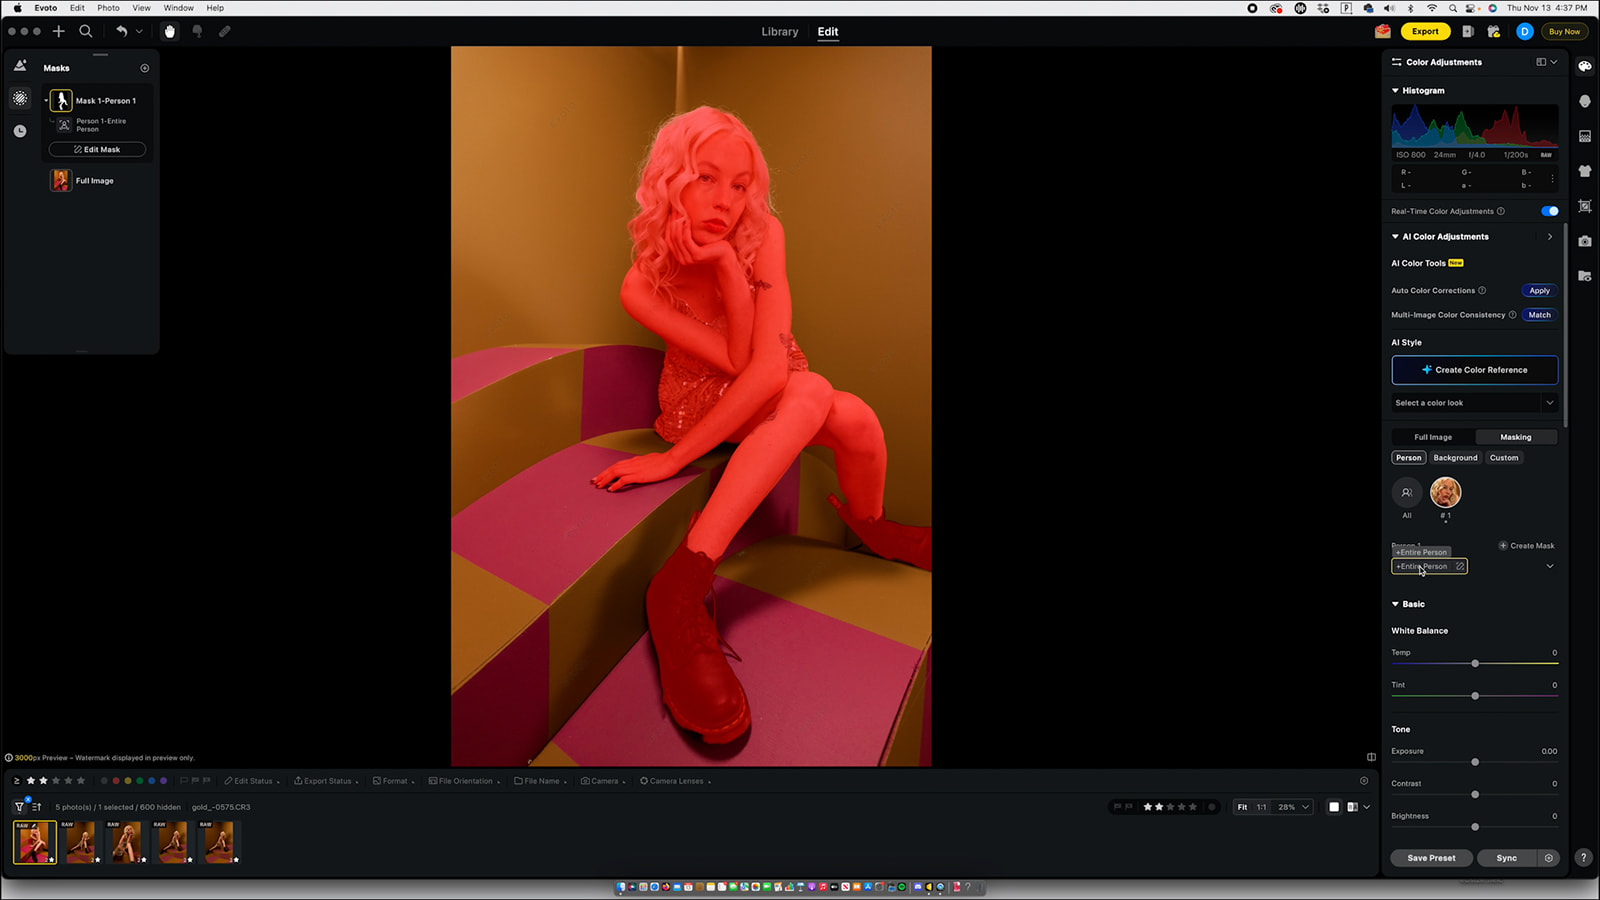
Color Correcting the Base Image
Color is always my first stop, and Evoto makes this part so intuitive.
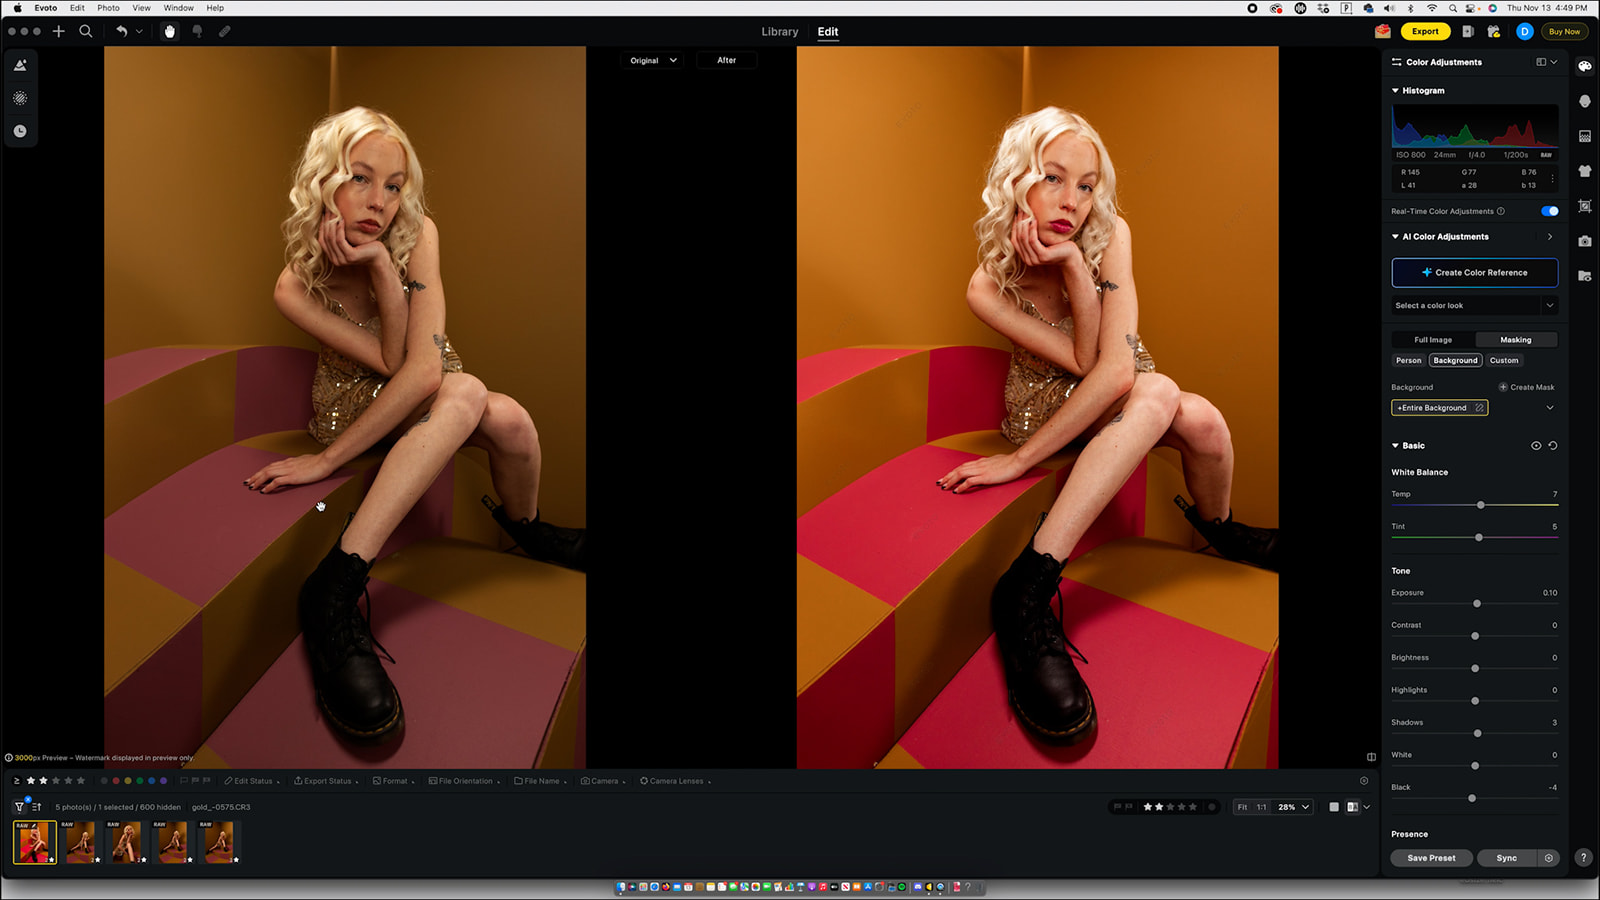
I start with the basics: exposure, highlights, blacks, and overall temperature. Rich blacks always help our images pop, and from there I nudge the tint until the base feels right. The before/after button in Evoto is really helpful and I’m constantly clicking it as I go to make sure the edit feels balanced and the photo is moving in the right direction.

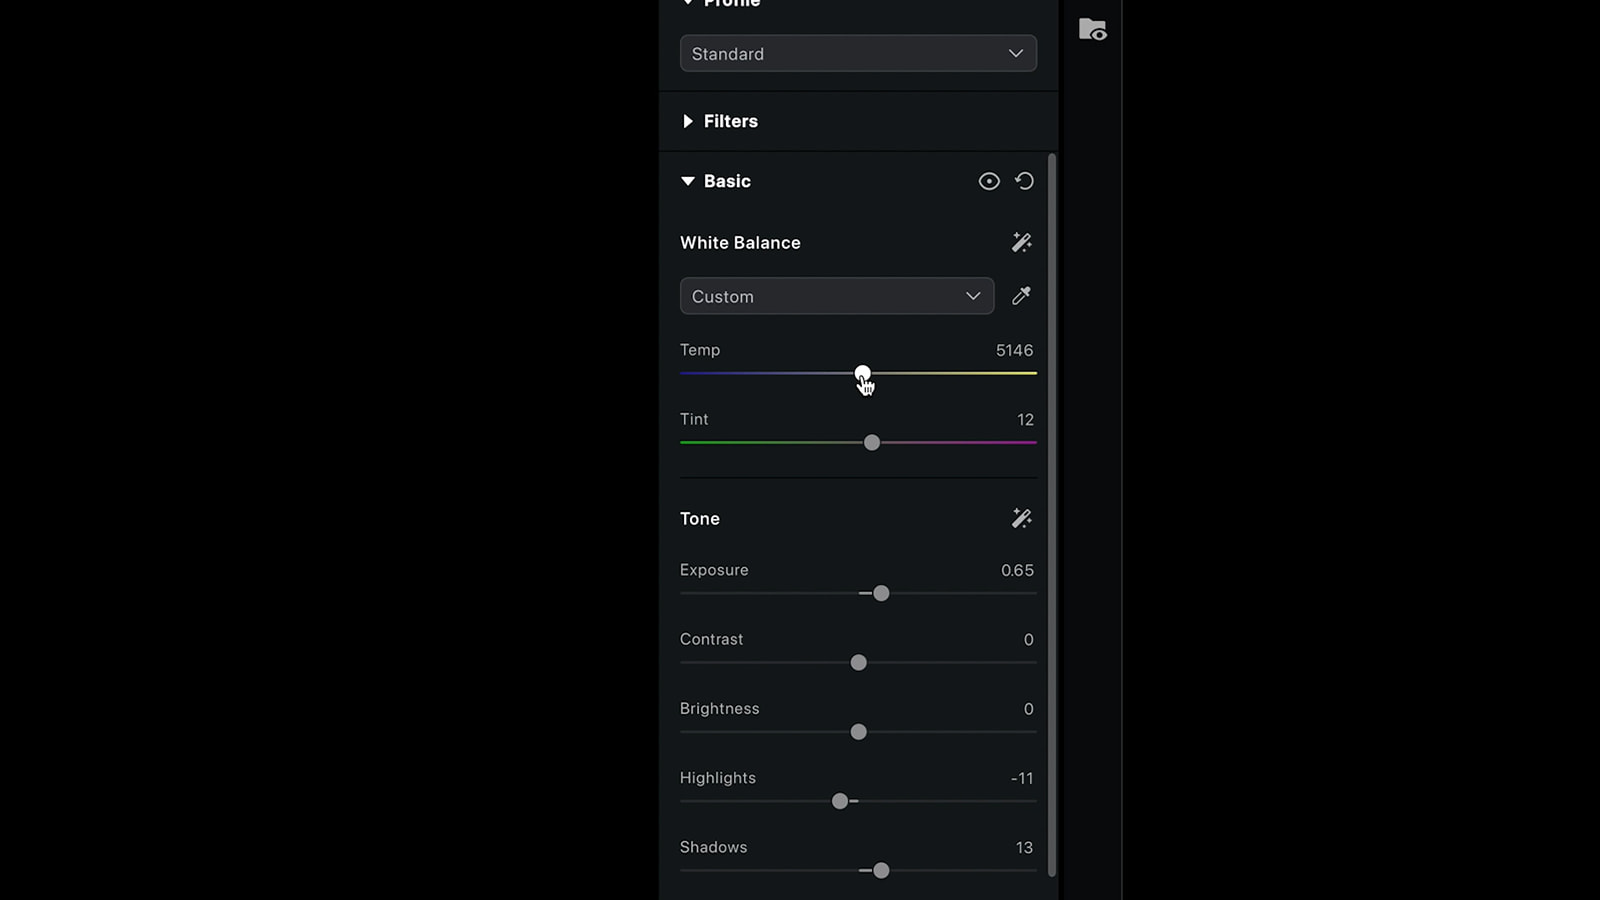
Then I push the saturation a little higher than necessary (just for room to play) and move into curves to deepen the shadows and add dimension.
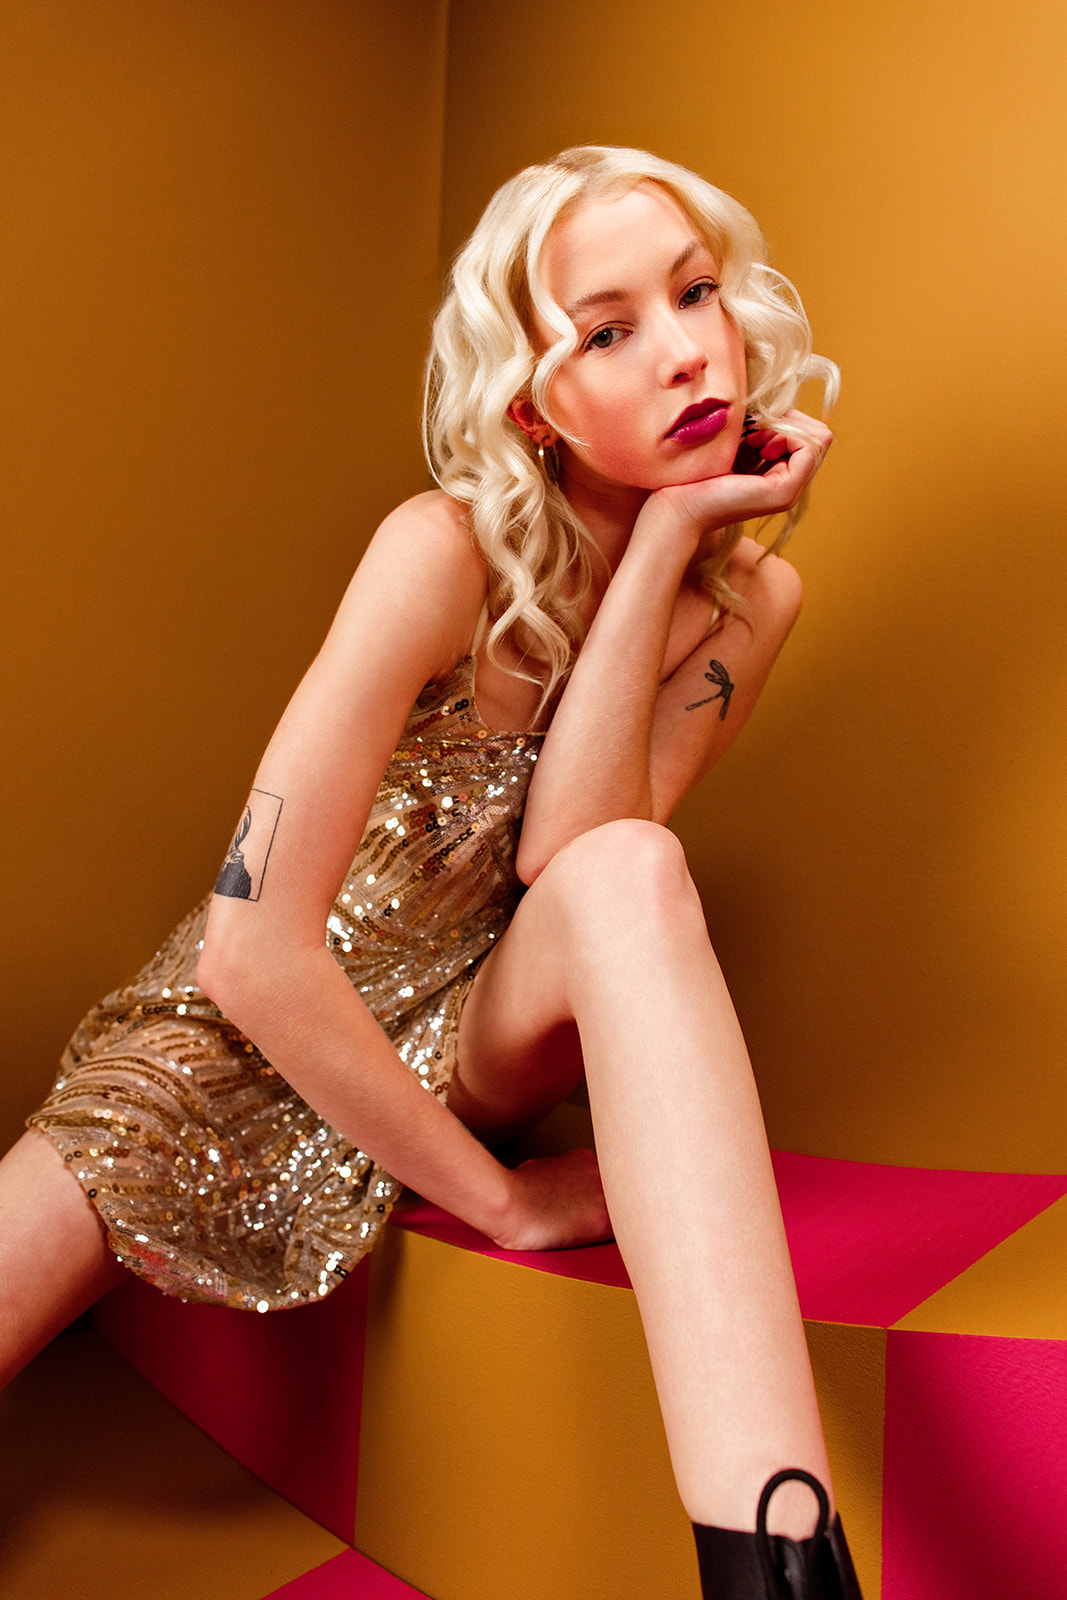
From there, I jump into the specific color channels. For this shoot, the oranges were a bit heavy, so I pulled those down. The purple tones and reds in the set were gorgeous, so I boosted them.
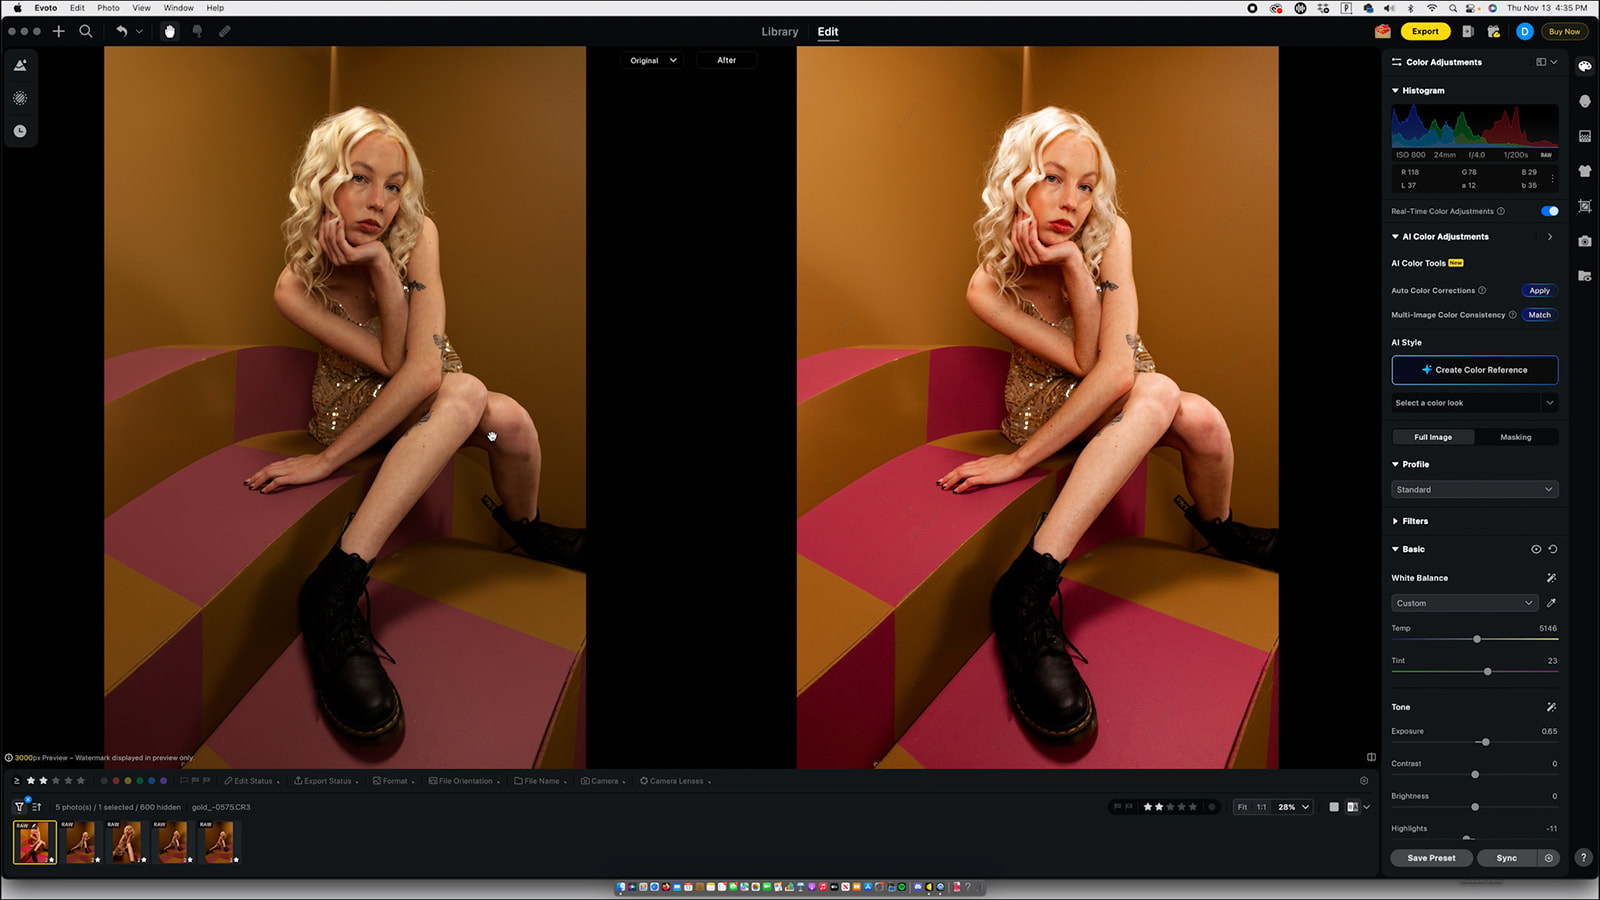
Masking in Evoto
Masking is one of the reasons we fell in love with Evoto.
It’s fast, accurate, and incredibly detailed. You can select the entire person with one click, and it gets it right every time.
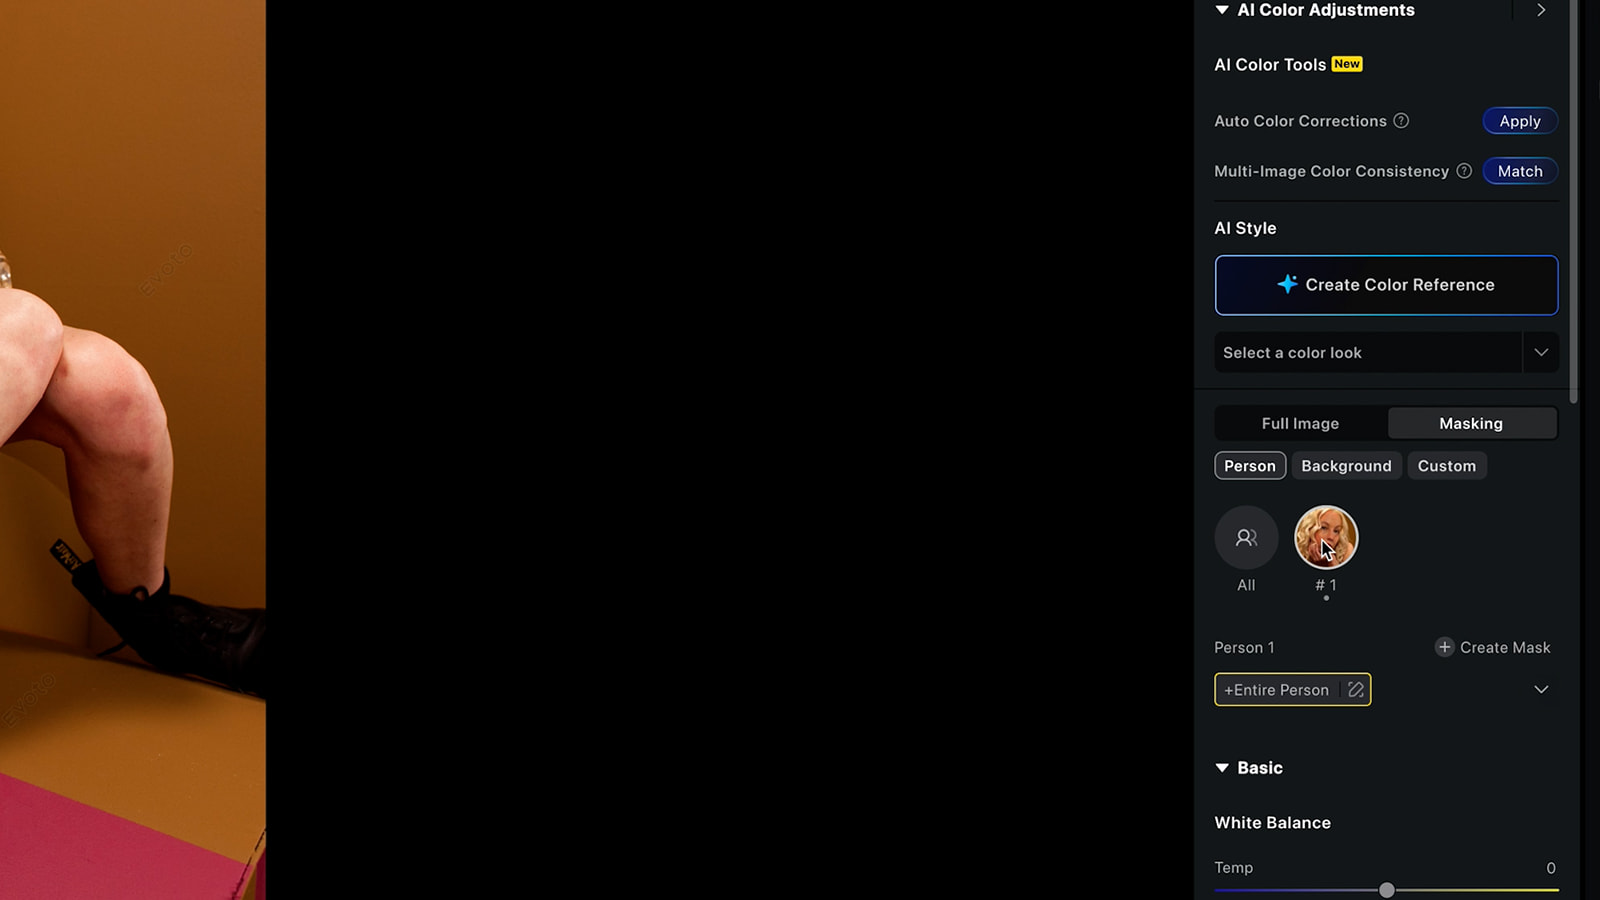
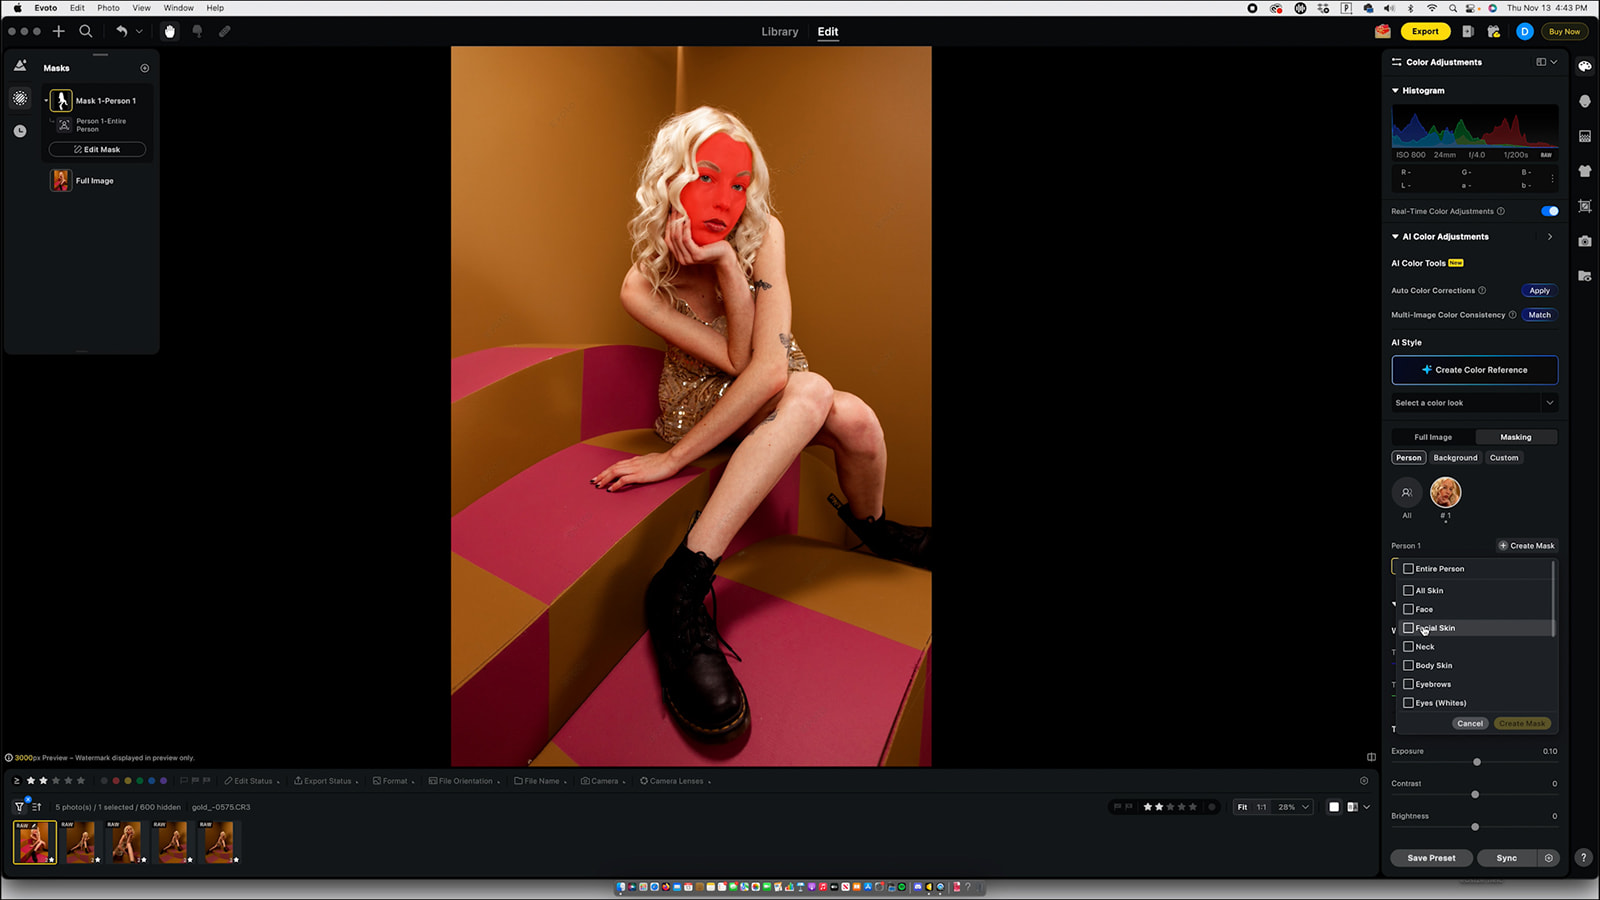
Once I selected the model, I refined her skin tone, pulled down highlights, and lifted certain shadows to help her separate from the background. I reduced the orange tones in her skin while keeping the warm tones in the set intact.
Then I created more specific masks:
- A mask just for her lips to shift them to a deeper purple-pink
- A mask for the background to amp up saturation and add some magenta
- Tiny micro-adjustments that layer together and make the final image feel intentional
And yes… the best part is still that all these masks can be synced across the entire gallery. That’s what makes this software such an editing game changer.
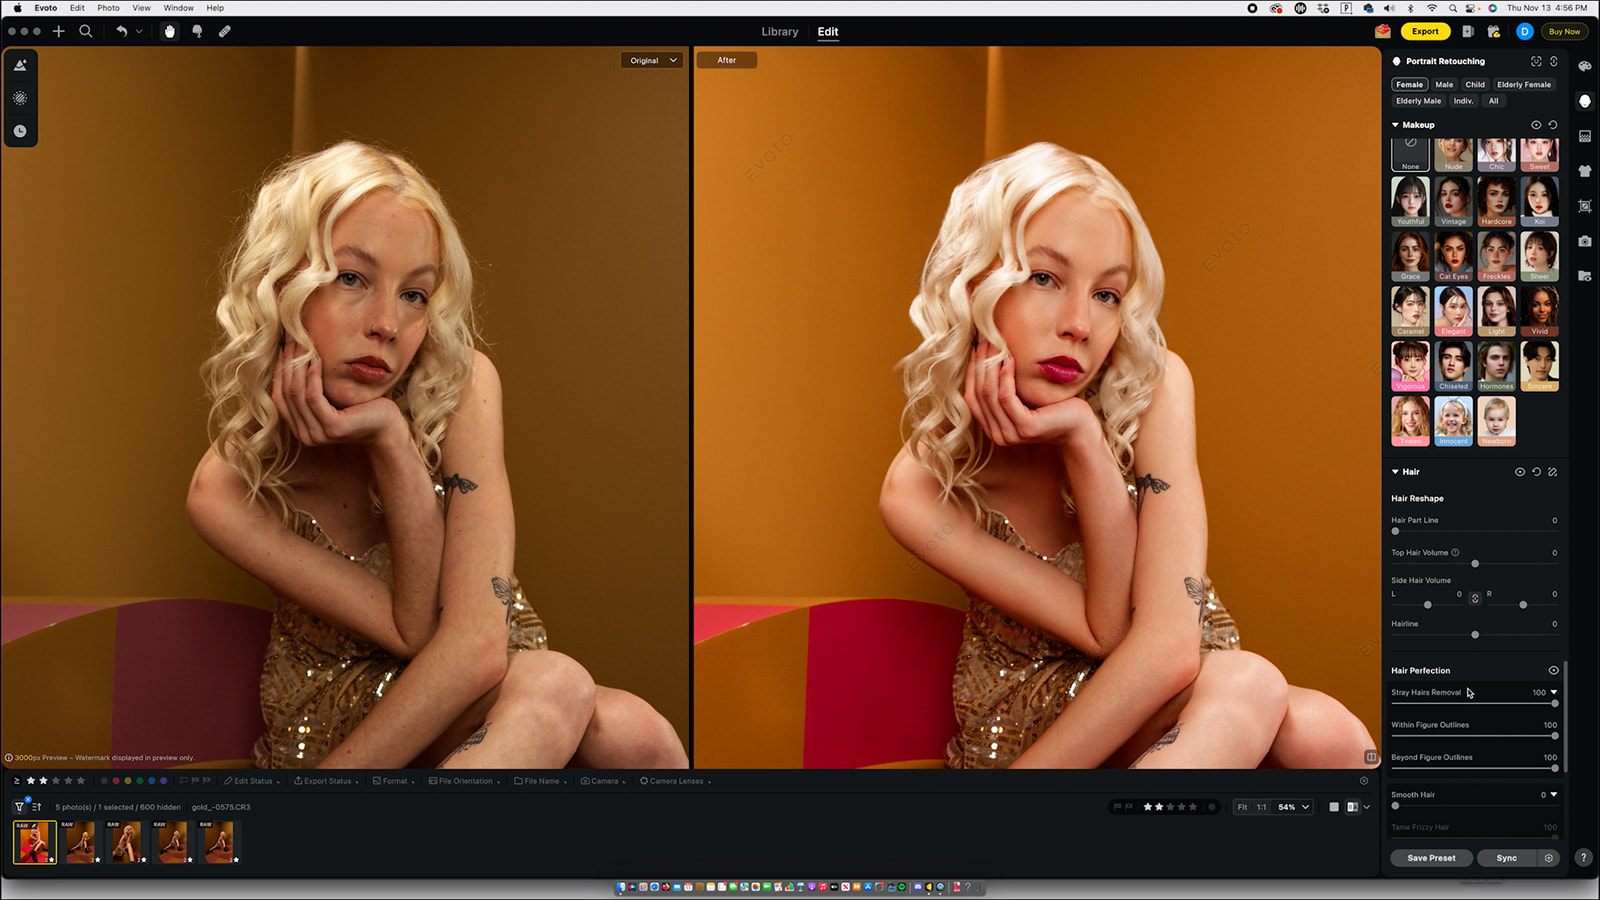
Retouching (David’s Favorite Part)
Once color is exactly where I want it, David jumps in for retouching. Evoto makes this part so much faster than anything else we’ve used.
He starts with the face: shine removal, dark circles, eye bags, lip lines, forehead lines. Everything is easy to apply and easy to dial back. We always keep our retouching natural, so being able to “overdo it” and then pull back to the perfect level works perfectly for our style.
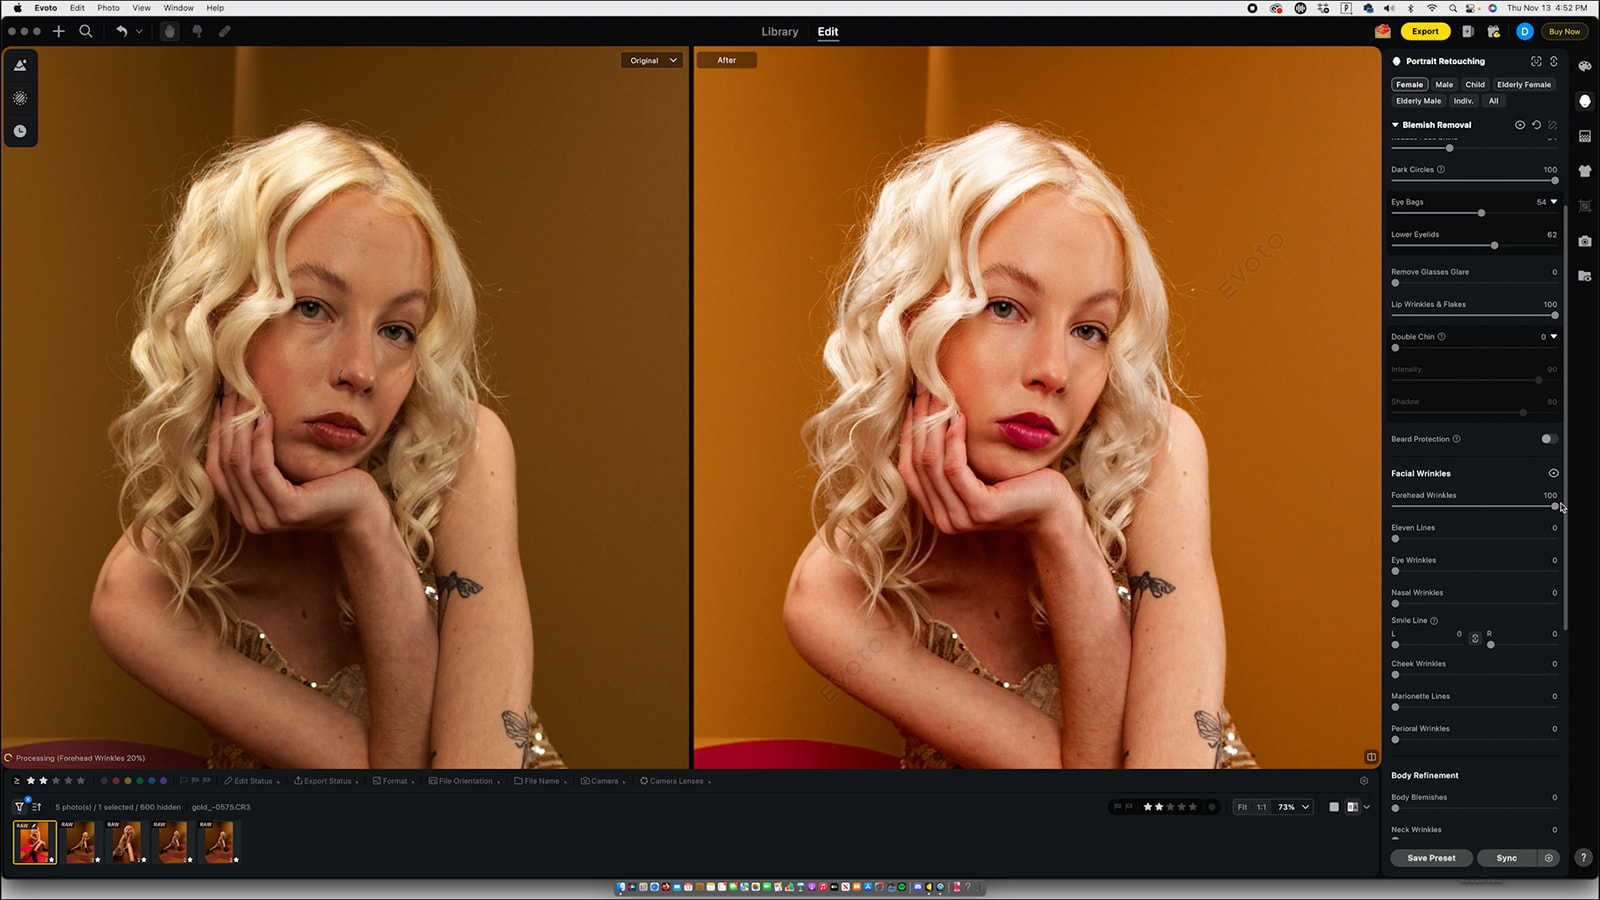
Then he moves to the body tools, smoothing texture, taming flyaways, contouring lightly, and even using the AI “unify complexion” tool to gently even out tone.
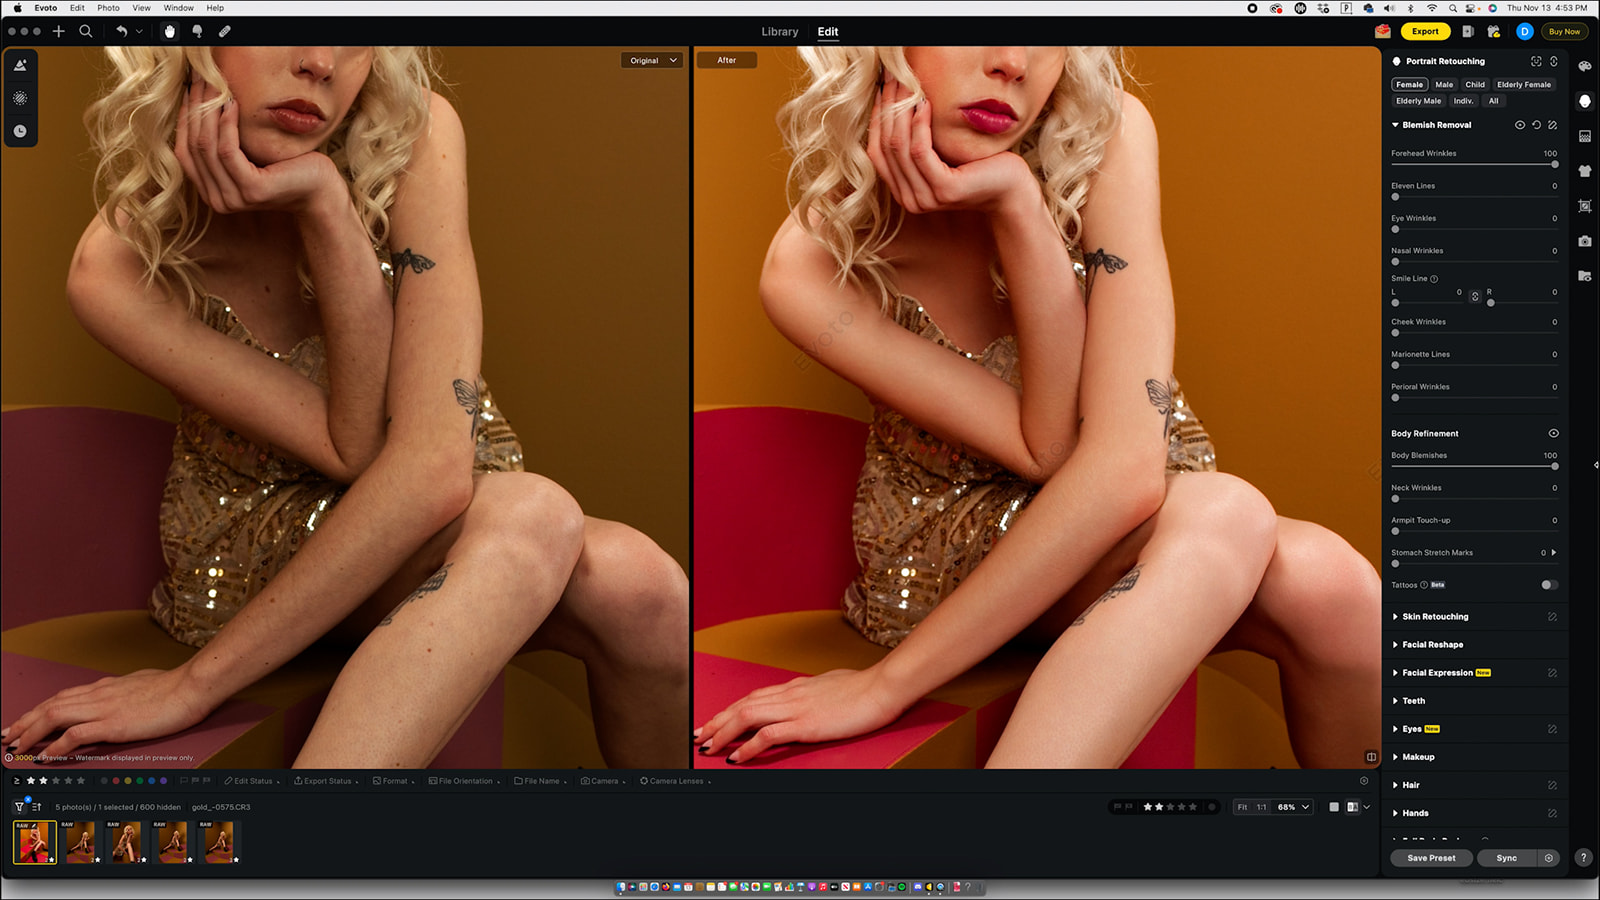
Evoto also has a spot-heal tool that’s great for quick fixes.
And again… once you retouch one image, you can sync the entire retouching workflow across every photo in the set. That alone is worth the switch. And has saved us HOURS of retouching time.
Syncing the Entire Gallery
This is the part that sold us on Evoto the first time we tried it.
Every color adjustment, every mask, every retouch can all be synced across the full gallery with a single click. No redoing anything. No recreating masks. No starting over image by image.
Our editing time has been cut down by an insane amount because of this one feature.

Final Thoughts
Evoto has become a huge part of our editing workflow. And not just for this shoot, but for pretty much everything we’ve done in the last few months. The speed, the control, the color tools, the masking, the retouching… it feels like everything we wish we had years ago.
If you’re a wedding photographer, portrait photographer, or just someone who wants to spend less time editing and more time shooting (or, honestly, more time living your life), Evoto will make a huge difference.
We truly wish we had started using it sooner.
If you want to try it out, Evoto gives you 15 free credits when you sign up. And you can use our Evoto discount promo code JADA15 to save 15% off on annual subscription plans & 20% off on 200 credits pay-as-you-go on subscriptions or credits.
Definitely check out the full YouTube video where we walk through everything and explain our full workflow in a lot more detail!
Category: Article

SUBSCRIBE TO OUR BLOG!
Post Tags
Evoto Evoto AI Evoto Tutorial Evoto Workflow Evoto Editing Evoto Review Evoto Color Grading Evoto Masking Evoto Retouching How To Edit With Evoto Evoto Photo Editing Fast Photo Editing Evoto Editing Tutorial AI Photo Editing Software Best Photo Editing Workflow Batch Editing Workflow Evoto For Photographers Creative Editing Workflow Photography Software Review