What happens when you try to build a really functioning slide photo set inside a cramped attic?
This was easily one of the most unpredictable builds we have taken on, and it pushed both our set design and lighting in ways we did not fully expect.
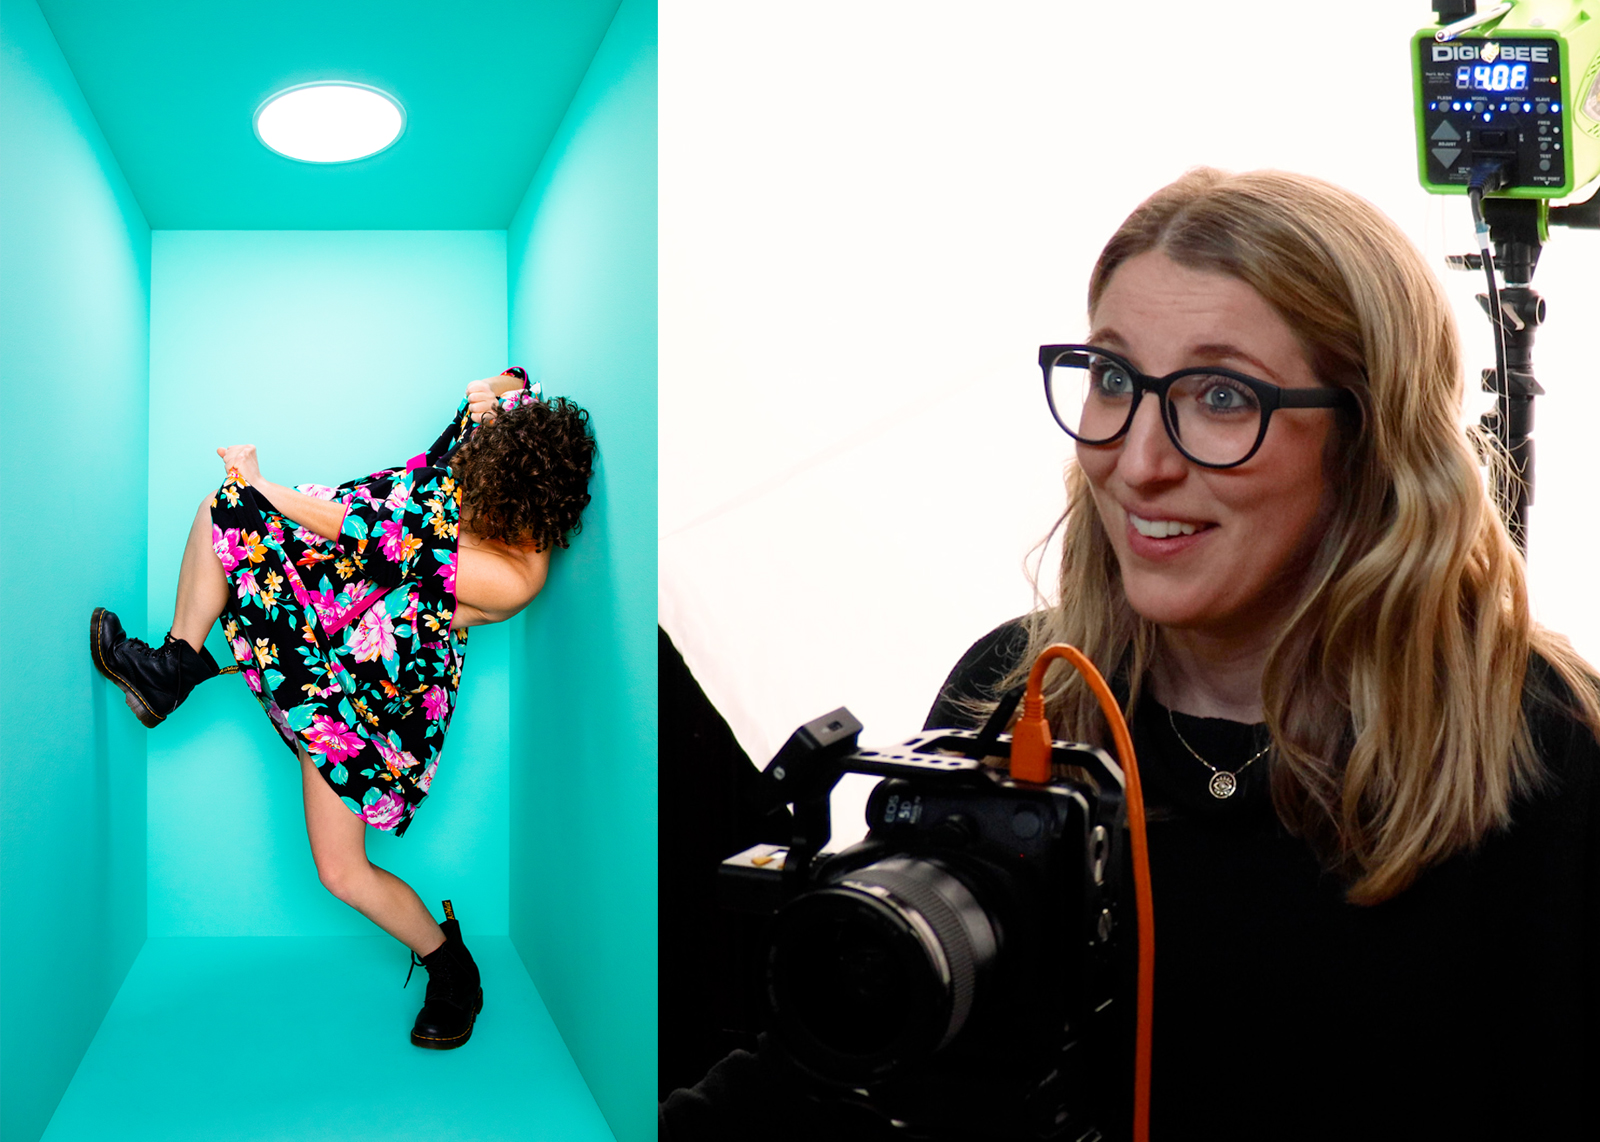
If you have been following our work, you know that David is always pushing the envelope when it comes to his set design, and over the years he has built wild sets where our models climb walls, hang from ladders, and flip upside down.
But this one pushed things further than anything we had done before, and it happened in one of the most unconventional places we have ever worked. We built a slide inside our attic. Not something that looks like a slide, but a real, fully functional one that was steep enough to make you hesitate before going down it.
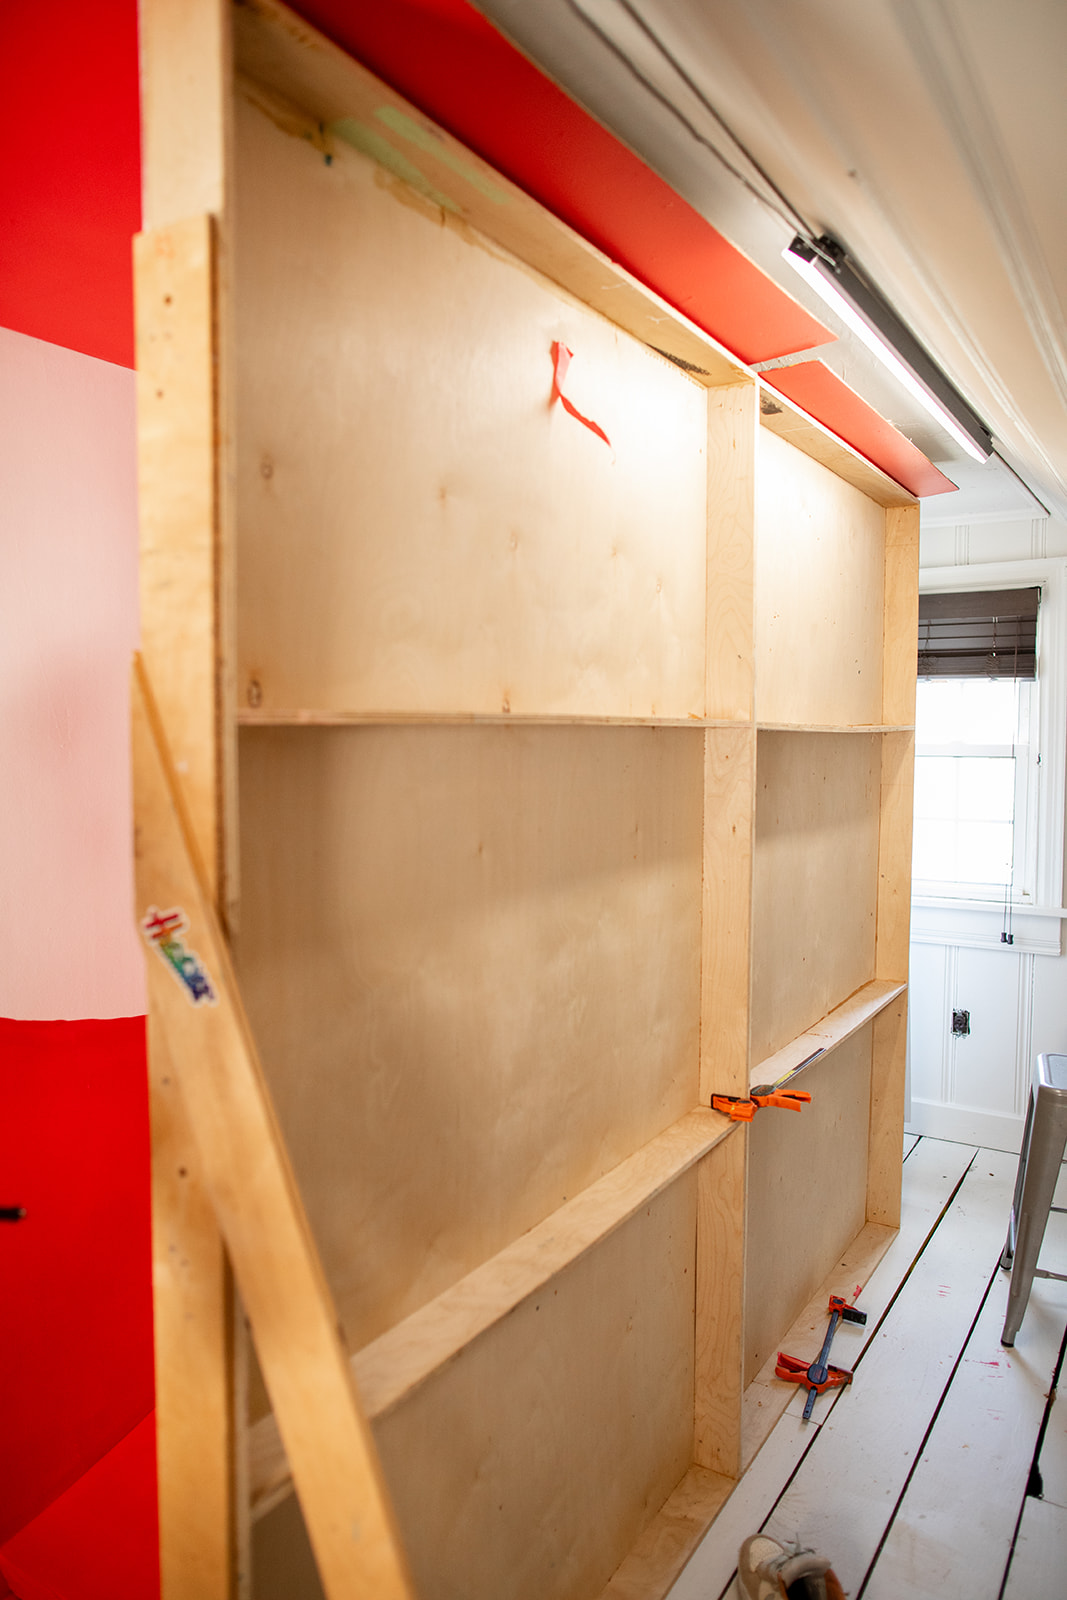
We had these bendy plywood set pieces that we built last fall and used across a few different shoots, and they had been sitting around waiting to be put to use.
David had the idea to bolt them together and raise them up into a structure that you could actually climb and slide down, which immediately felt ambitious in a space as tight and awkward as our attic. I was skeptical at first, mostly because he wanted the slide to be 48 inches tall, which is a pretty steep incline when you are asking someone not only to use it but to pose on it and hold controlled positions. But he started grabbing flats and piecing everything together to test the idea, and to my surprise, it actually worked.
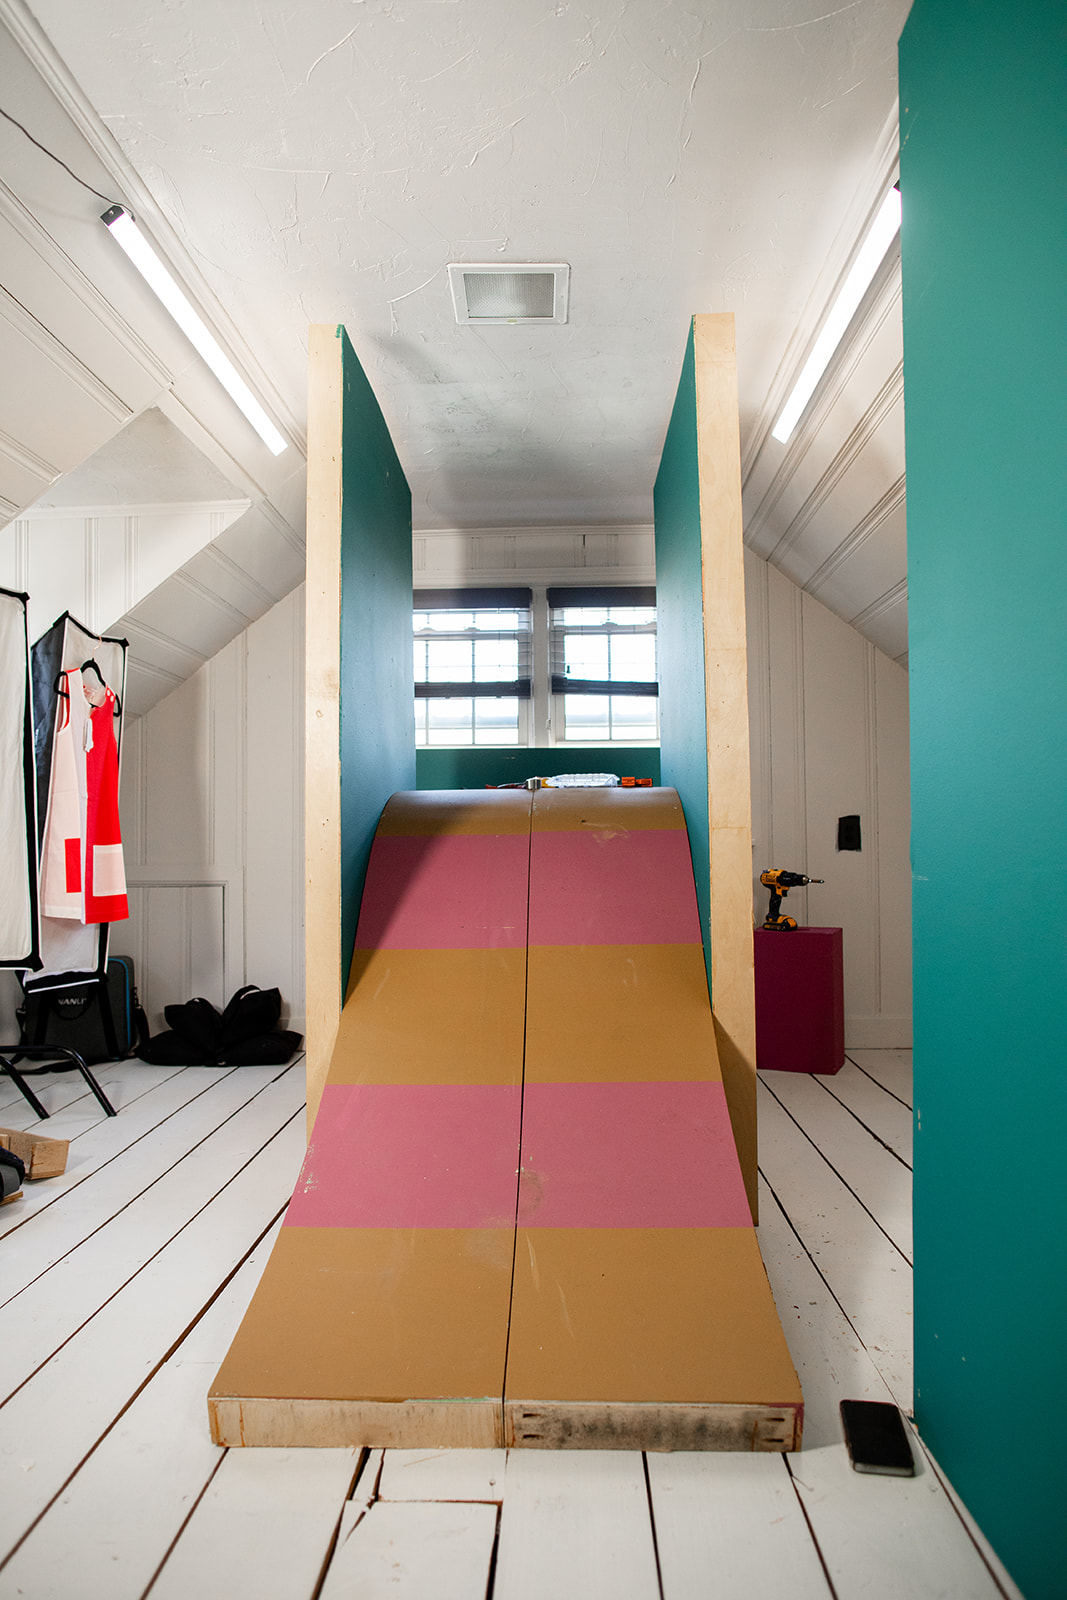
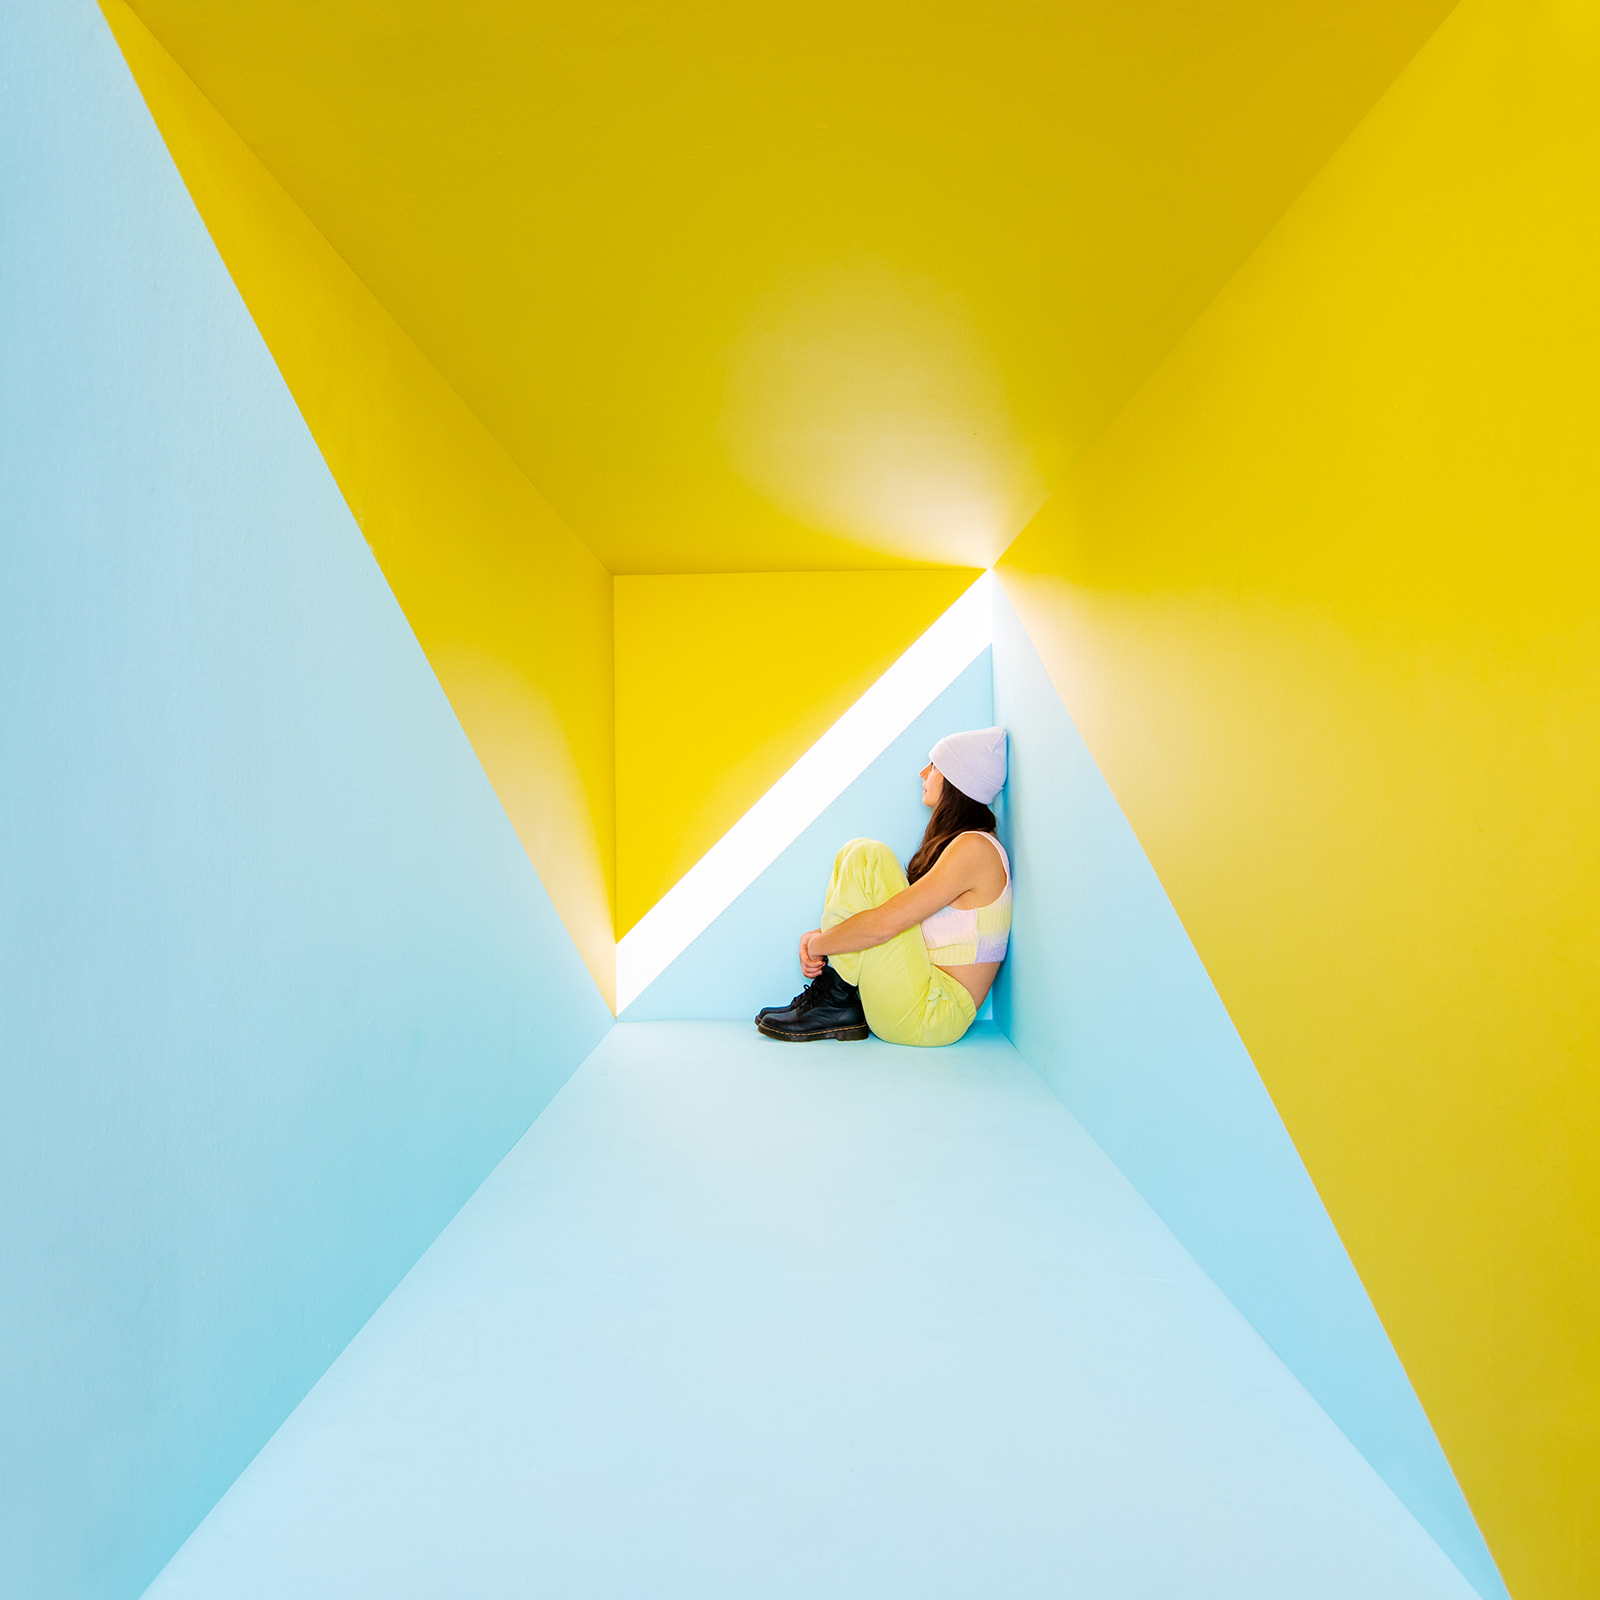
The build itself ended up being simpler than expected because we already had all of the pieces. We didn’t need to build anything new, which forced us to think more creatively about how to reuse what we had rather than defaulting to building from scratch. Most of the work shifted into the painting. Slides naturally feel playful and childlike, and most playgrounds lean heavily into primary colors, so we knew we wanted to anchor the set around that idea.
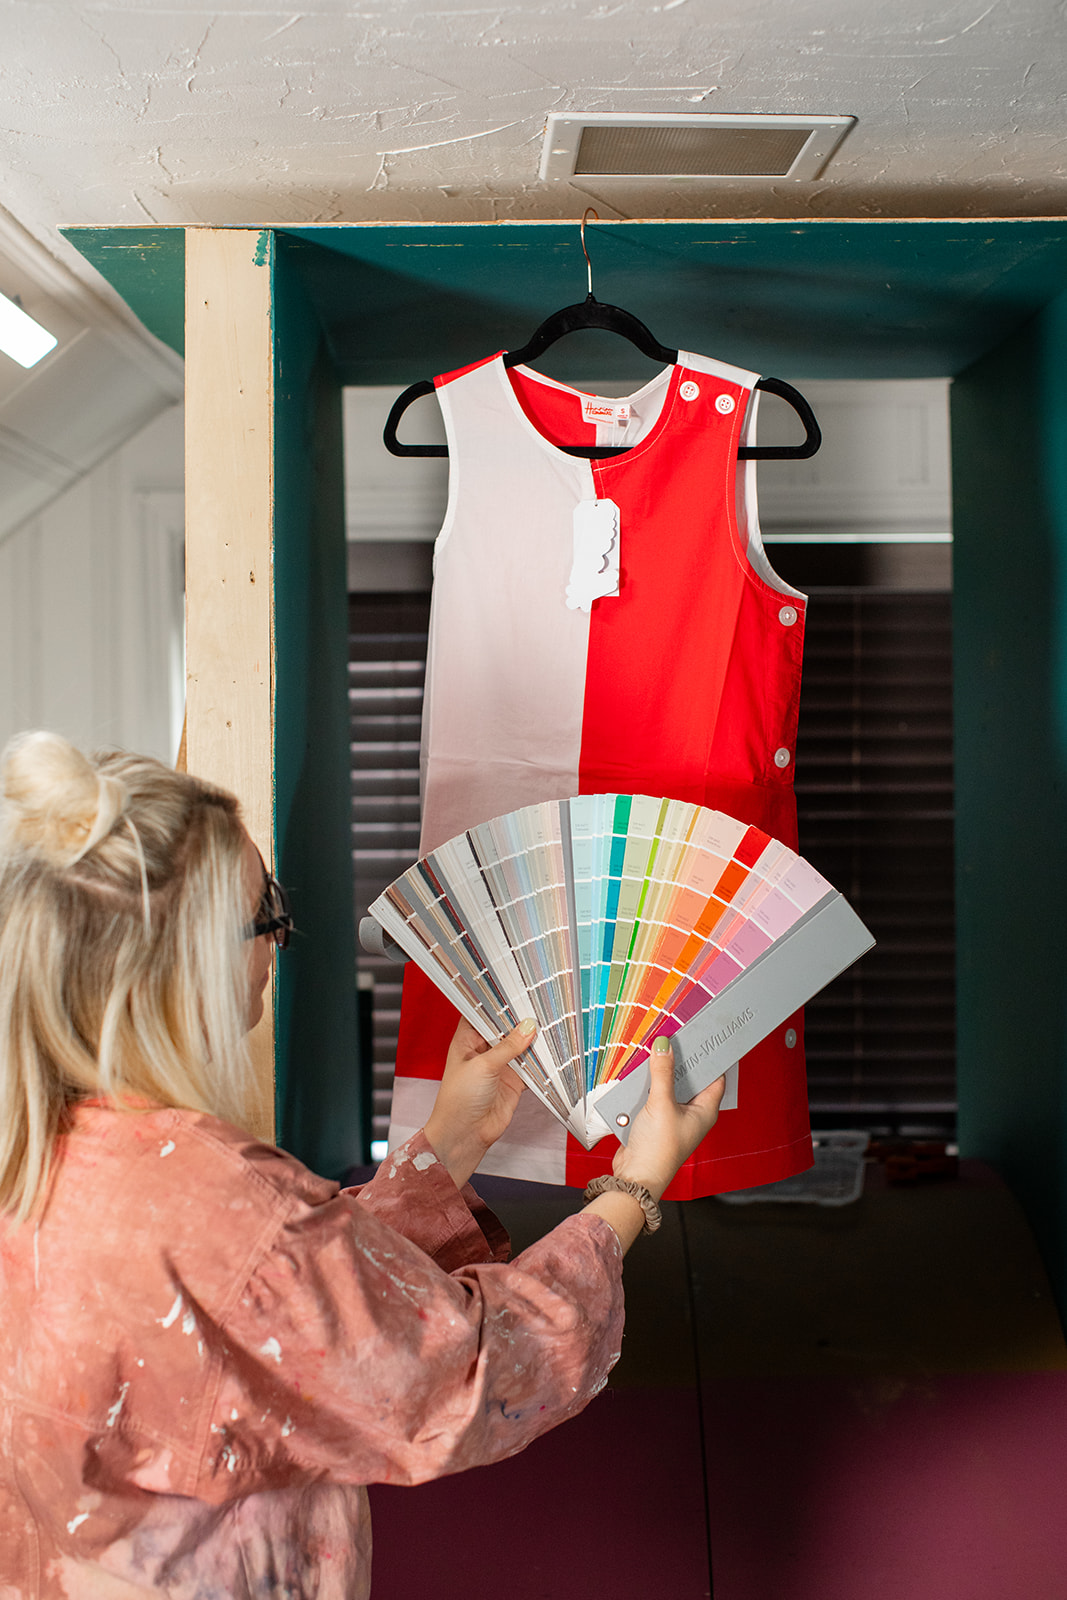
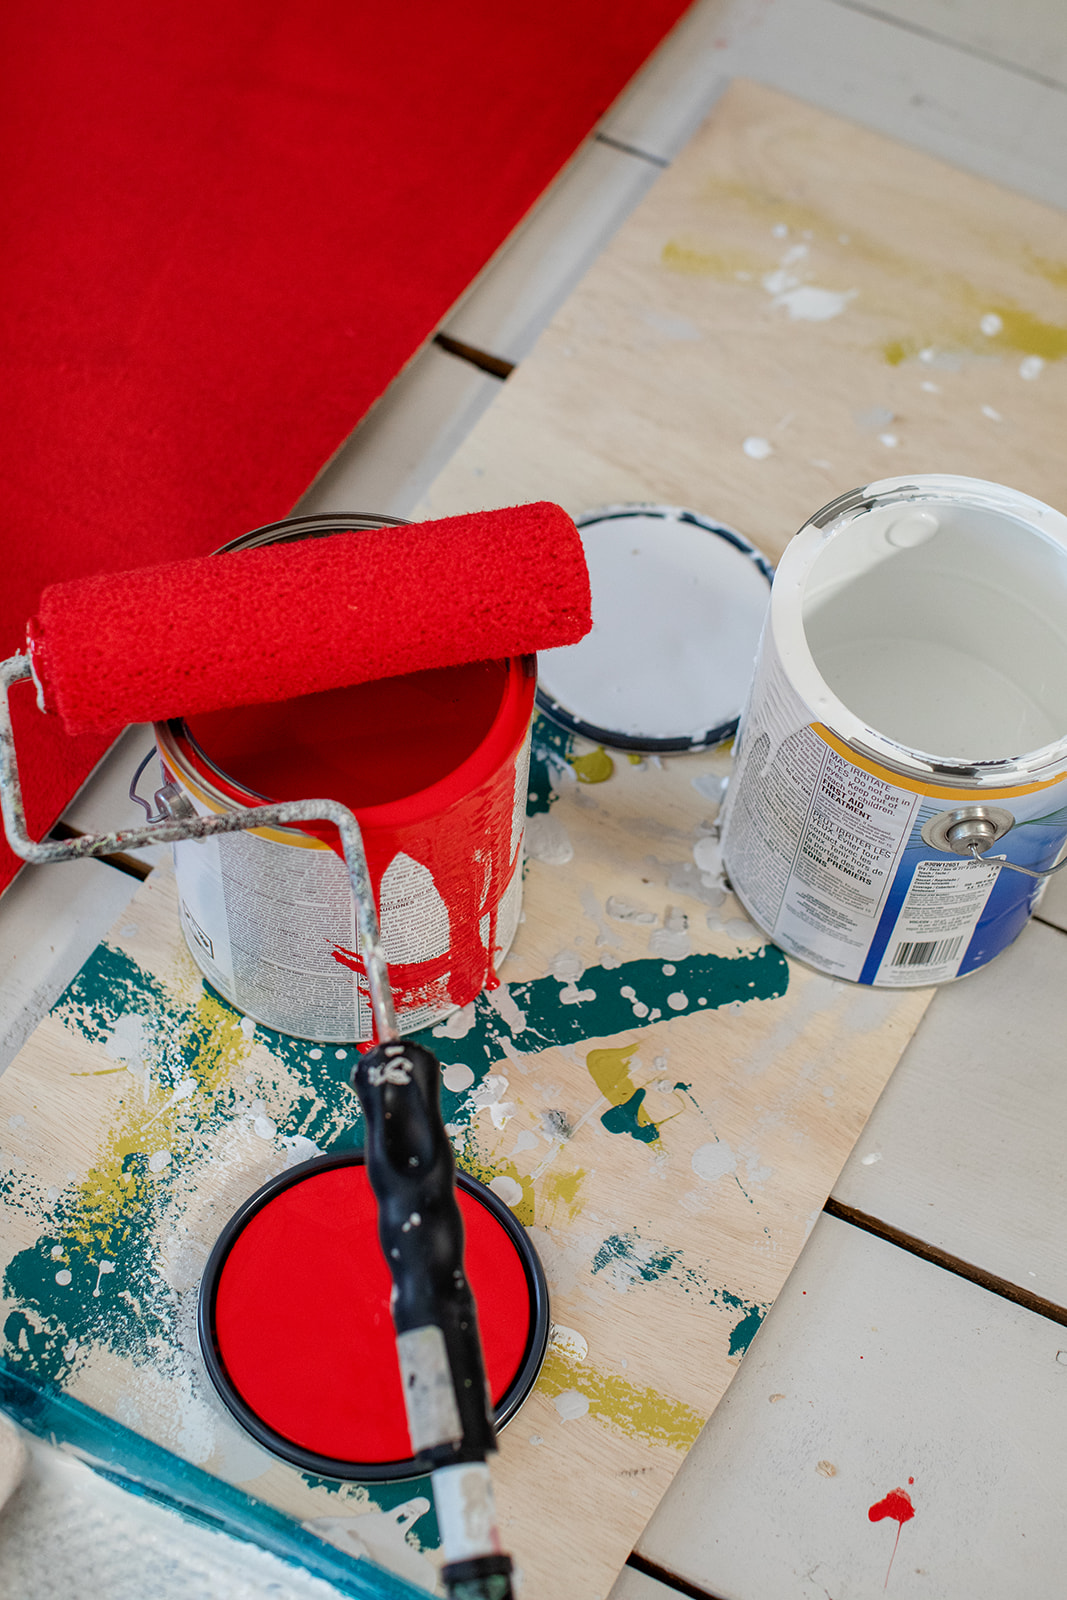
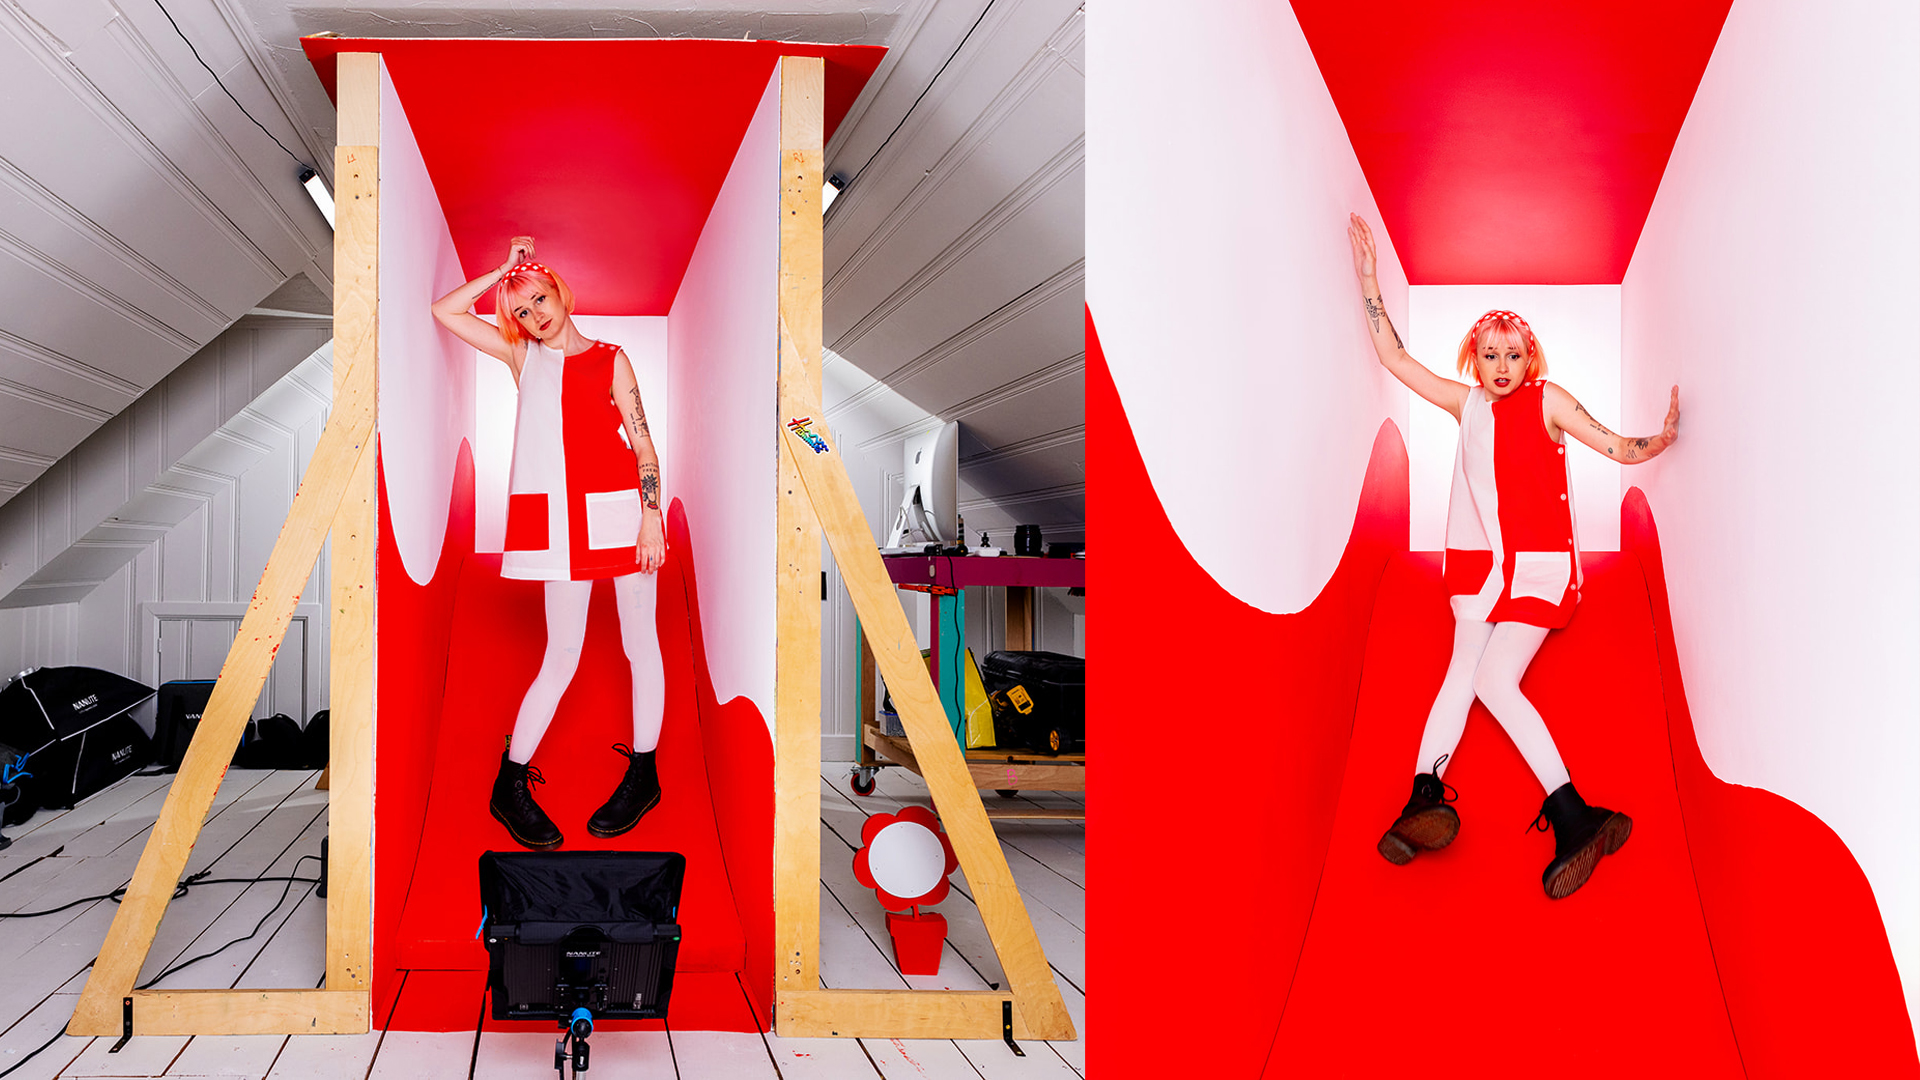
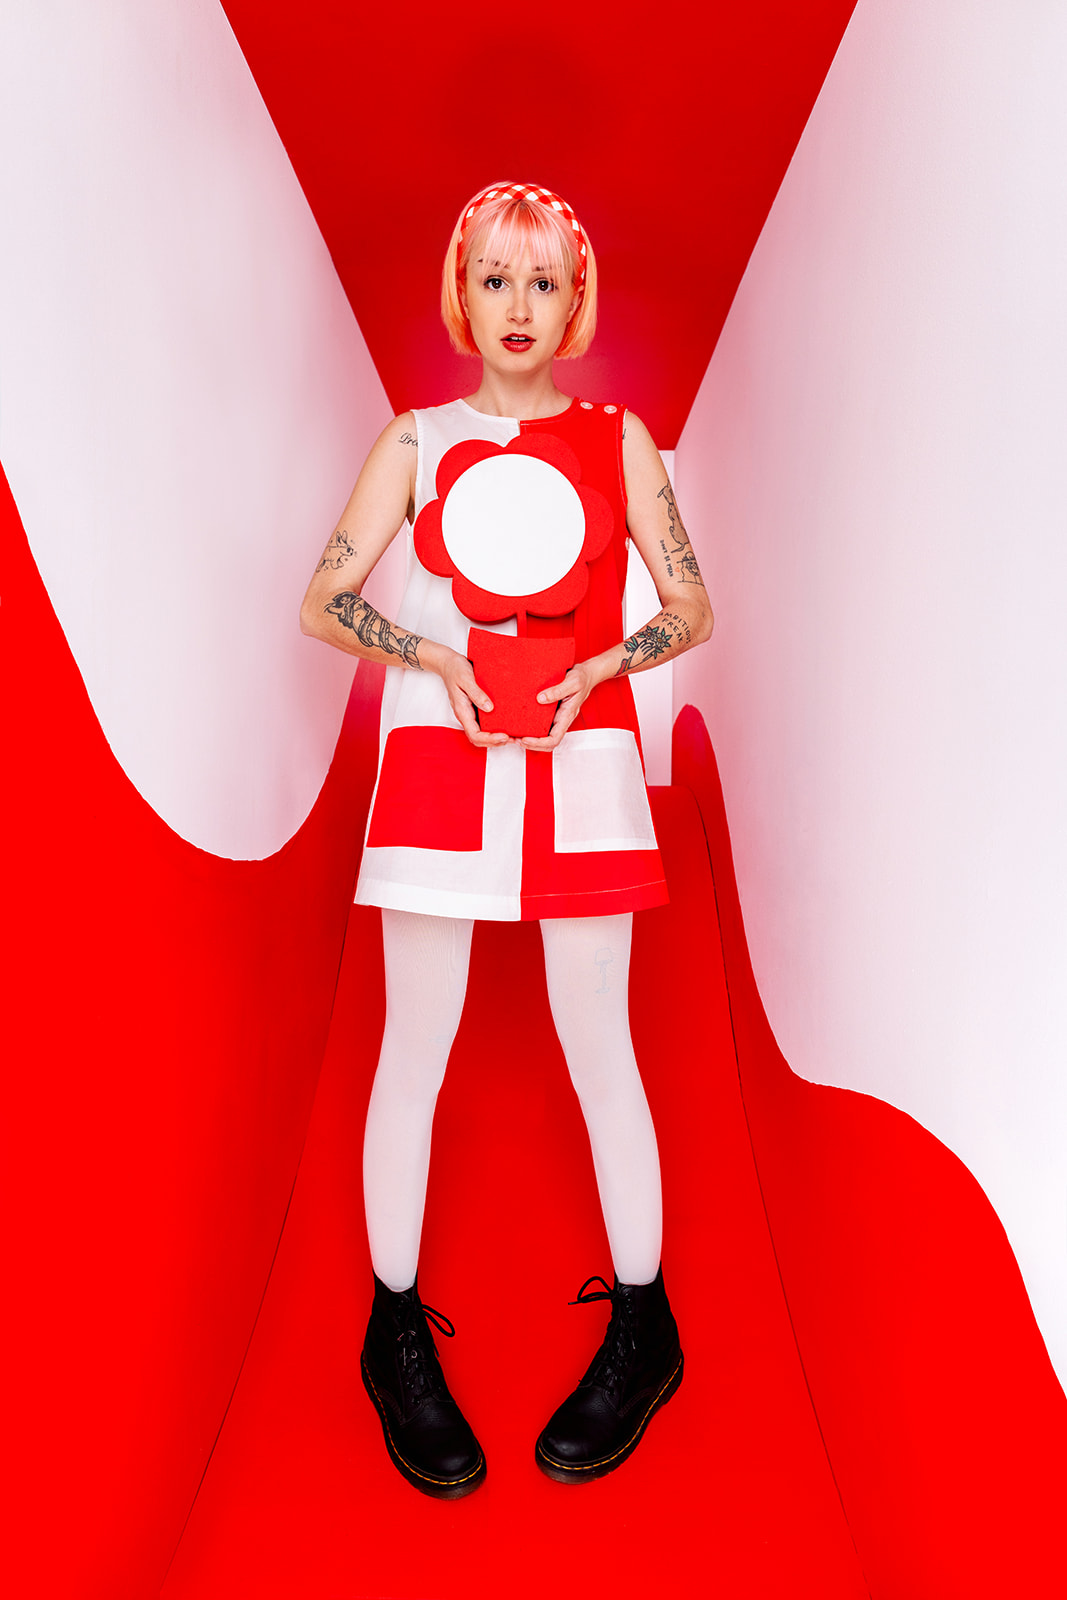
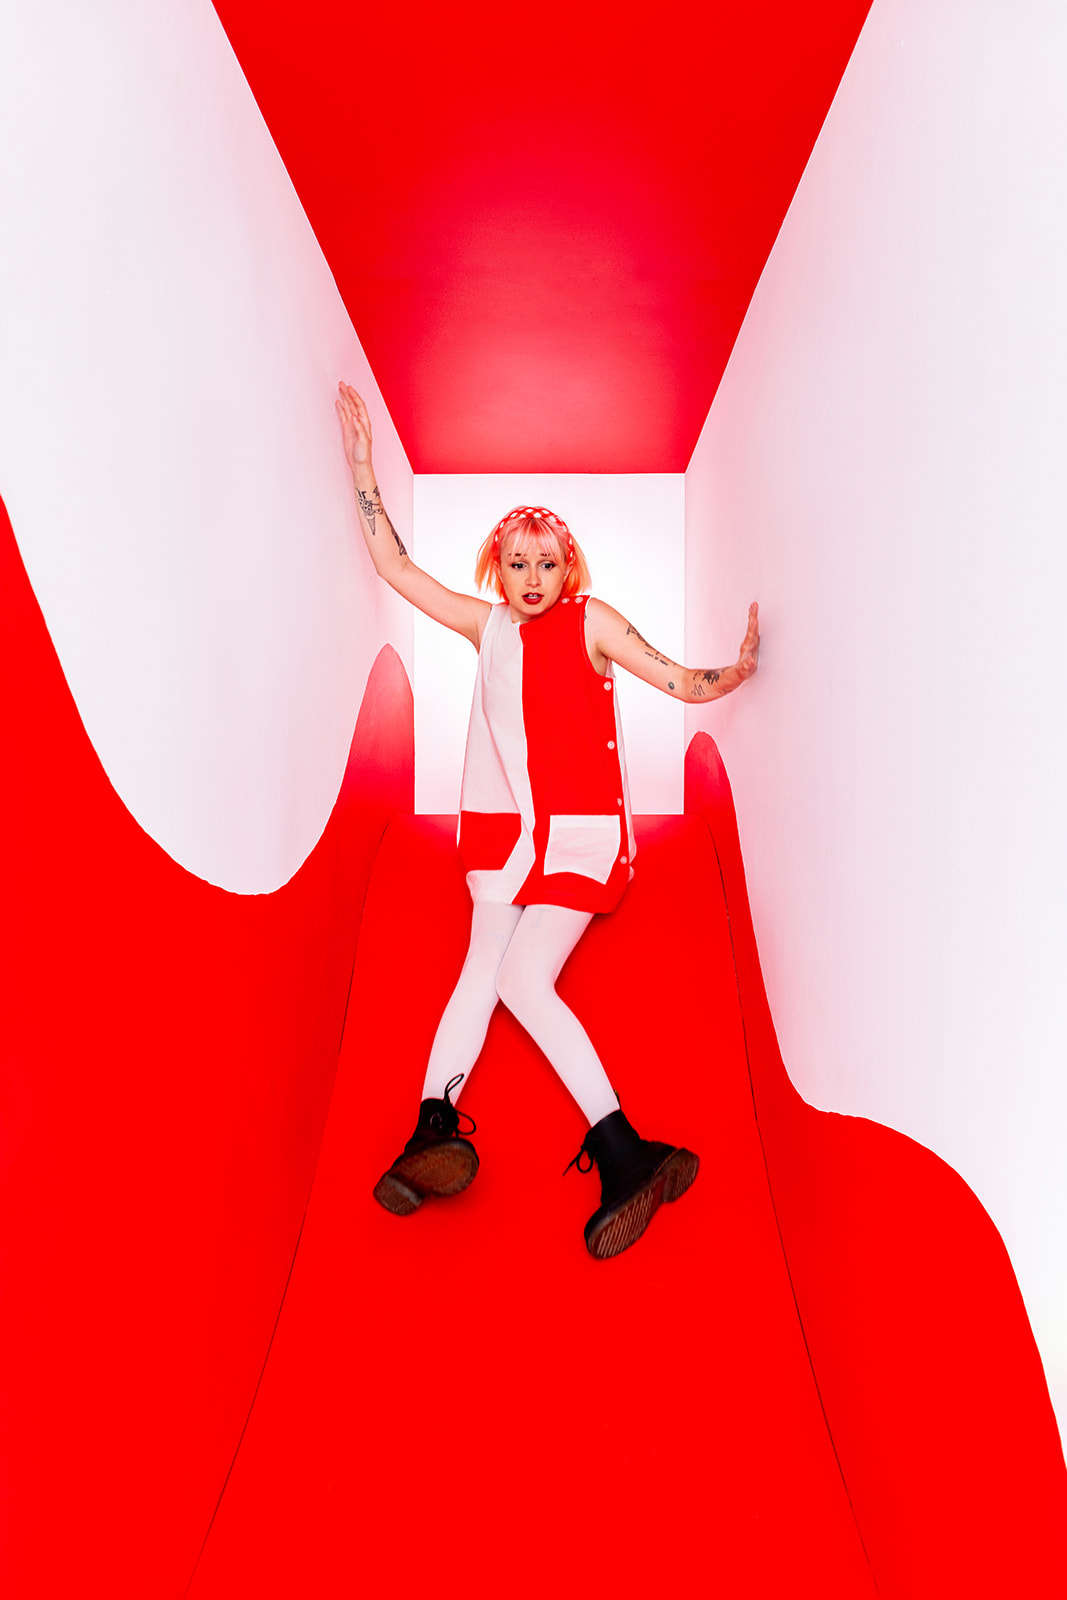
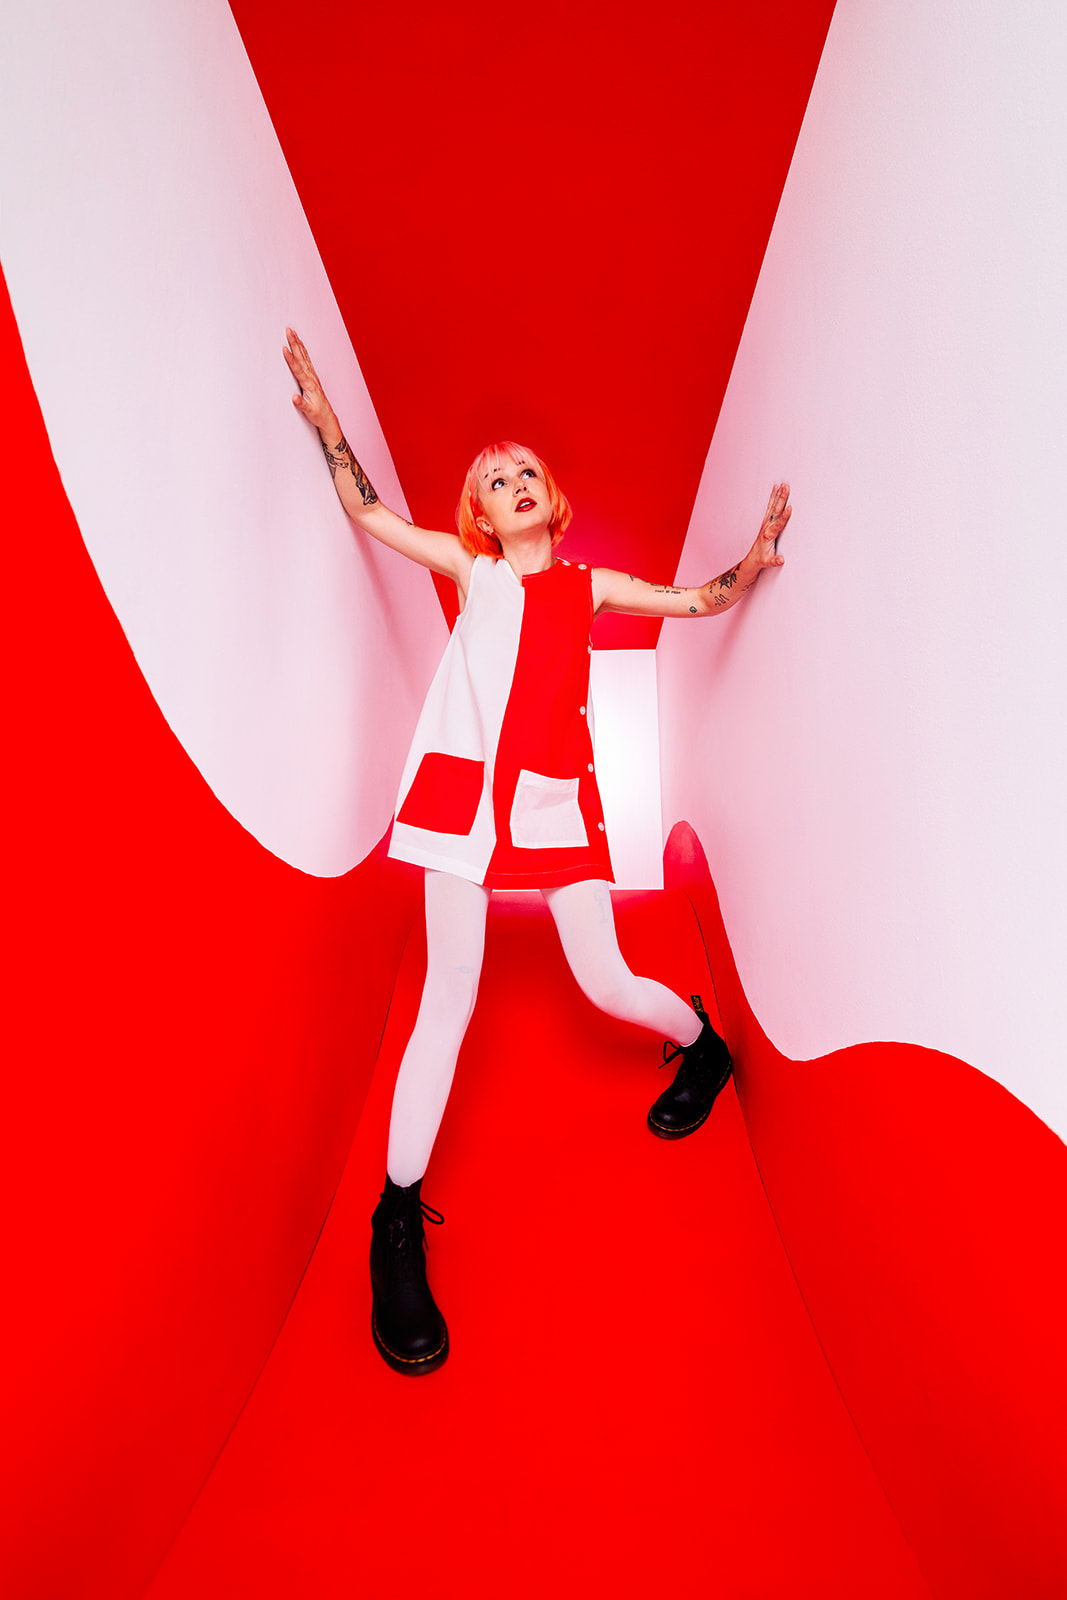
We had this red and white 60s inspired smock dress from Hammies, and once we saw it in the space, it felt like the right move was to design the set around the wardrobe instead of the other way around. So I color matched the paint directly to the dress to get the exact shade of red, which helped everything feel more intentional and cohesive.
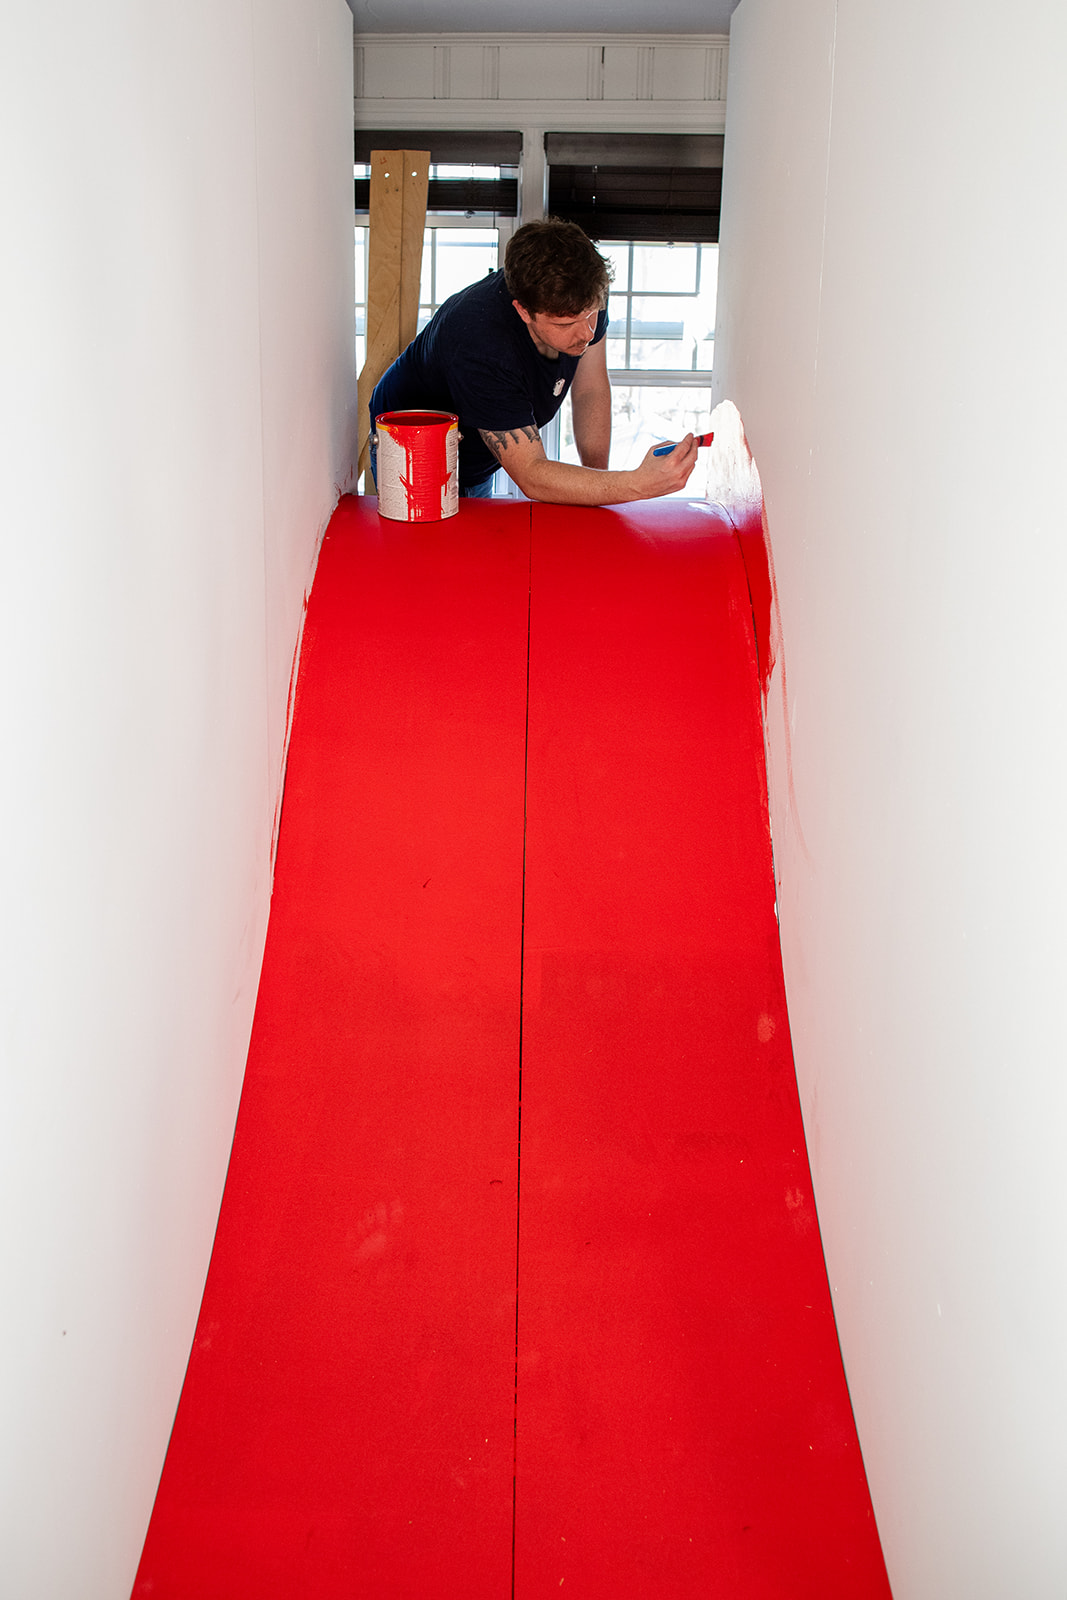
We painted the walls white, which was straightforward, and then painted the slide a bright red. But once everything was blocked in, the balance felt off. There was way too much white. To solve that, we decided to extend the curve of the slide onto the walls using red paint, which would both bring more color into the space and exaggerate the shape of the slide itself. That decision ended up being the most uncertain part of the entire build.
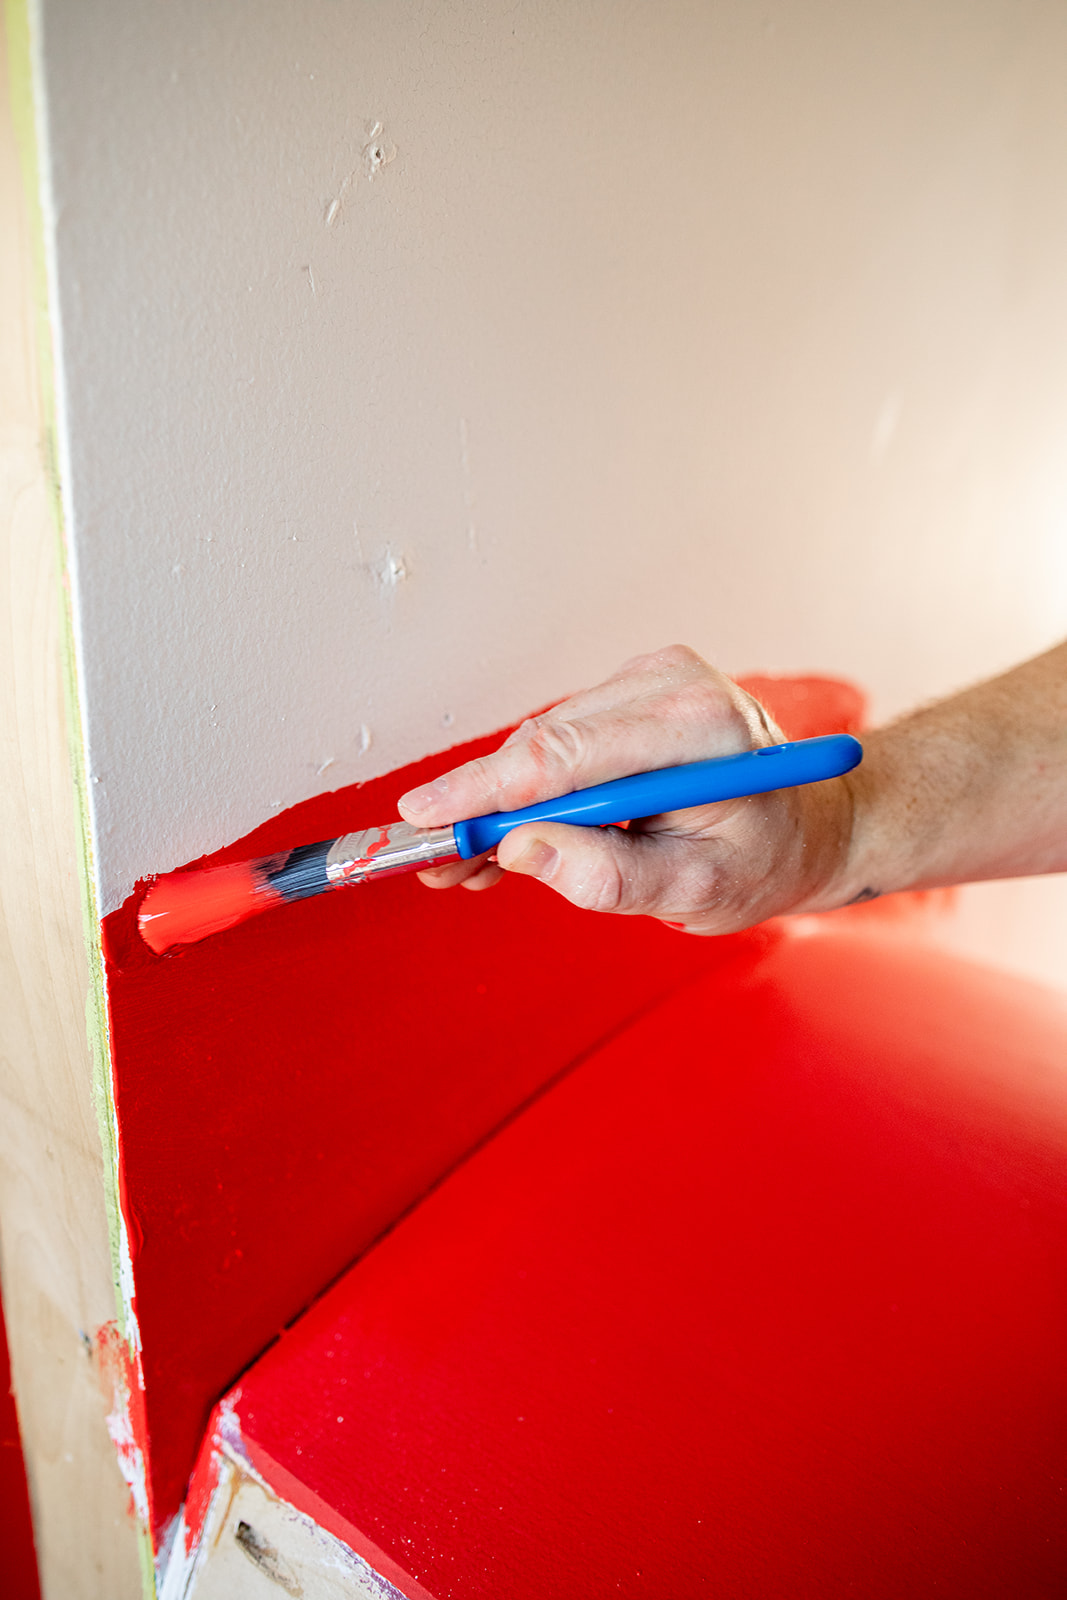
As soon as David started painting that first long curve across the wall, we both felt the doubt set in. He was painting everything freehand, without tape or guides, and the brush he was using did not hold paint well, which made the line feel inconsistent and harder to control. It was one of those moments where you are deep into an idea and suddenly realize there is no clean way to undo it if it goes wrong. But as he kept painting, the imperfections started to work in our favor, giving the set a more human, playful quality that actually supported the concept better than a perfectly clean line would have. And thankfully we also have photoshop.
_websize.jpg)
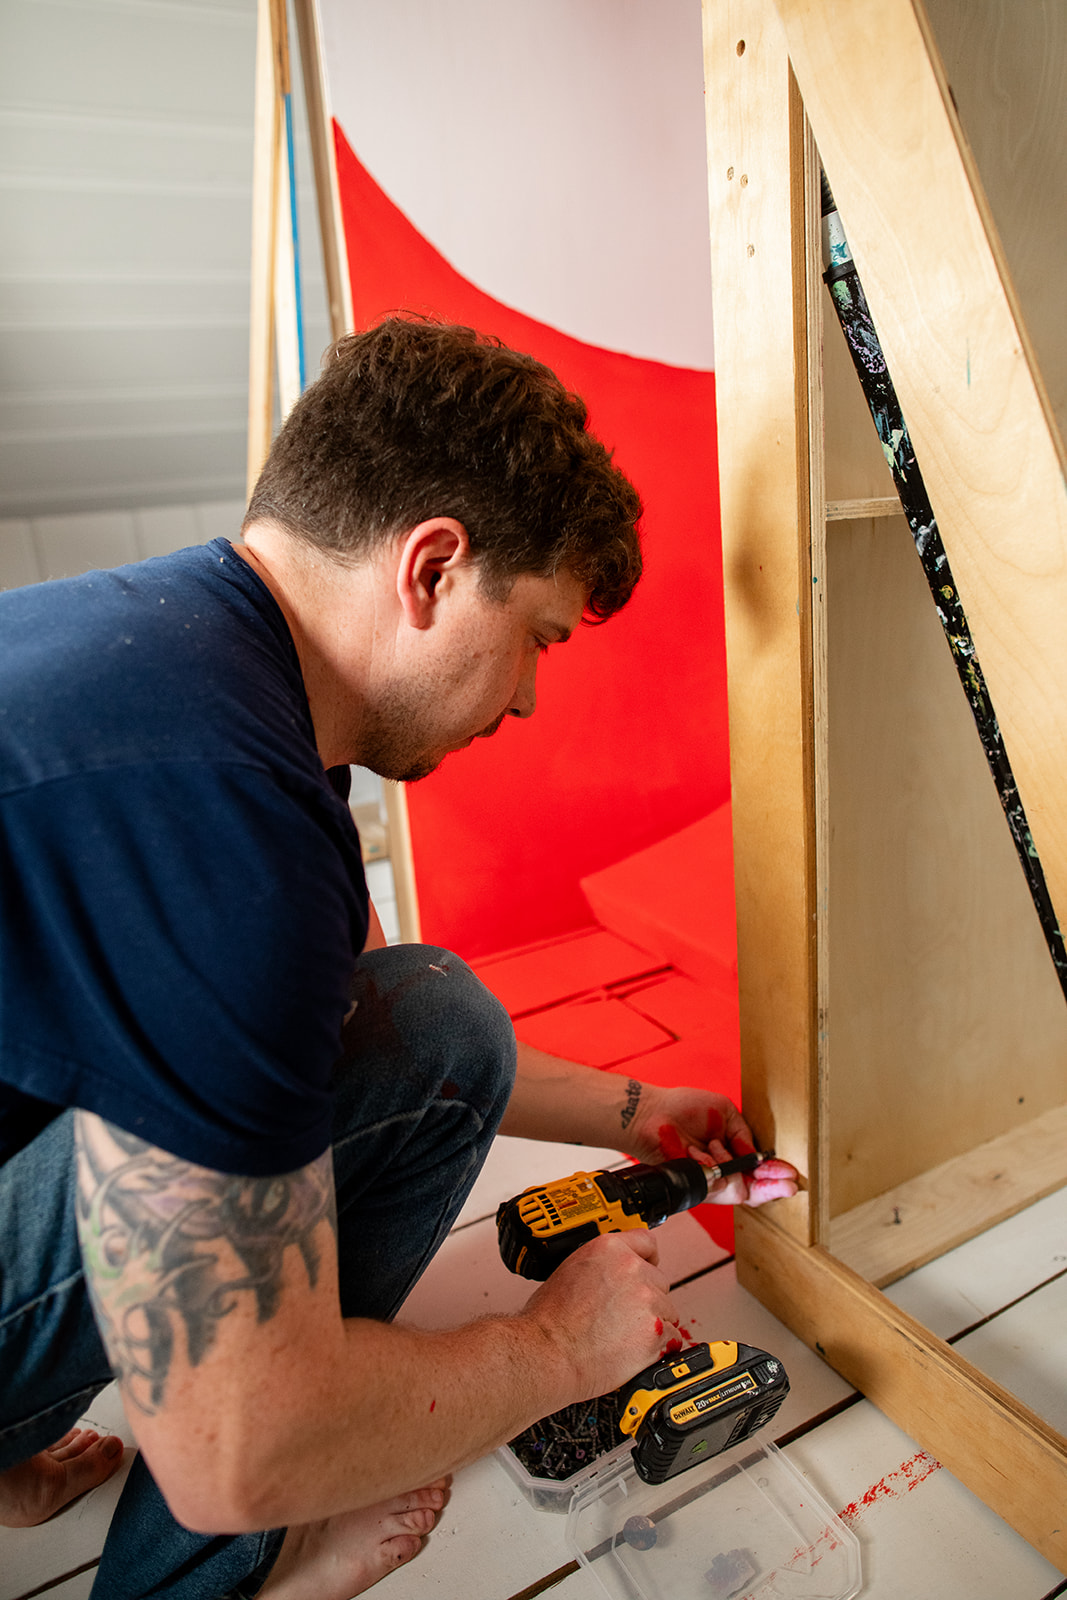
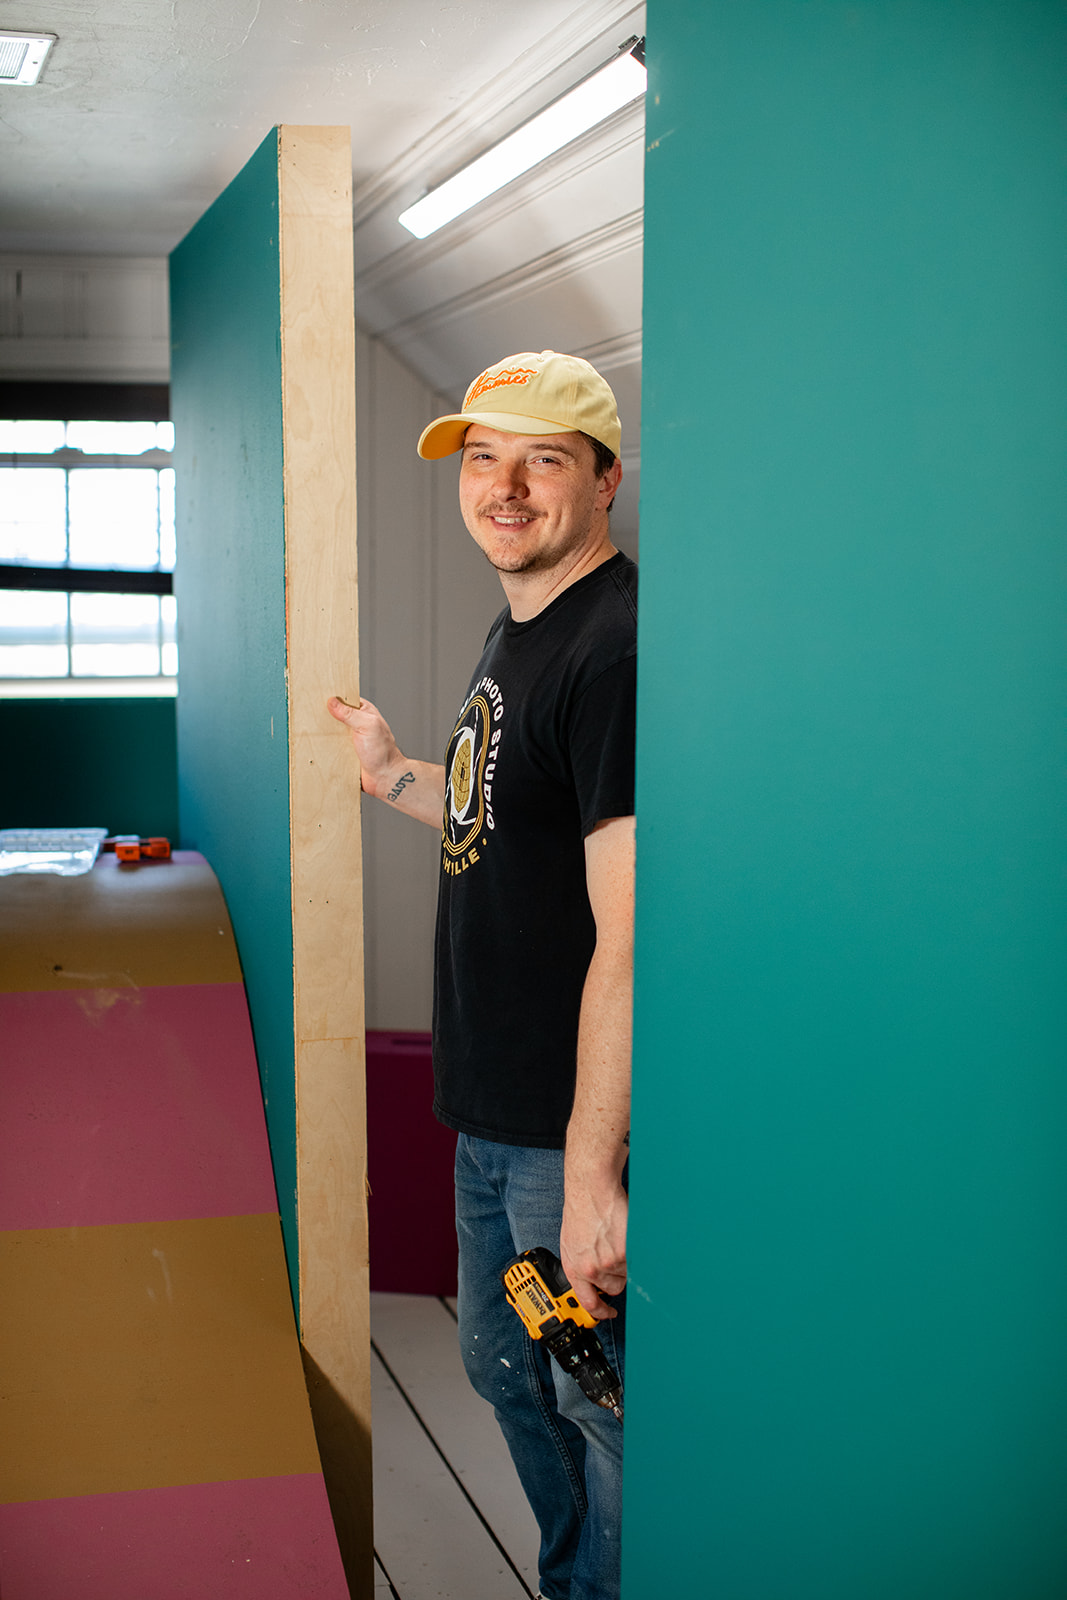
David added lots of extra screws in to help strengthen the set because safety is always the number one priority.
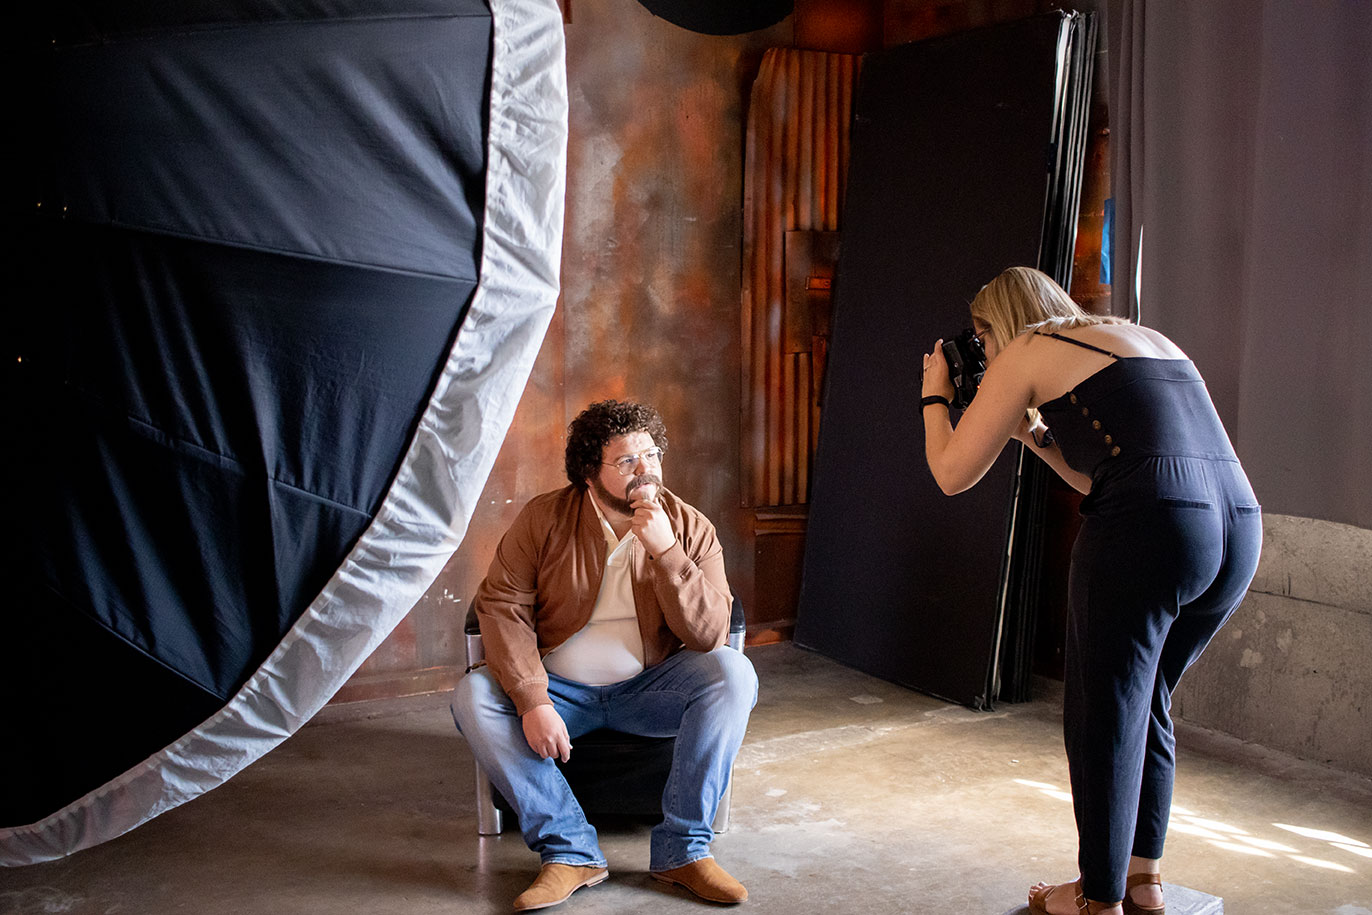
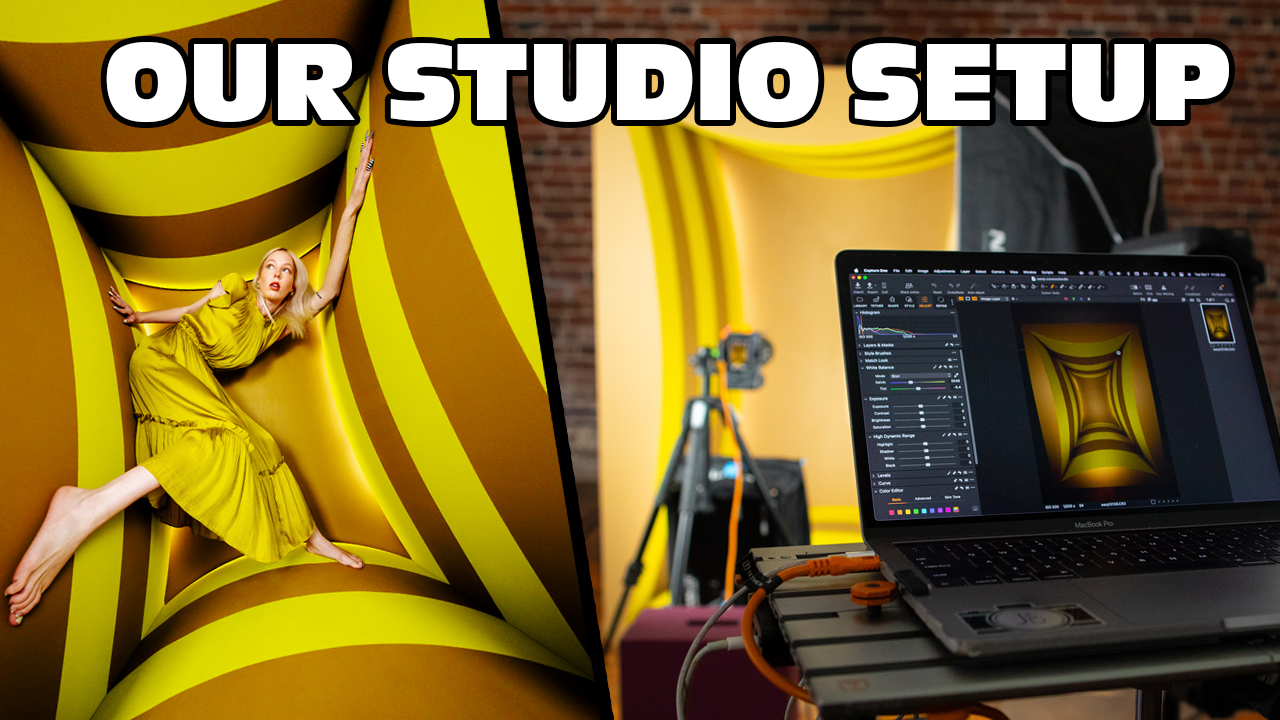
We lit the entire set using continuous light, which has been our preference for this project because we are capturing so much behind the scenes video alongside the photos. It allows everything to stay fluid without having to constantly switch between lighting setups. For this set, we used Nanlite PavoSlims along with a Nanlite FC 500B II, and the main challenge was figuring out how to evenly light both the top and bottom of the slide without creating harsh shadows or uneven falloff. We ended up placing a diffusion panel at the back of the set and pushing the 500B II through it as a bare bulb, which gave us a soft, even spread of light that wrapped around the shape of the slide and minimized shadow.
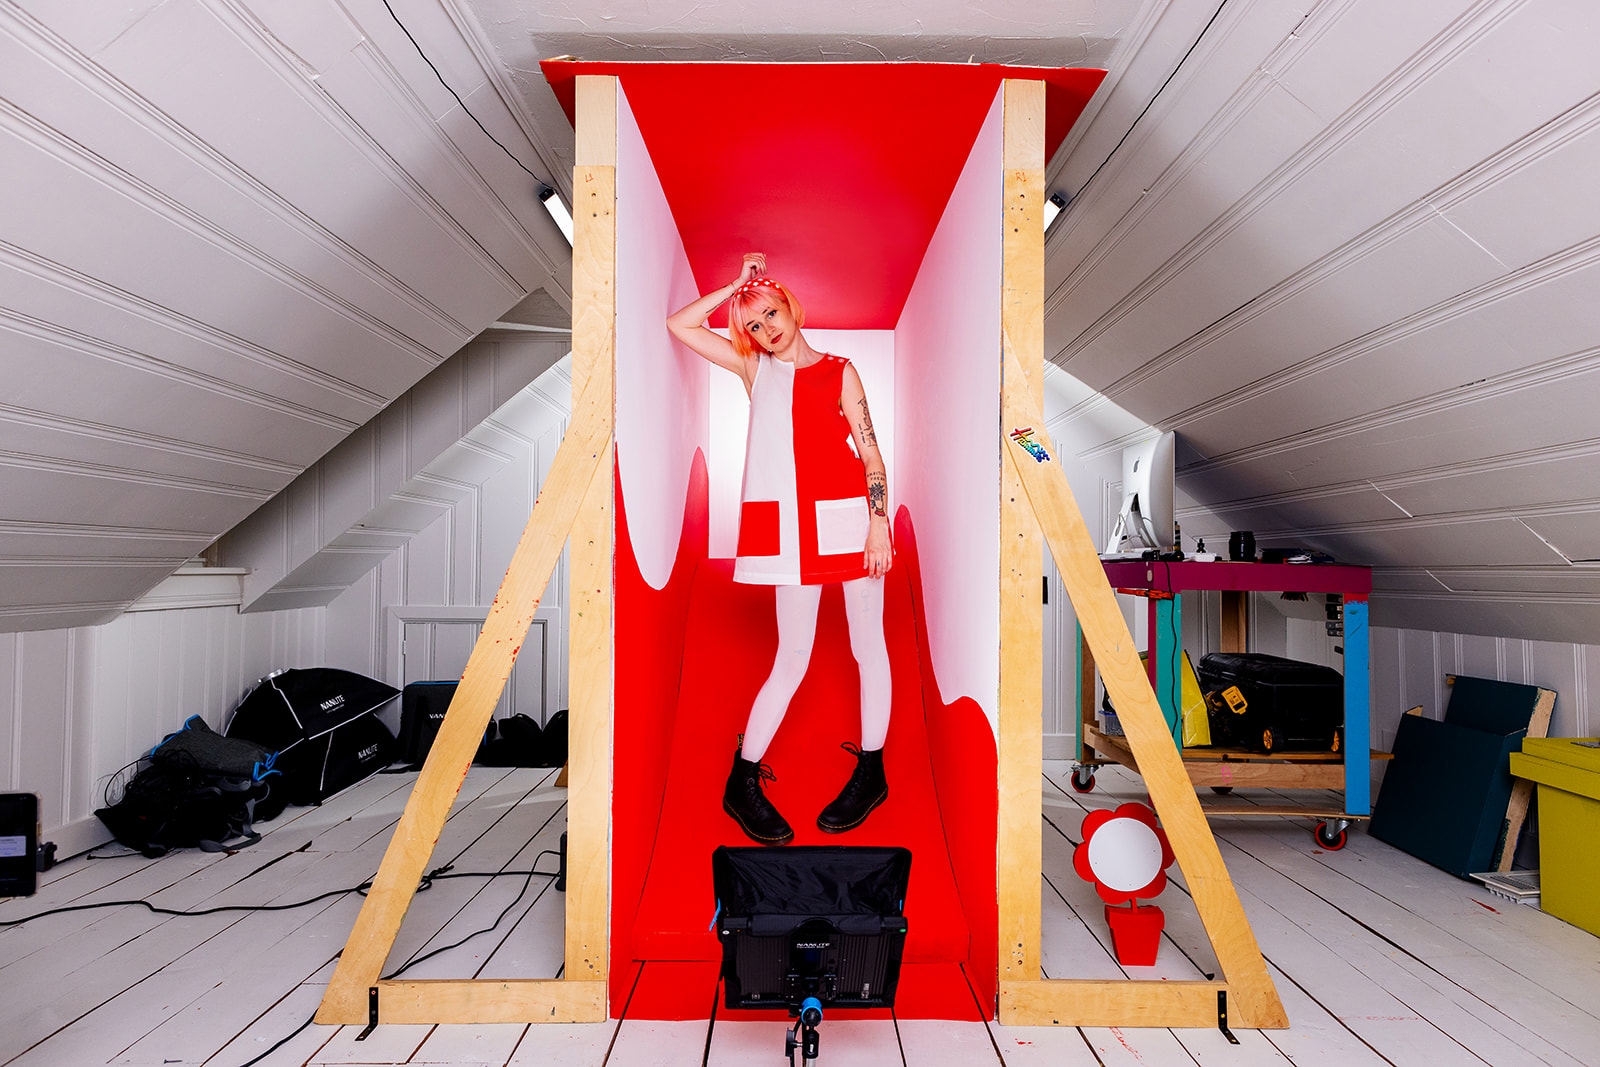
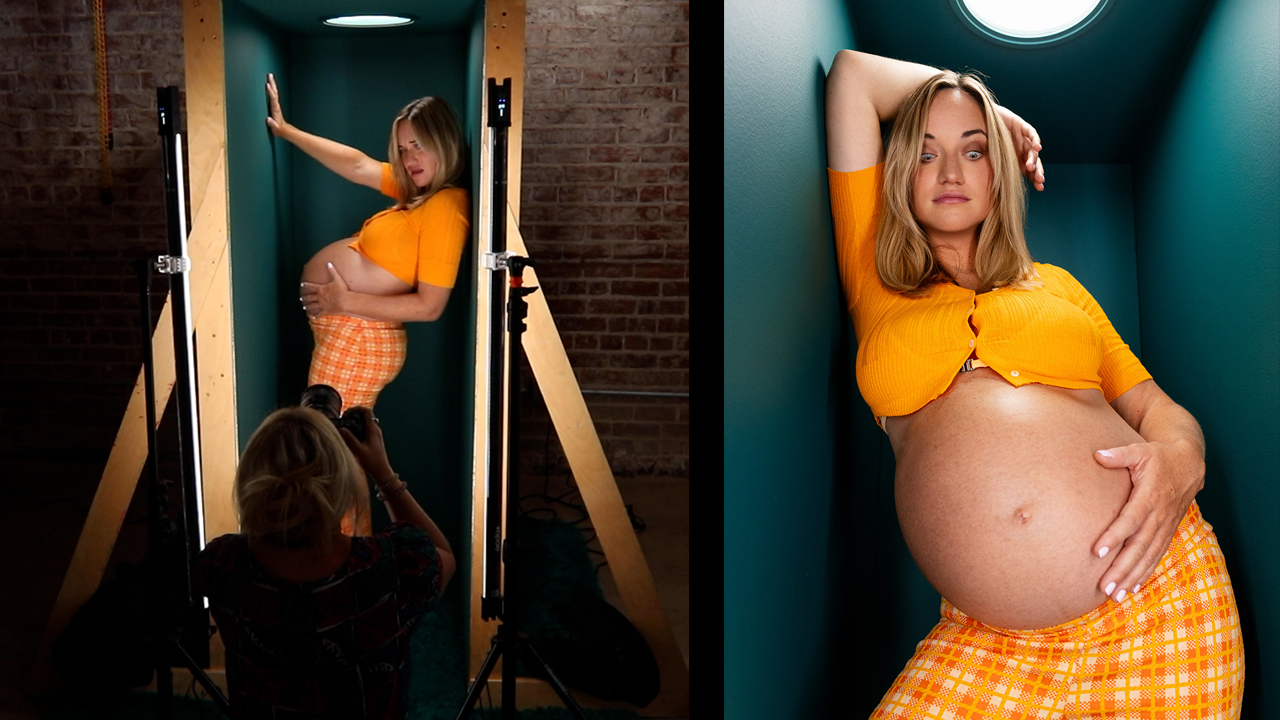
The shoot itself was intense in a way that we expected but still could not fully prepare for. We worked with Breezy, who we have shot with before and who is always willing to fully commit to whatever we are building, which made her the perfect person for this. Even so, the moment she climbed into the set, she accidentally slid down, which immediately made it clear how physically demanding this was going to be.
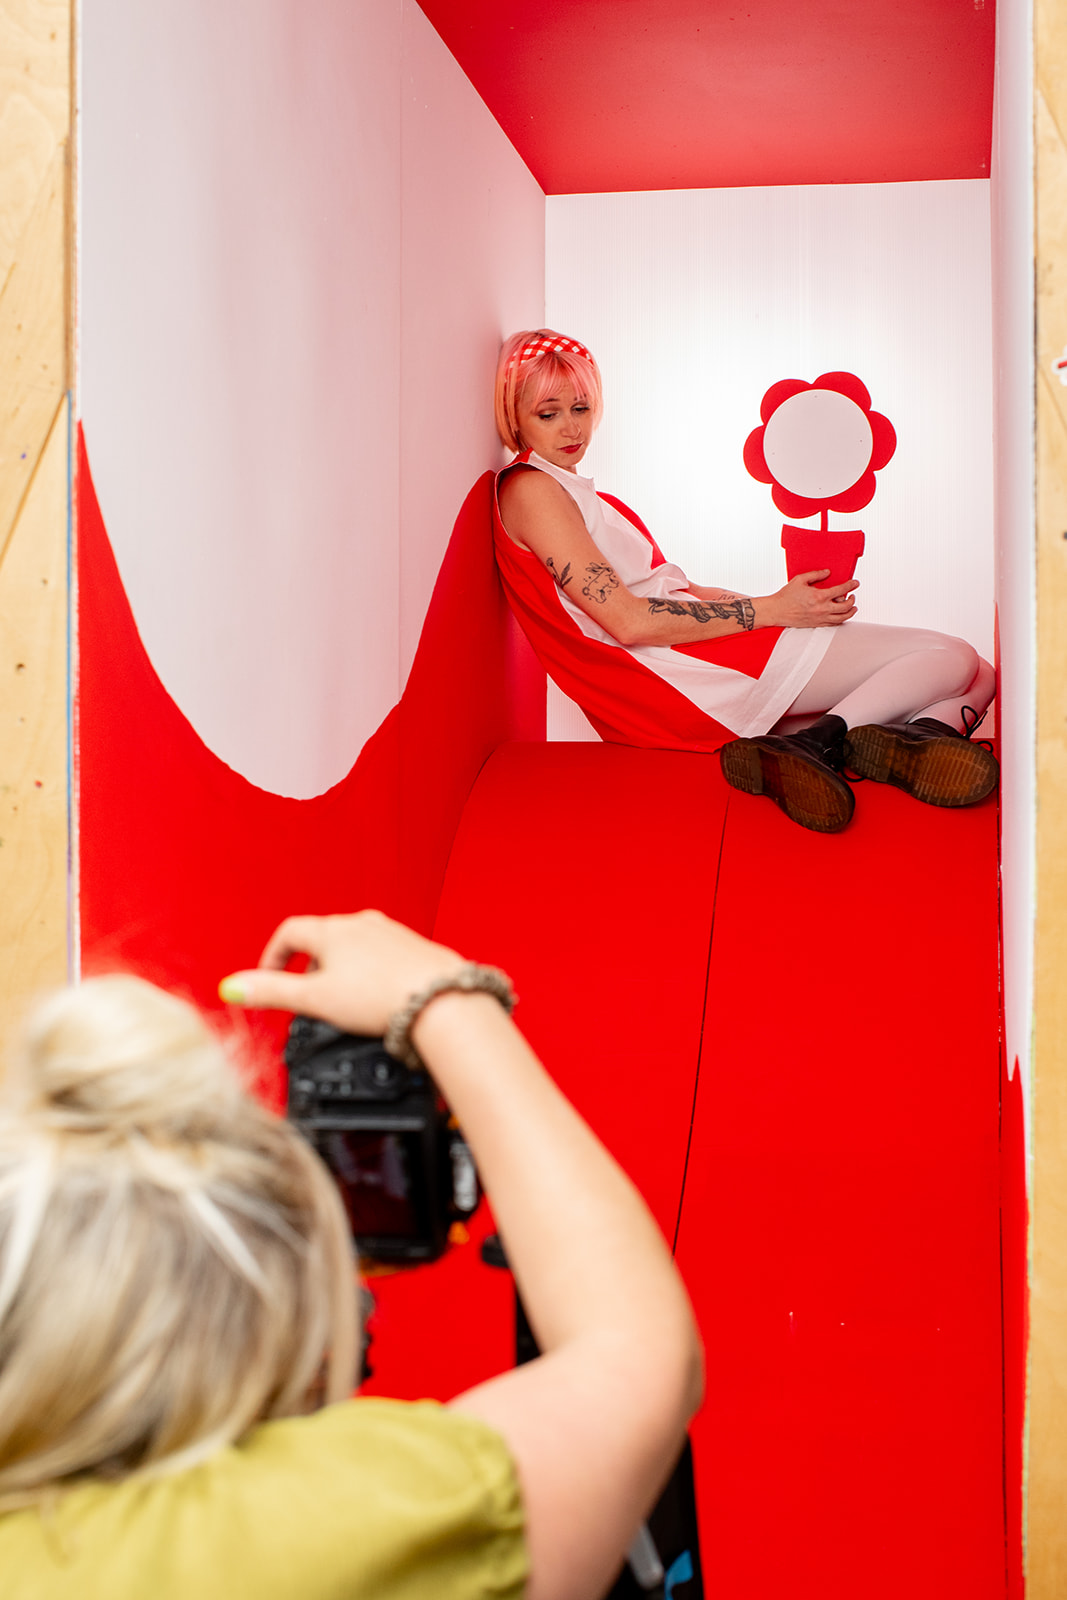
I photographed the set using wider lenses, primarily a Canon 24mm and a Tokina 16-28mm, because we wanted to exaggerate the curve of the slide and make it feel larger and more immersive within the tight space of the attic.
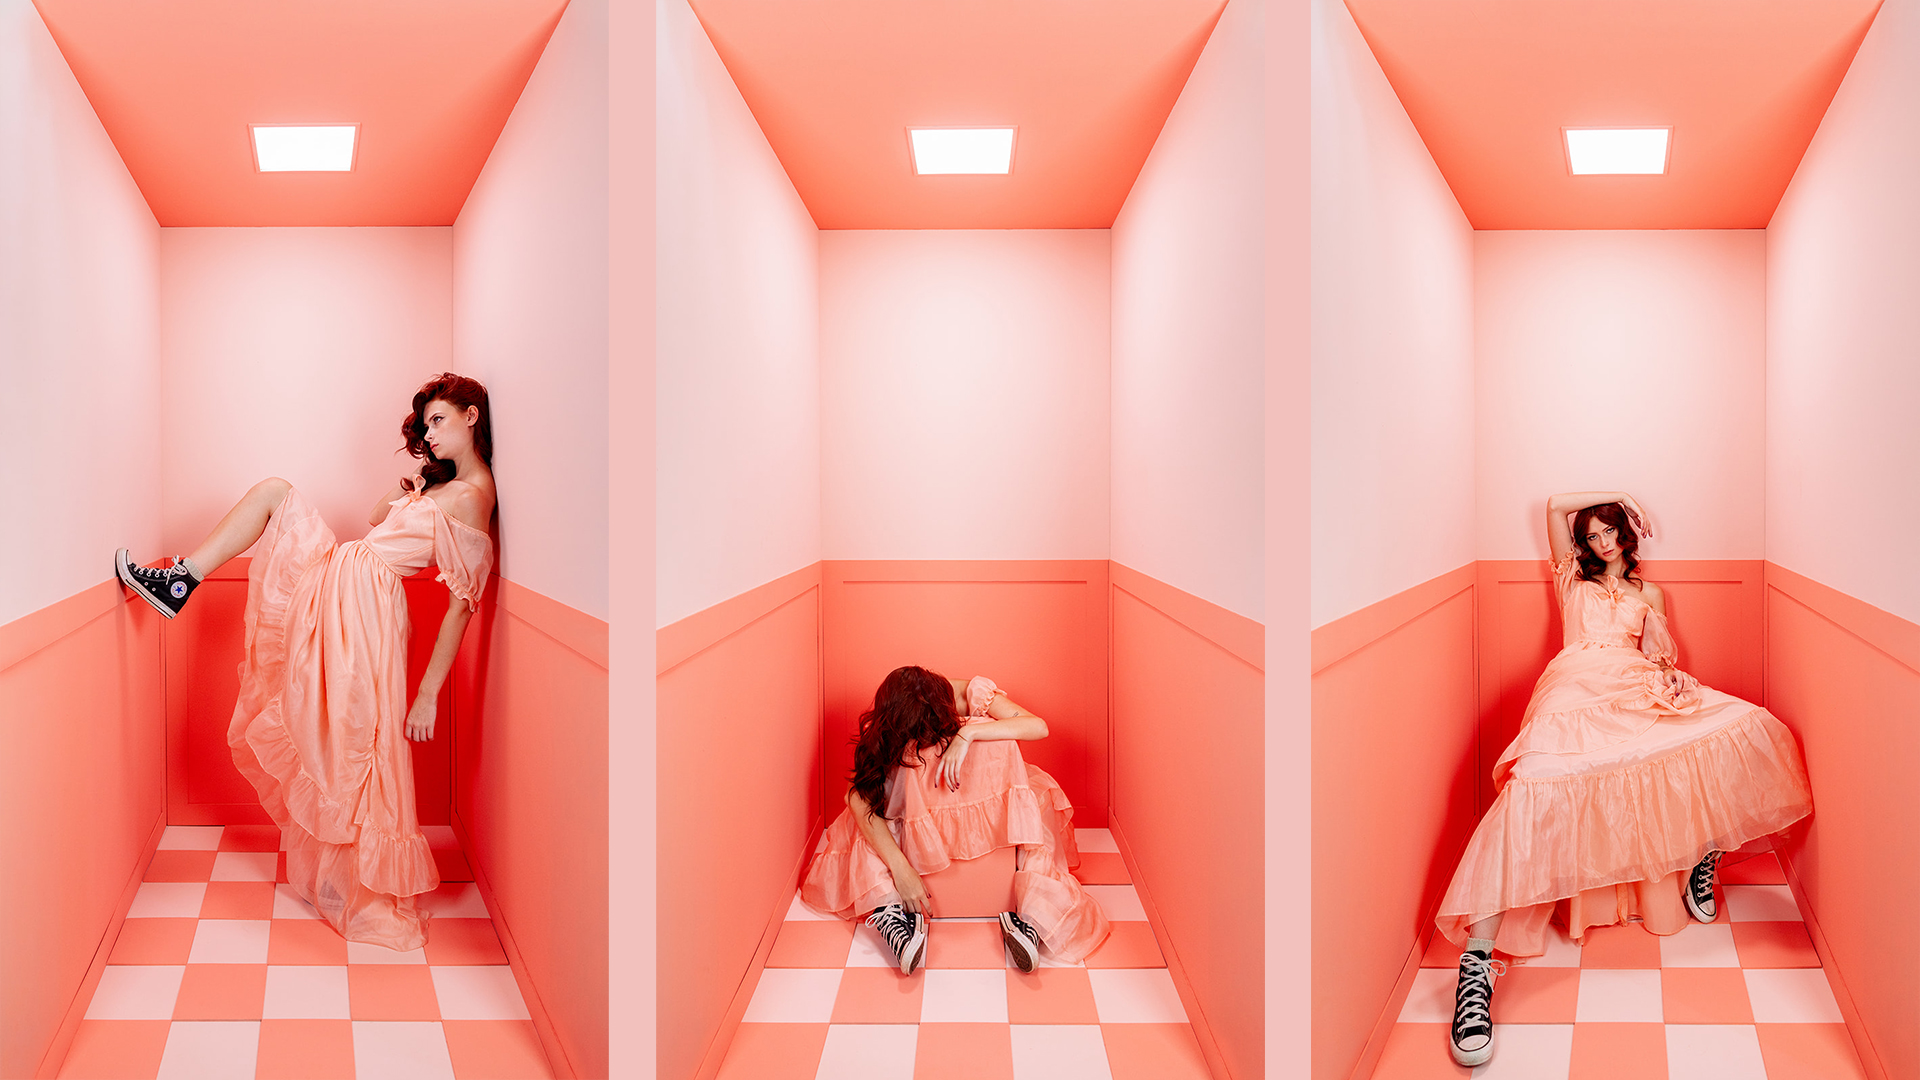
Every shoot we do has some kind of underlying idea that helps guide the posing and emotion, and for this one, everything kept coming back to balance and consistency. The act of trying to hold yourself in place, trying to stay steady, trying to keep everything aligned, and how quickly that can fall apart when something shifts. One moment you feel in control, and the next you are sliding back to the beginning and having to reset. It felt like a pretty accurate reflection of how I feel anytime I commit to a new workout routine.
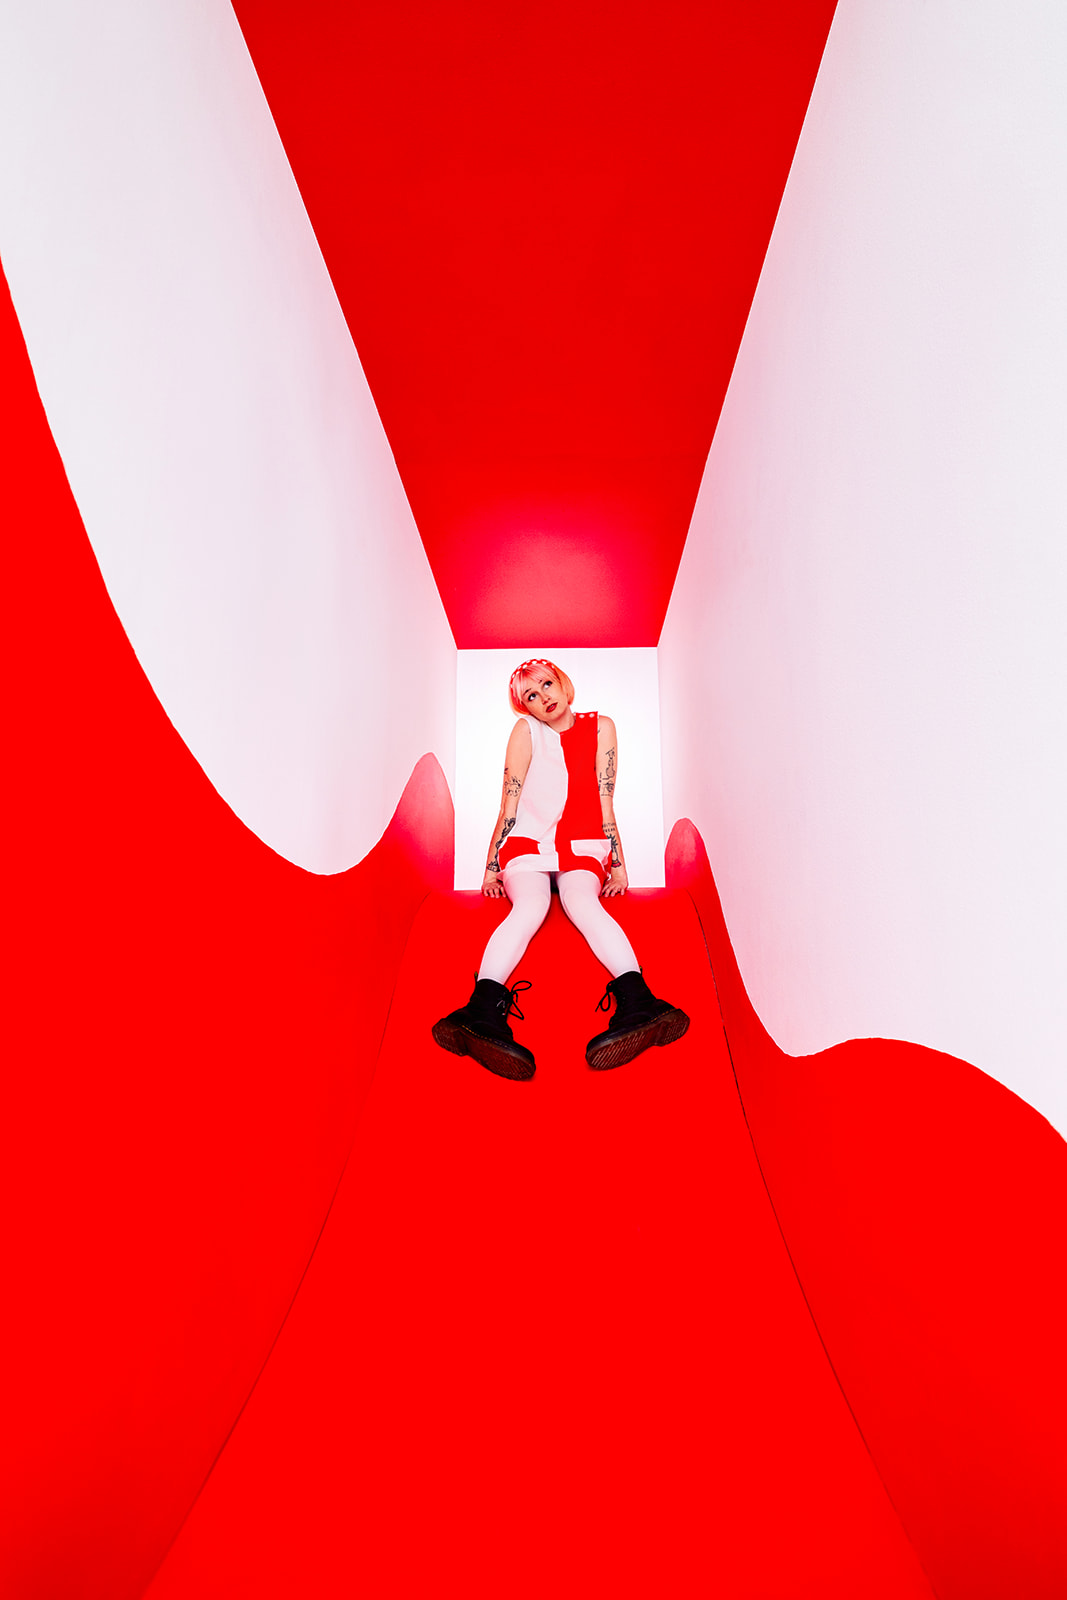
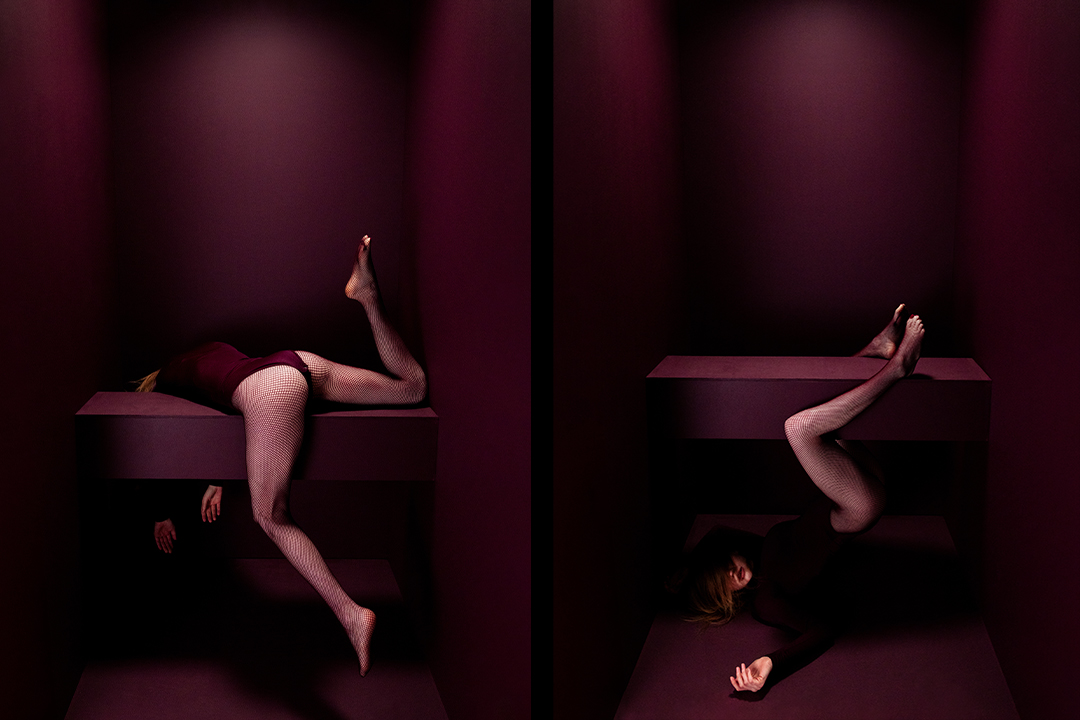
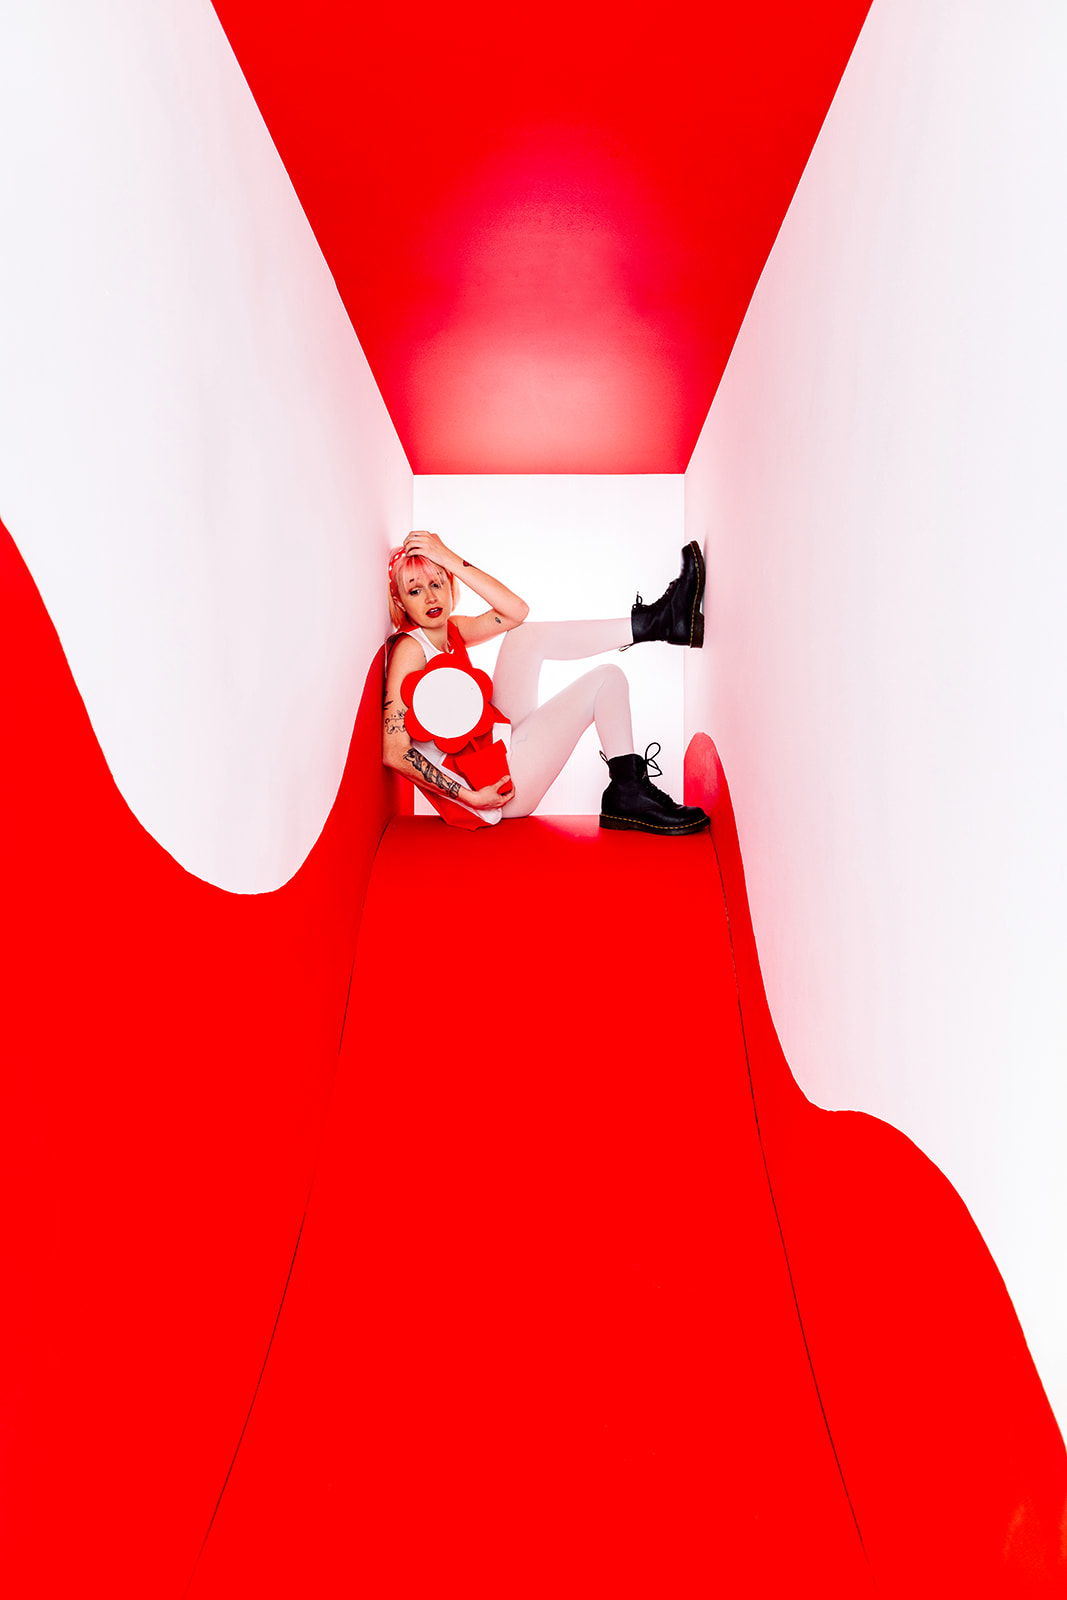
We explored poses that were physically difficult to hold, moments where she was mid balance or trying to stabilize herself, which created images that feel playful on the surface but have a layer of tension underneath. That contrast ended up being one of my favorite parts of the shoot.
This set was a strong reminder of why personal work matters. There was no guarantee that this idea would work, and no external pressure pushing us toward a safe outcome. We followed something that felt uncertain, made decisions that could have easily failed, and learned through the process instead of trying to control it from the beginning. We learned a lot about lighting, about how geometry affects a frame, and even something as simple as how much the right brush matters when you are painting something that relies on precision.
If you want to see the full process, we documented everything from the build to the shoot, including all of the moments where we were not sure if it was going to come together. You can watch the full behind the scenes on YouTube.
And if you want to dive in even deeper and help support this project, check out our Patreon.