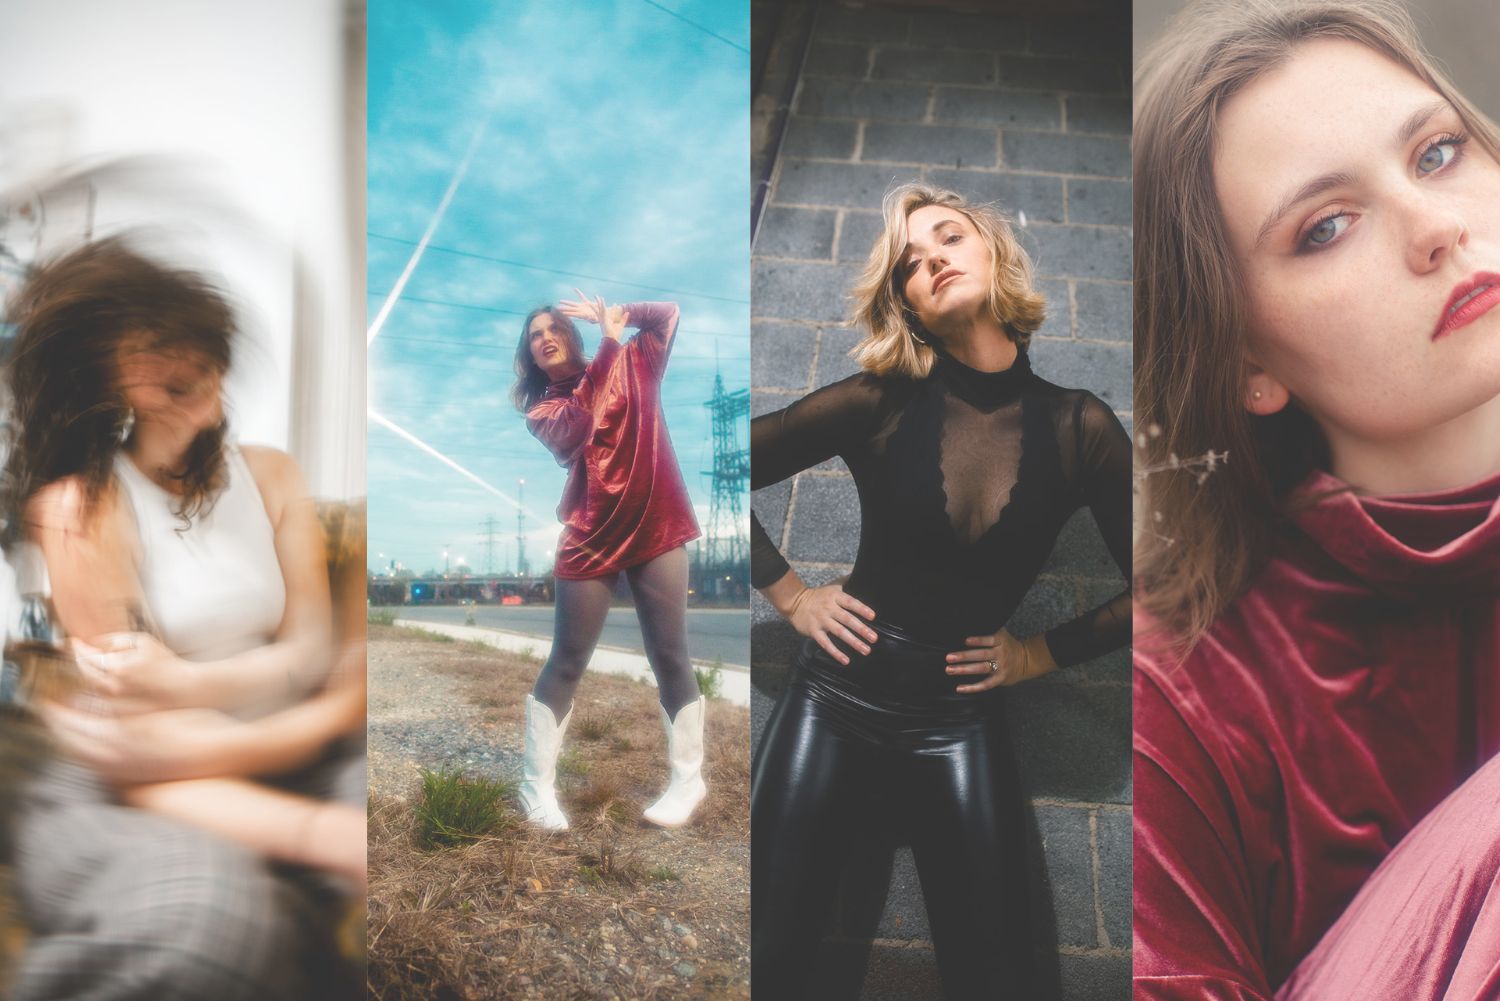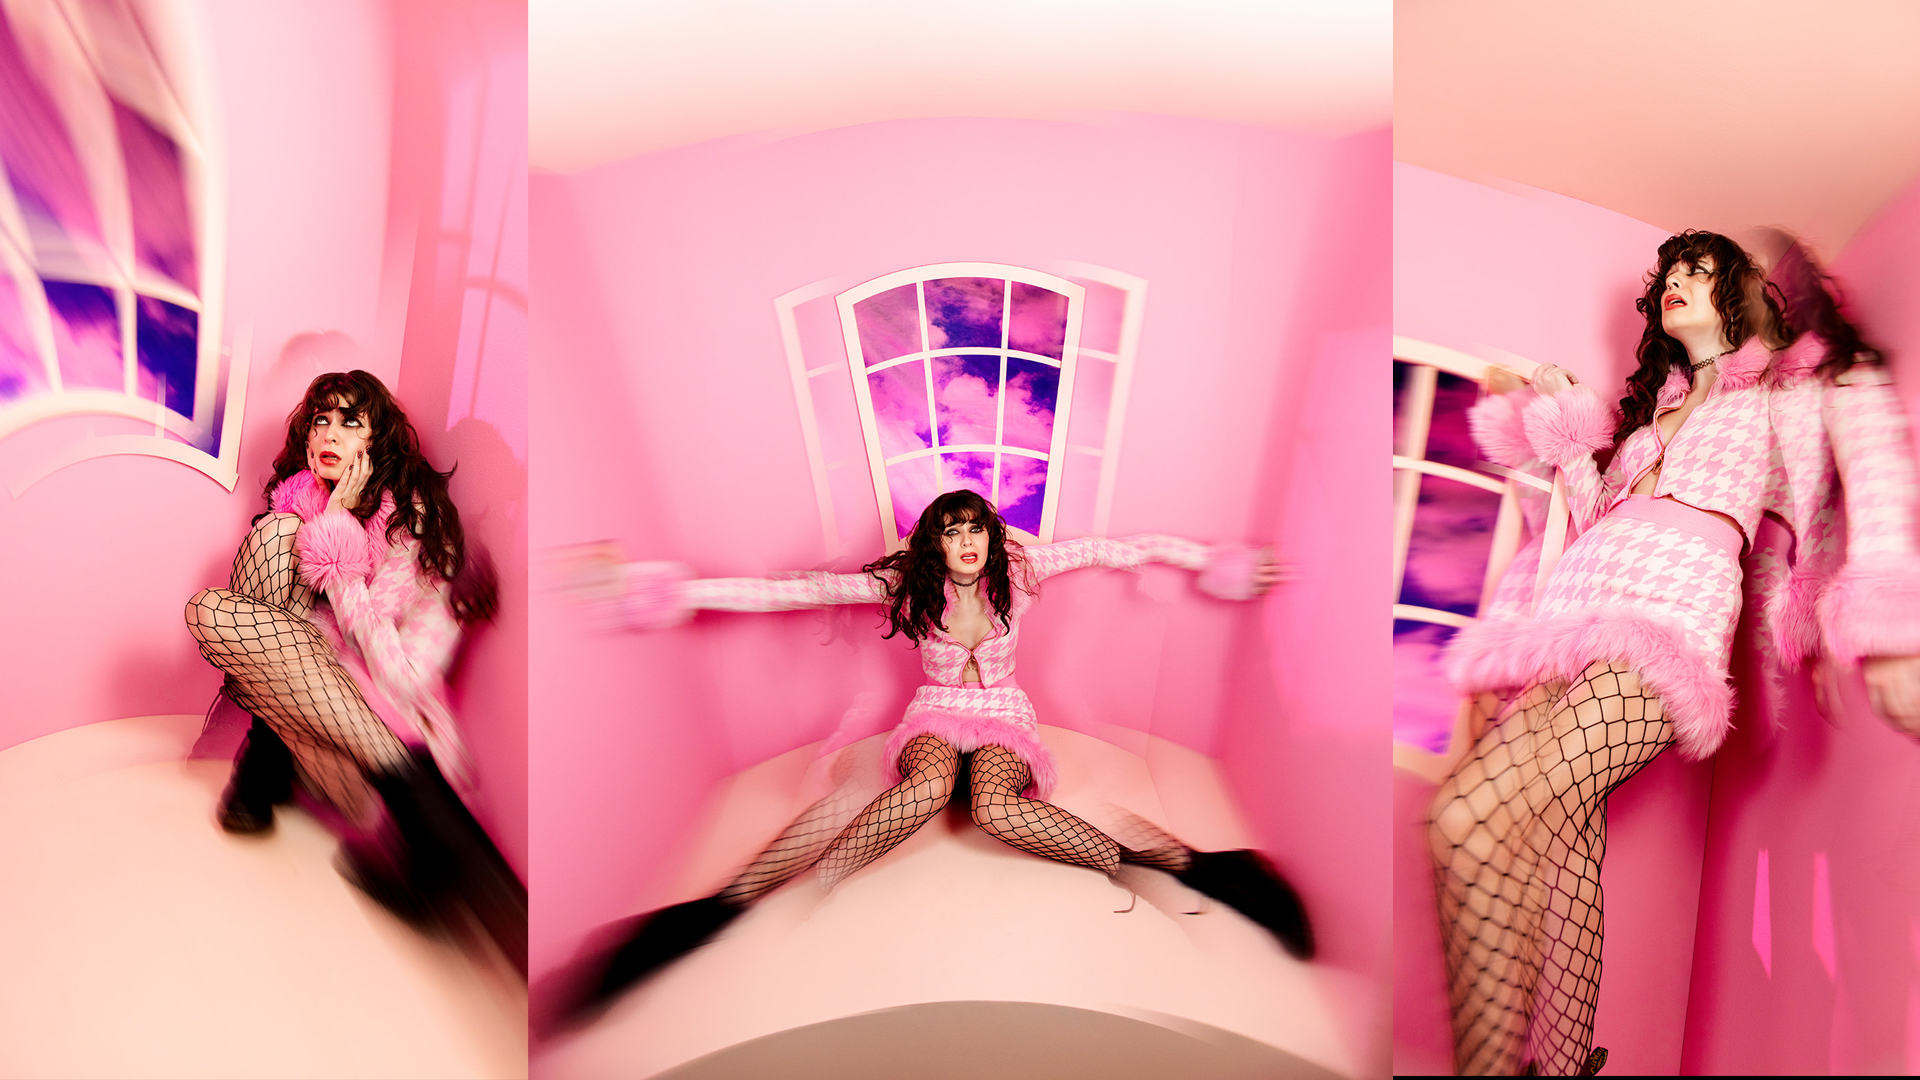
You know that feeling when your shoot looks good but doesn’t feel quite right? The model’s on point, the lighting’s solid, but something’s missing.
I’ve been there. And more than once.
What David and I have learned over the years, especially after transitioning from weddings to full-on conceptual work, is that a shoot can be technically flawless and still fall flat if the concept behind it isn’t fully developed
So today, I want to walk you through five things David and I do before every single creative shoot. These aren’t complicated steps, but they completely changed how we approach our work - and how it’s received.
Whether you're shooting in your garage, building out a set in a studio, or dreaming up your next personal project, these five steps can help you create photos that not only look cool, but say something.
And if you want to go even deeper, we have an ebook called The Conceptual Photoshoot Guide that breaks this all down with examples, creative exercises, and behind-the-scenes photos. You can snag it for $10 off here by using the code CREATIVEPREP.
Let's jump into the 5 steps!
1. Start with five ideas, not one
Creative gold doesn’t usually come on the first try. Sometimes it does, but usually it takes a little digging and refinement.
So before we shoot anything, David and I each sit down and challenge ourselves to come up with five different ideas. Not because we’re indecisive, but because that’s when things get interesting.
If you only have one idea, of course, that will be the best idea. But when you have five, you get to compare, refine, remix, and see what holds up. Sometimes your fifth idea is the strongest. Other times, pieces of several ideas come together in a way you never would’ve expected.
It’s a simple step, but it creates so much creative momentum.
Before every shoot, David and I each sit down separately and come up with five different shoot ideas. Then we share what we came up with and look for overlaps, themes, or surprising directions.
2. Plan your “hero” shot.
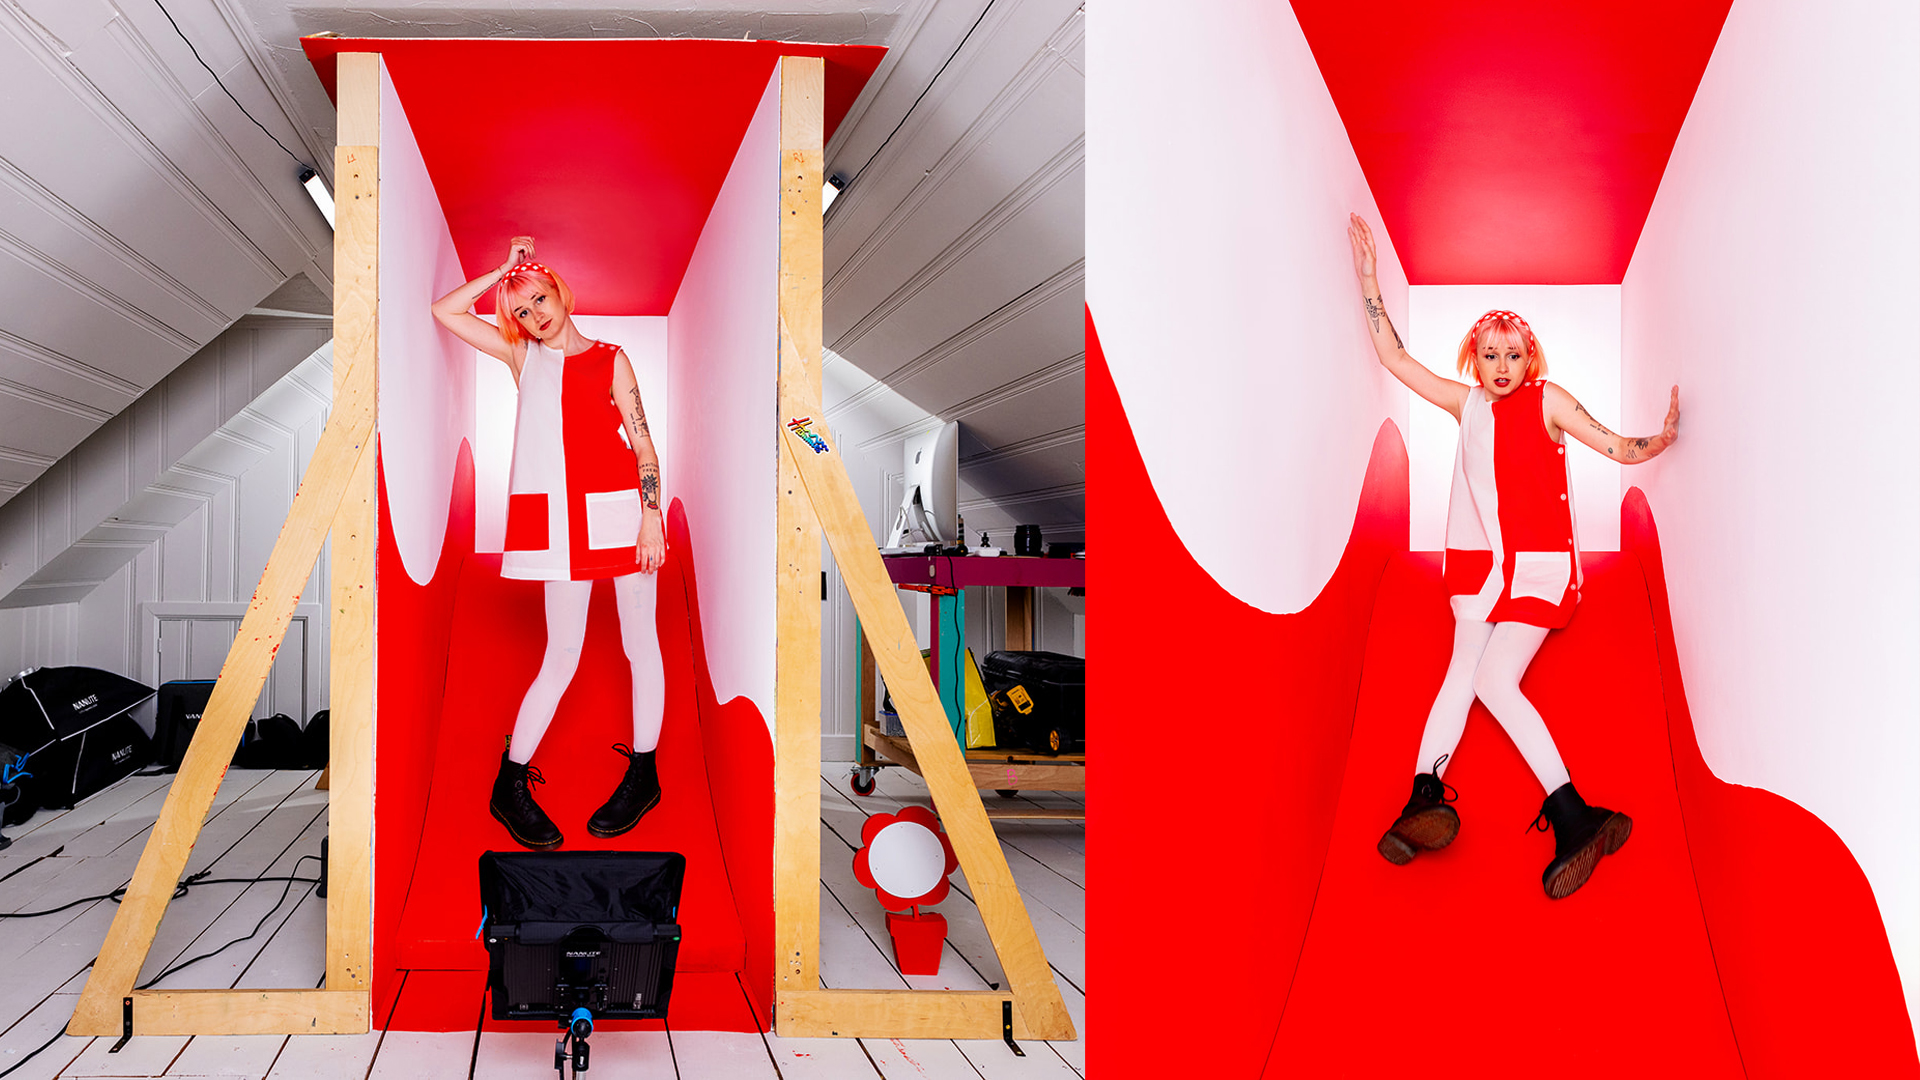
Before you touch a camera, visualize the one photo that captures the essence of your entire concept. Think about the framing, lighting, lens choice, pose, props —everything. That becomes your hero shot.
Design the rest of your shoot around that image. Once you get the shot, you can loosen up and experiment. But having that clear visual goal keeps your shoot focused and purposeful.
Once you have that shot in mind, everything else becomes easier. Your styling choices, props, set pieces, even your lens—it all serves that core idea.
We do this with all our shoots, and it helps us pitch our ideas clearly to clients too. When you can articulate the hero image, your whole vision becomes easier to execute—and easier for others to get excited about.
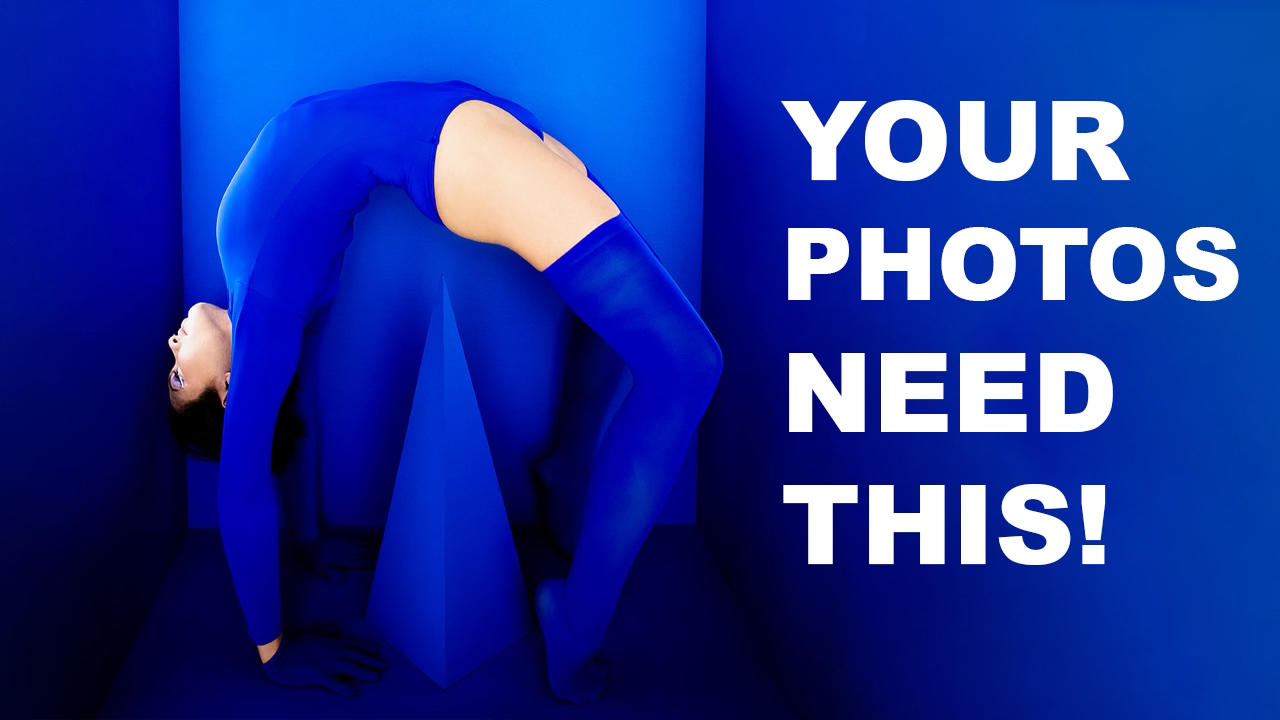
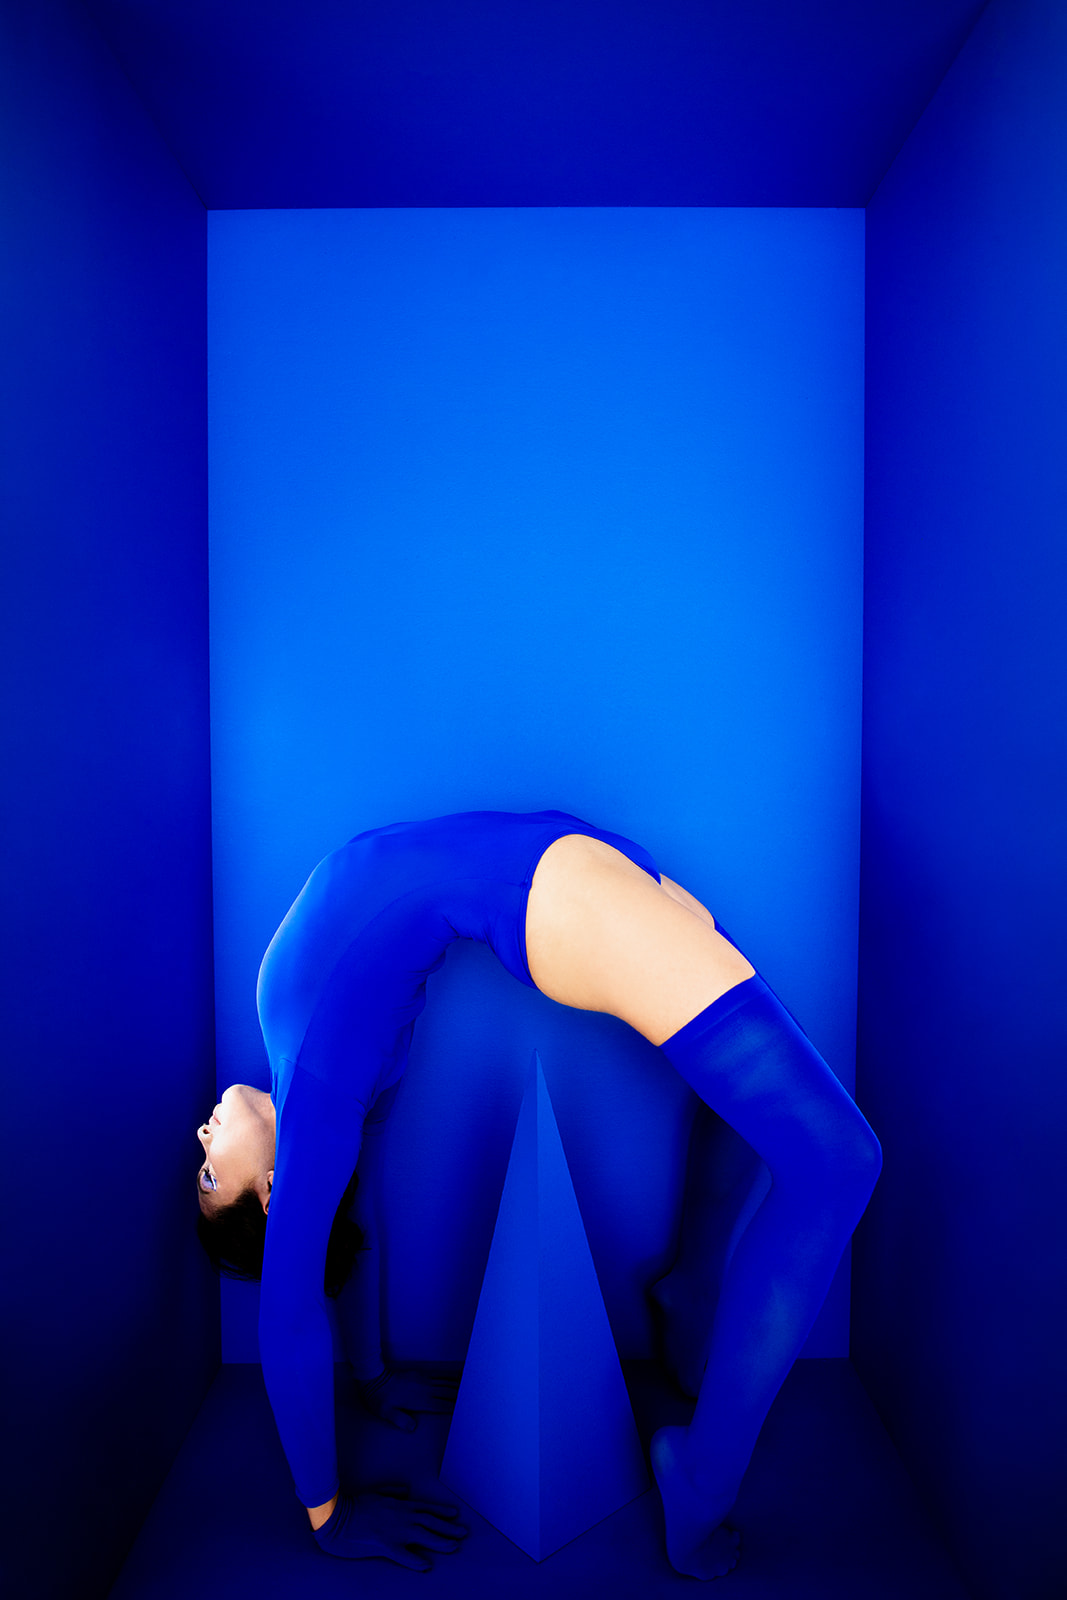
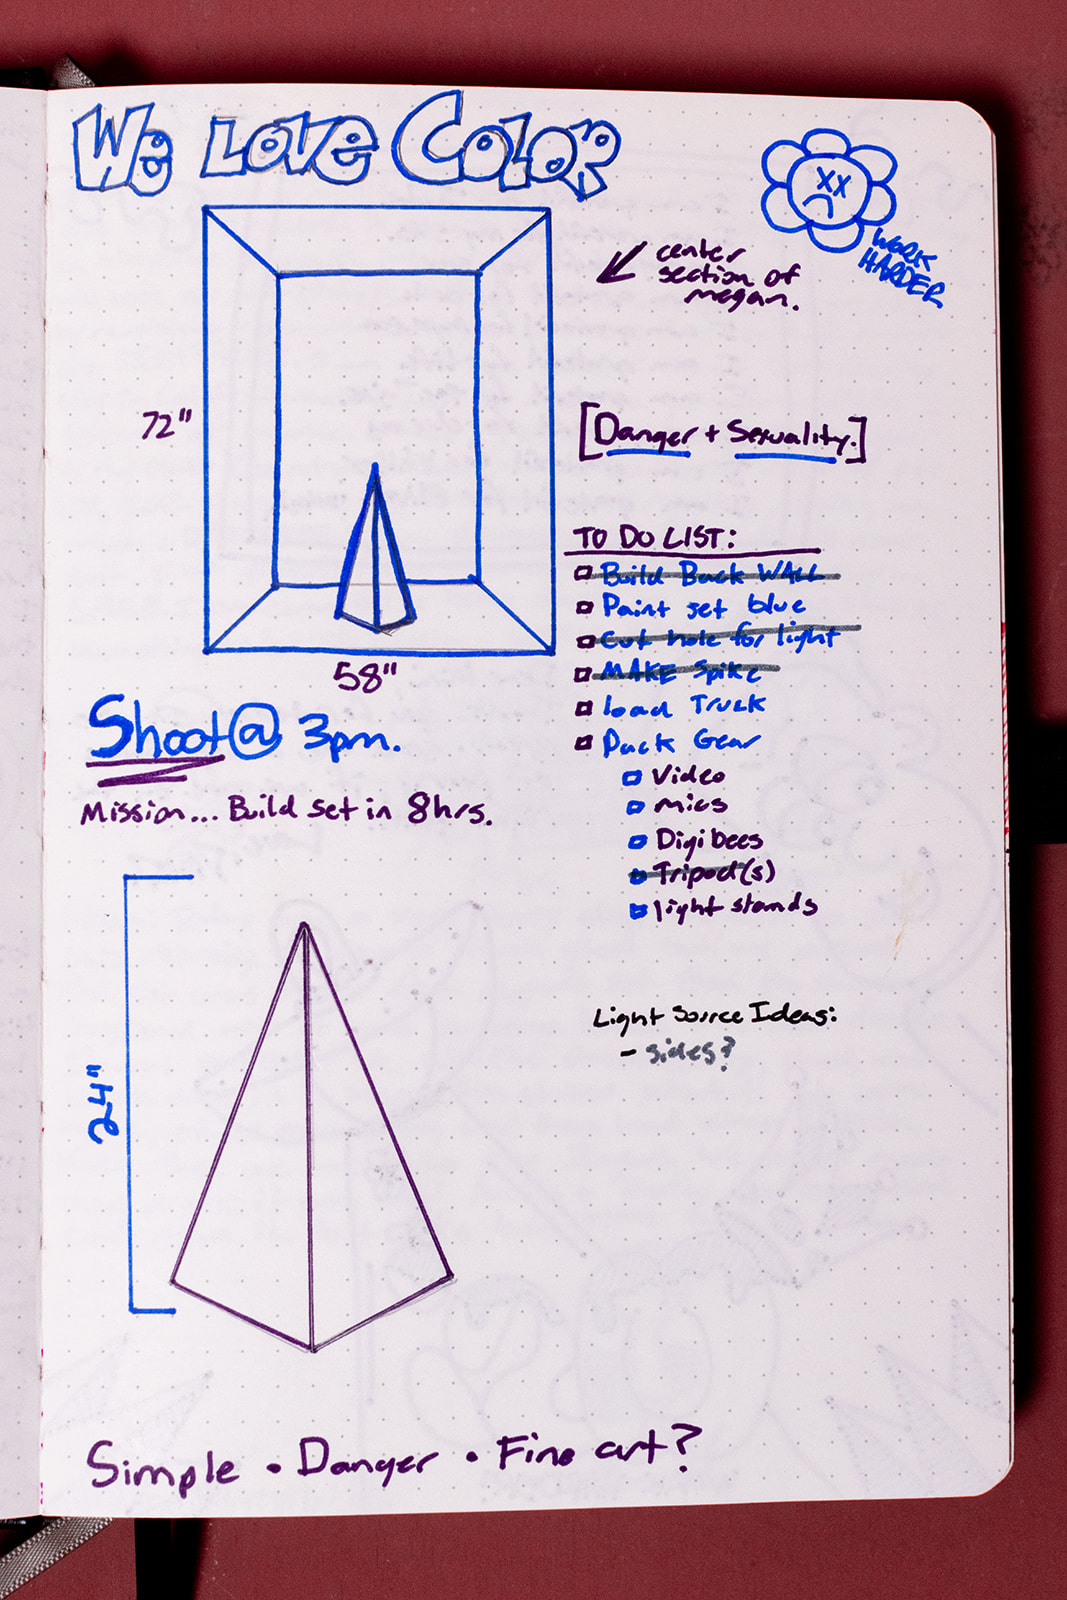
Example: In our spike shoot with our model Isabella, we imagined her doing a backbend over a massive spike. That was our hero image. Once we got it, we had space to play and explore other ideas. But that one clear shot kept us focused and made the rest feel like a creative bonus round.
3. Make a color plan.
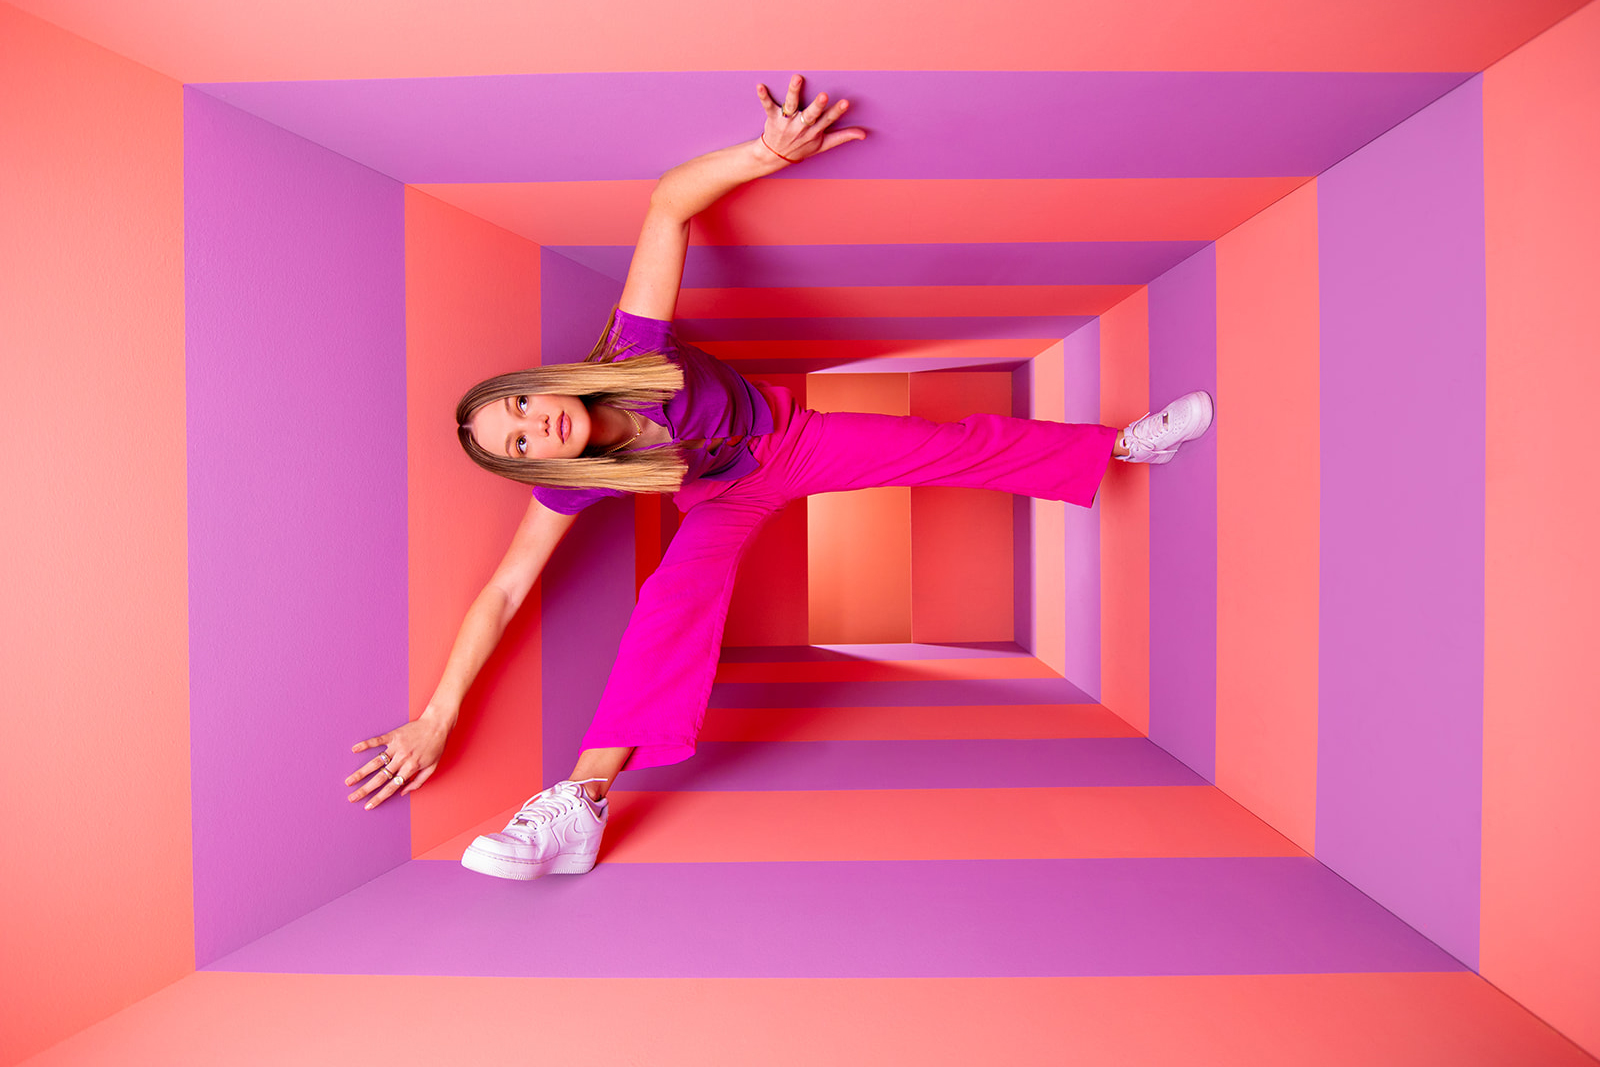
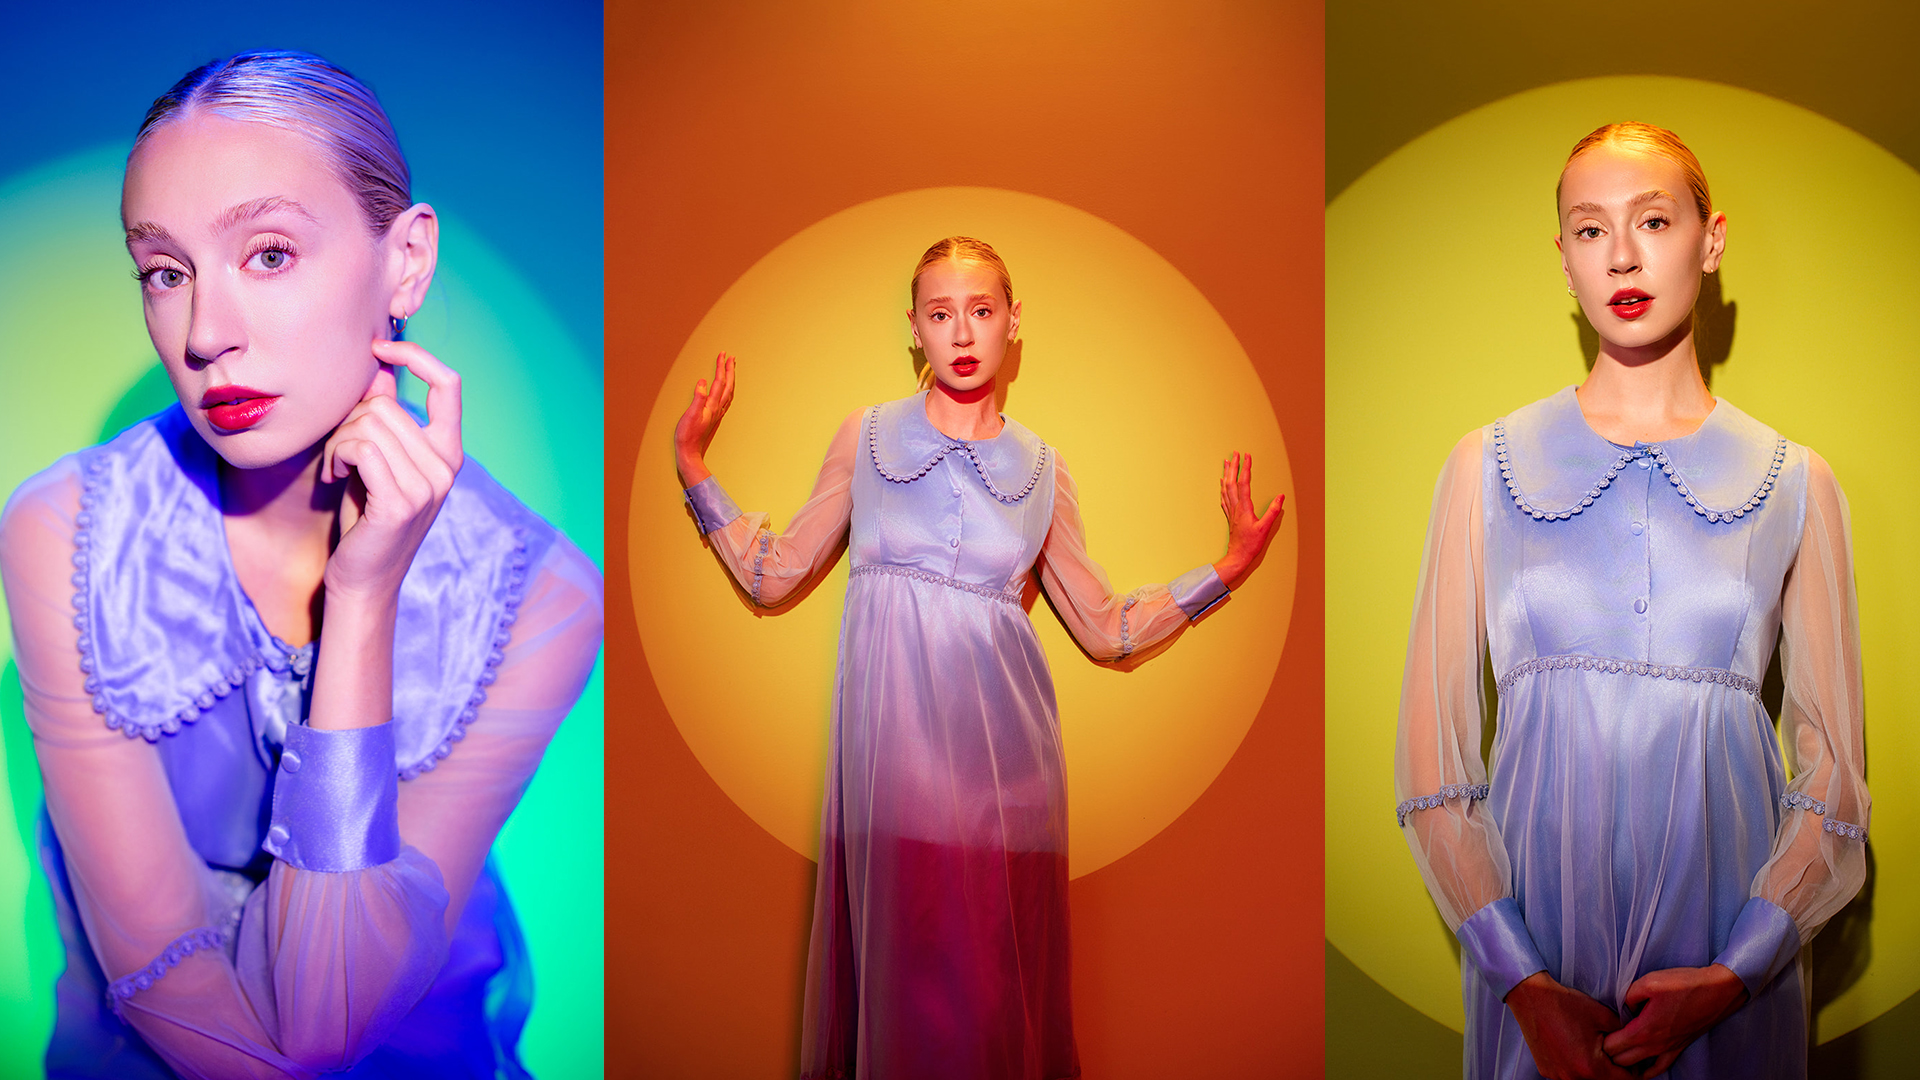
Color sets the tone of an image. So, before we start a shoot, we always ask: what’s the emotional goal of this concept, and how can color support that?
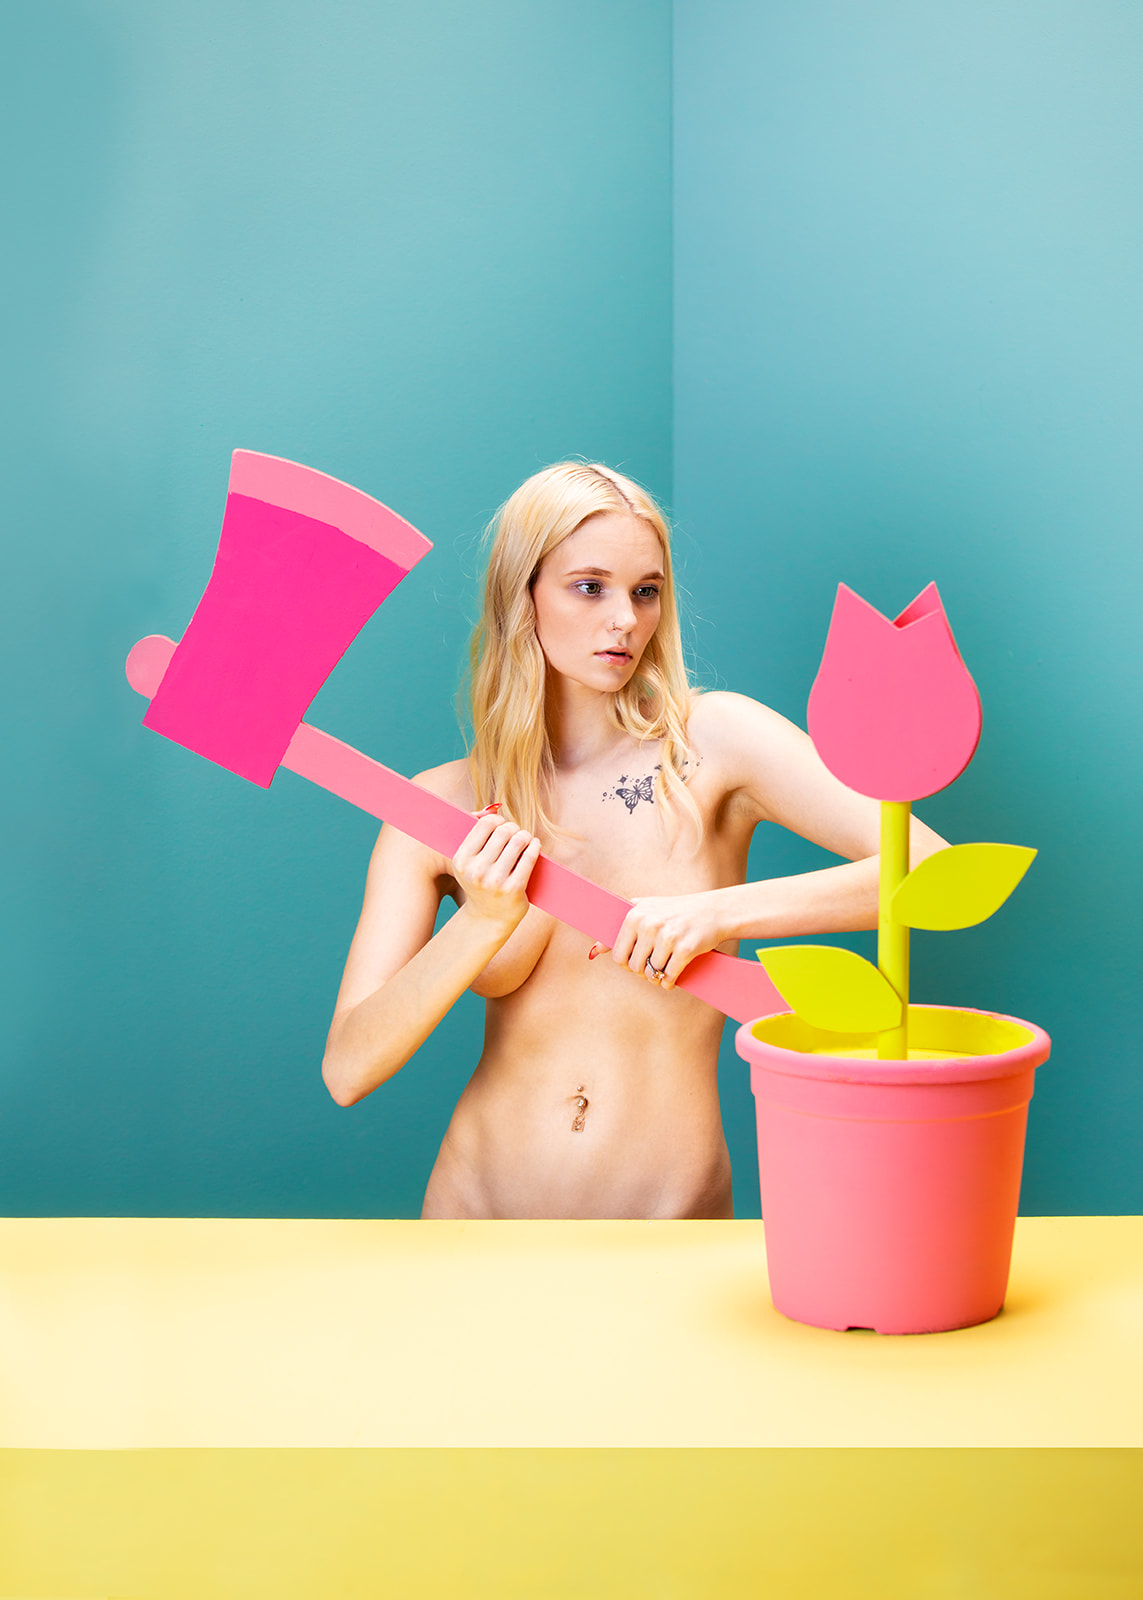
You don’t need a fully built set or to go wild with paint to use color intentionally. Think about how color comes into play with the wardrobe, props, location, and lighting—everything is an opportunity to reinforce your concept. And this holds true no matter what type of shoot you are doing, whether it be a wild creative concept or a maternity shoot. Color matters.
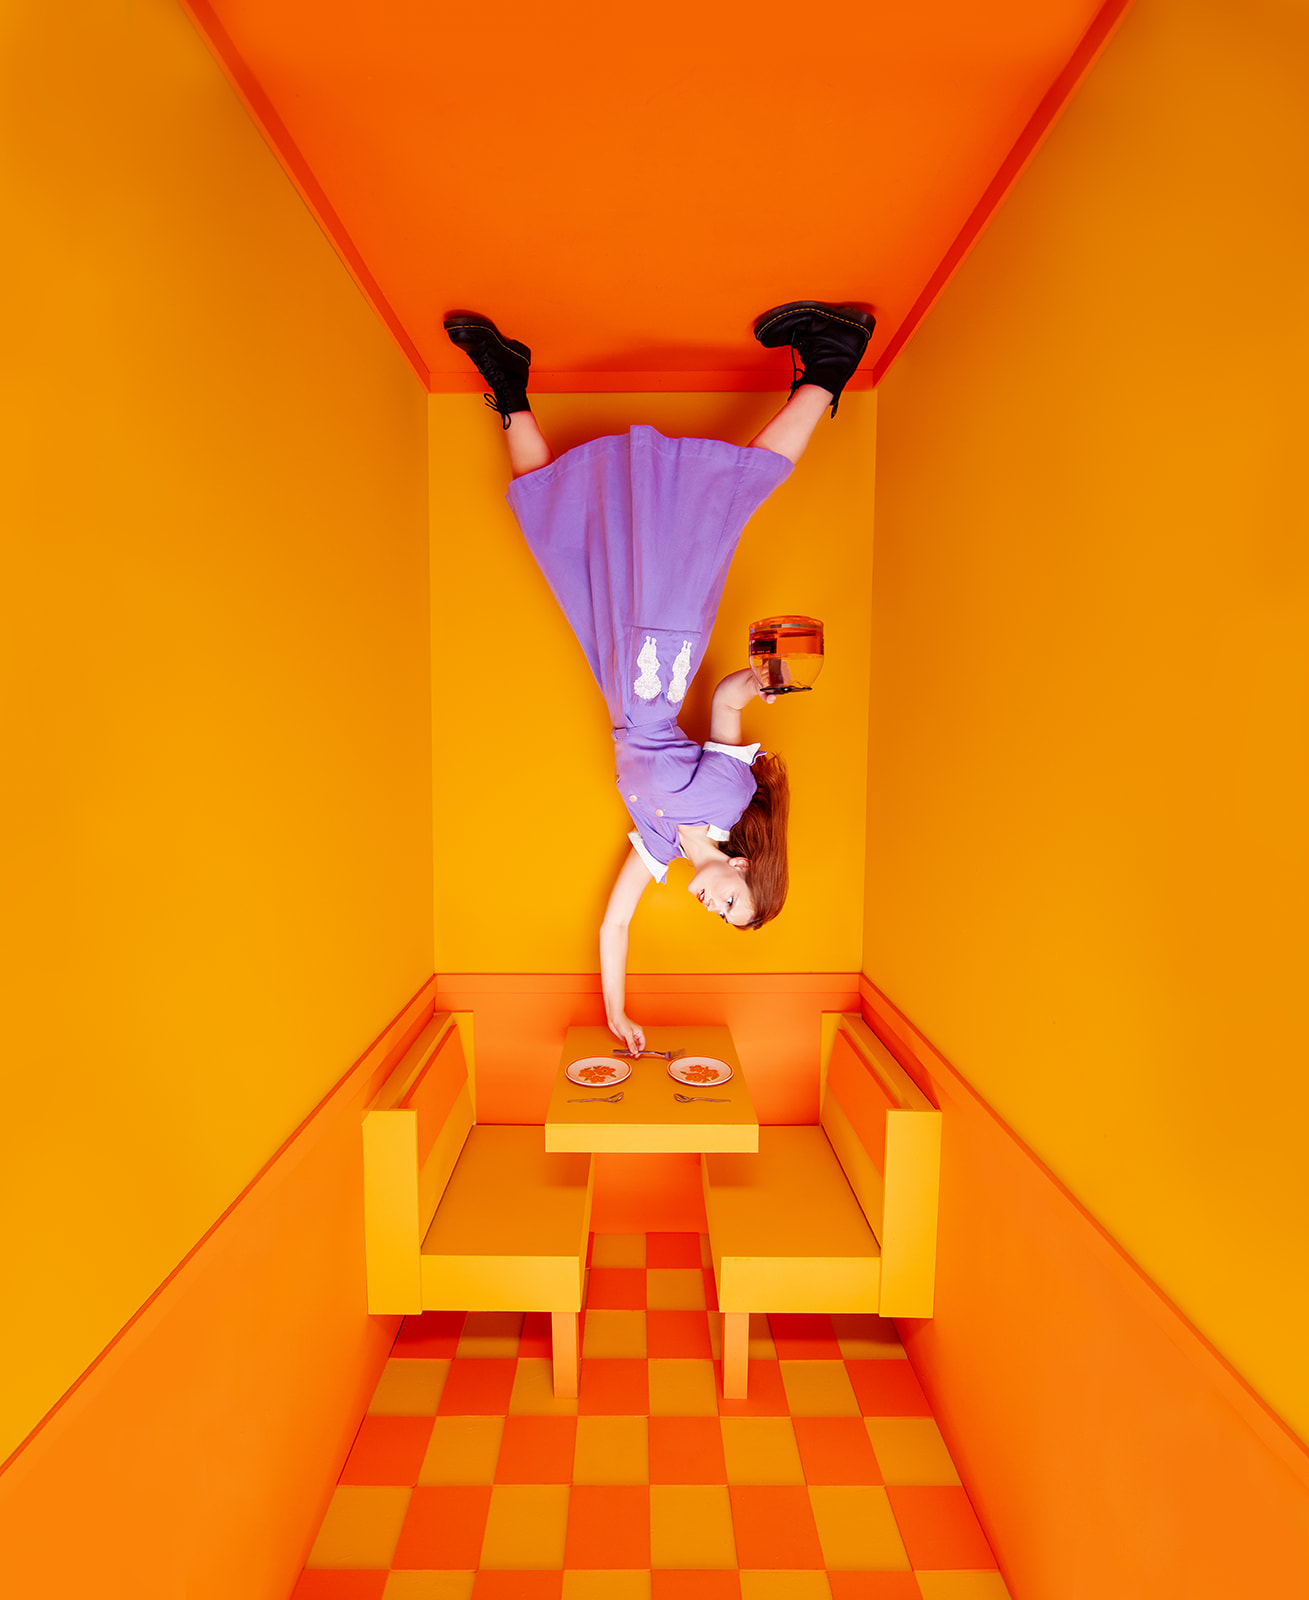
Example: For our surreal diner shoot, we painted the entire room orange. Orange is bold, weird, a little intense, and that supported the dreamlike disorientation we were going for. We even filled the coffee pot with orange liquid. To push the tension, we styled the model in purple to add contrast and visual interest. It’s small decisions like that that make your concept come alive.
4. Use props with purpose.
Props don’t just have to look good. The best ones add depth and meaning.
Before your shoot, ask yourself: is there a simple object I could bring in that strengthens the story I’m telling? Think metaphorically. A disconnected phone, a wilted flower, a mirror—these things can add narrative layers without you needing to spell anything out.
Example: In our Blue Bedroom shoot, we wanted to explore isolation and disconnection. So we brought in a phone—but unplugged it. Phones usually symbolize communication, but this one was useless, which helped us visually reinforce the concept of being alone.


5. Light for the mood, not just the subject.
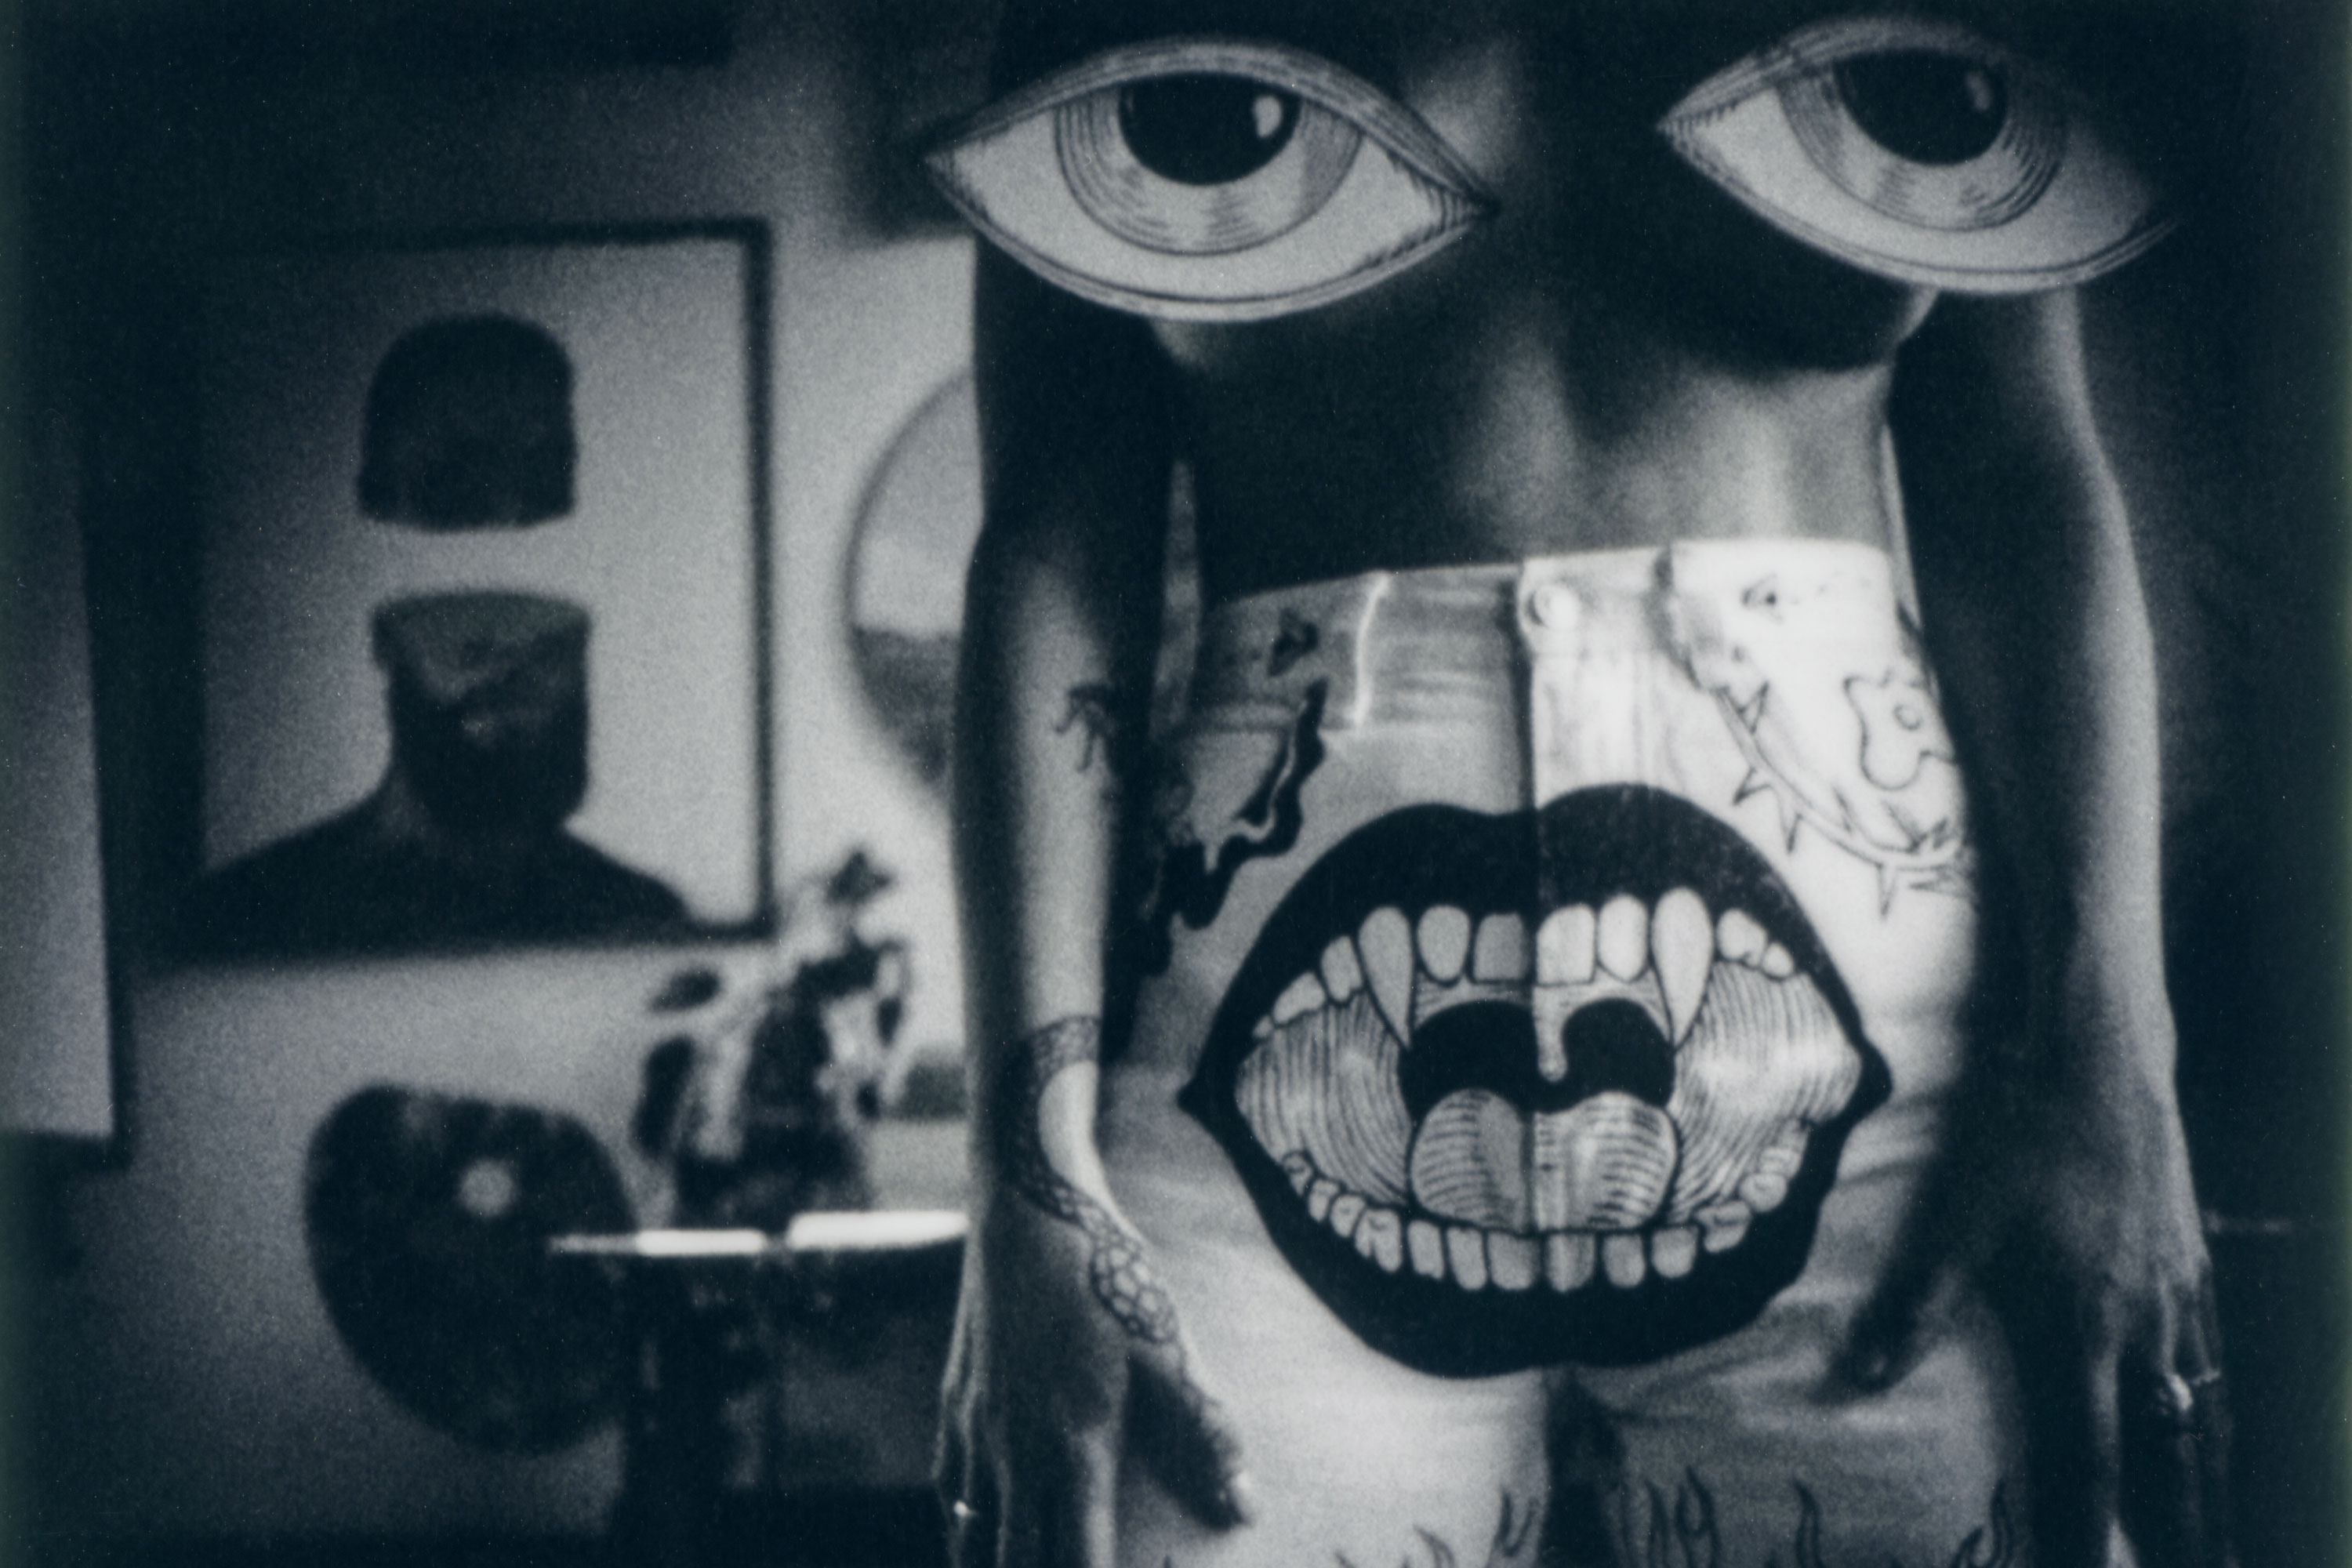
Lighting is powerful—but it’s not just about making your subject look good. It’s about shaping emotion. So ask yourself: what feeling does this shoot call for?
Is your subject supposed to be exposed and vulnerable, or hidden and mysterious? Does your scene call for softness or contrast? Would colored lighting add to the mood?
And once you land on a setup, try one more version. Tweak the direction. Add a flag or modifier. Change the light temperature. That second lighting idea often surprises us and leads to some of our most interesting images.
Example: For our red curtain set, we wanted to evoke the feeling of a stage performance. A spotlight felt like the natural fit, and it helped transform the image into something that felt theatrical and emotionally charged.
.jpg)
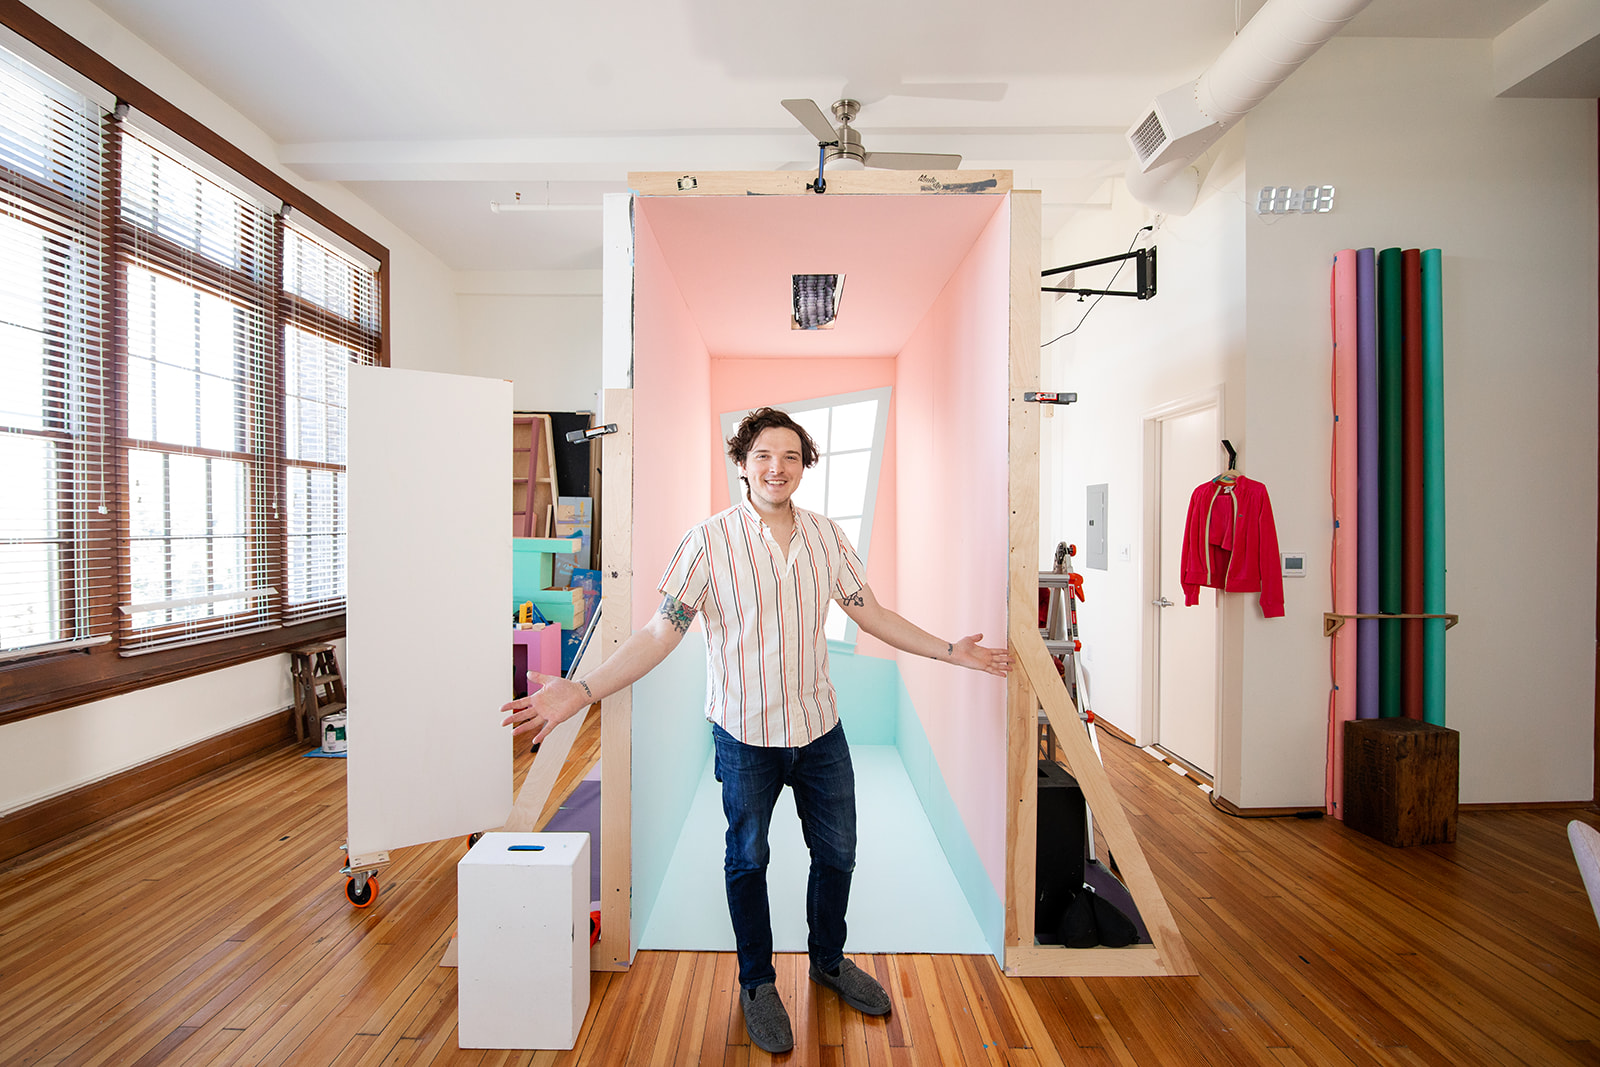
If this resonates with you, I’d love to invite you to our Think Inside the Box Workshop. It’s two days of hands-on creativity where we dive deep into concept-building, set design, styling, and lighting—alongside other creatives who are also ready to take their vision more seriously.
No matter what you’re working on next, I hope this gives you the push to pause, plan, and pour some intention into your process.
Because great photos don’t happen by accident, and you’re more than capable of making something incredible.