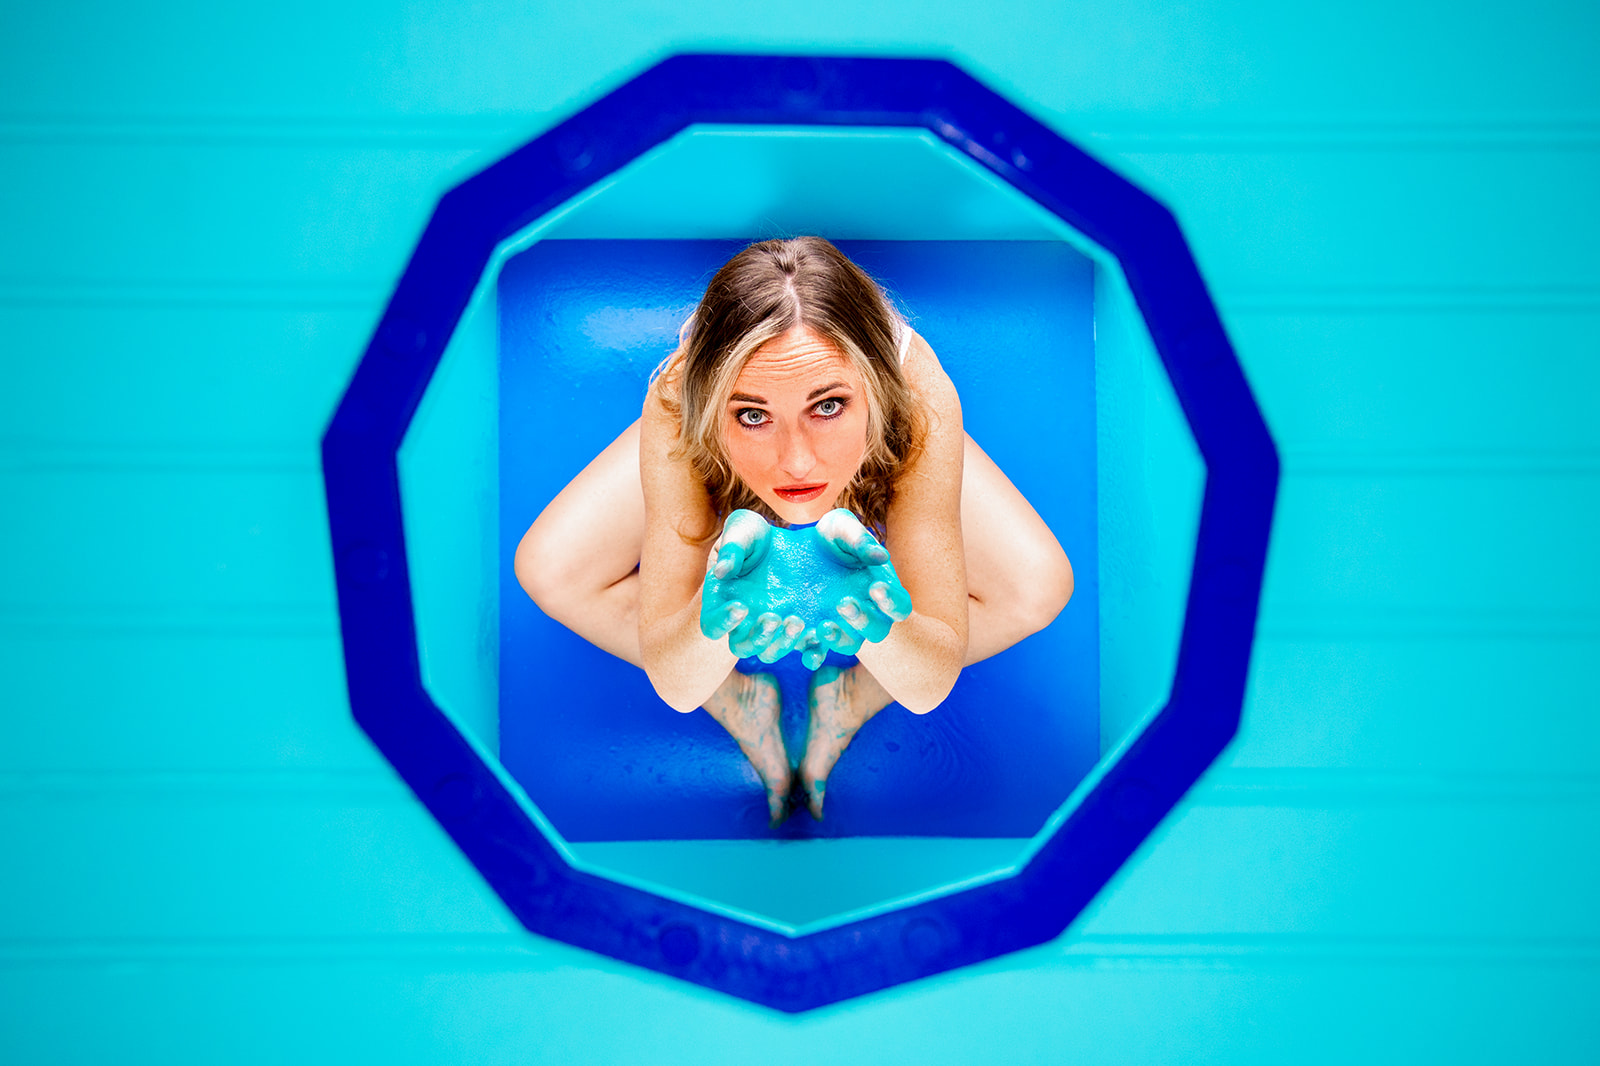
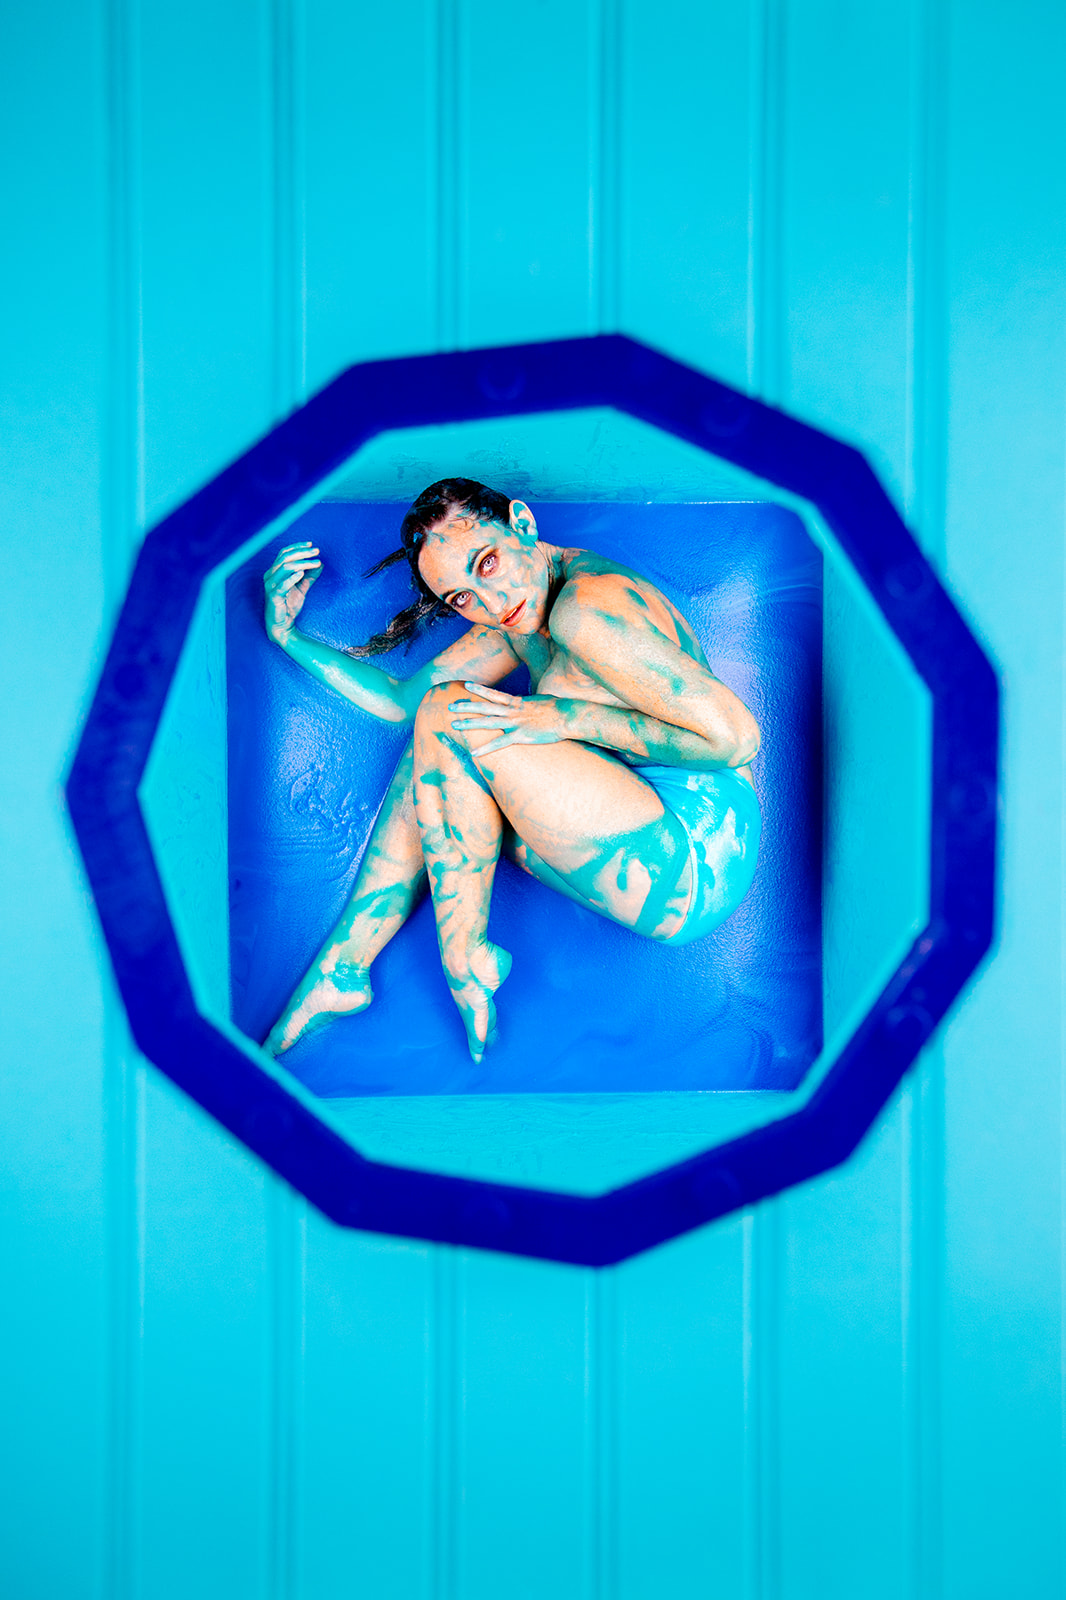
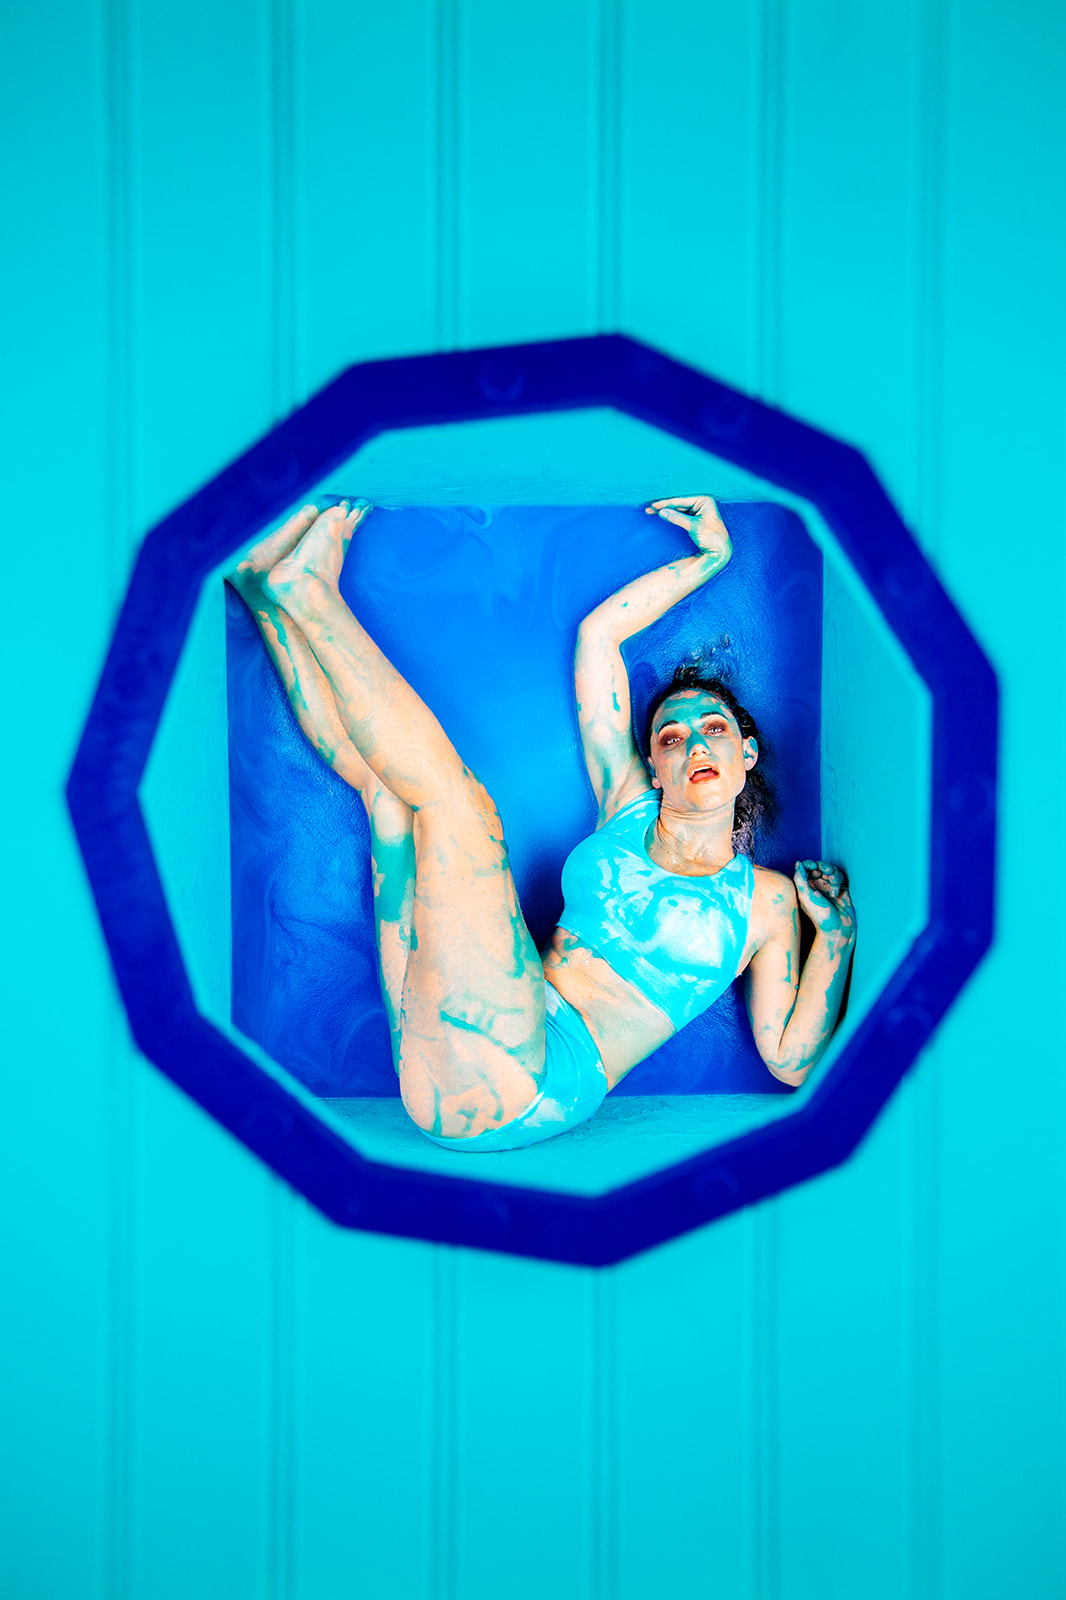
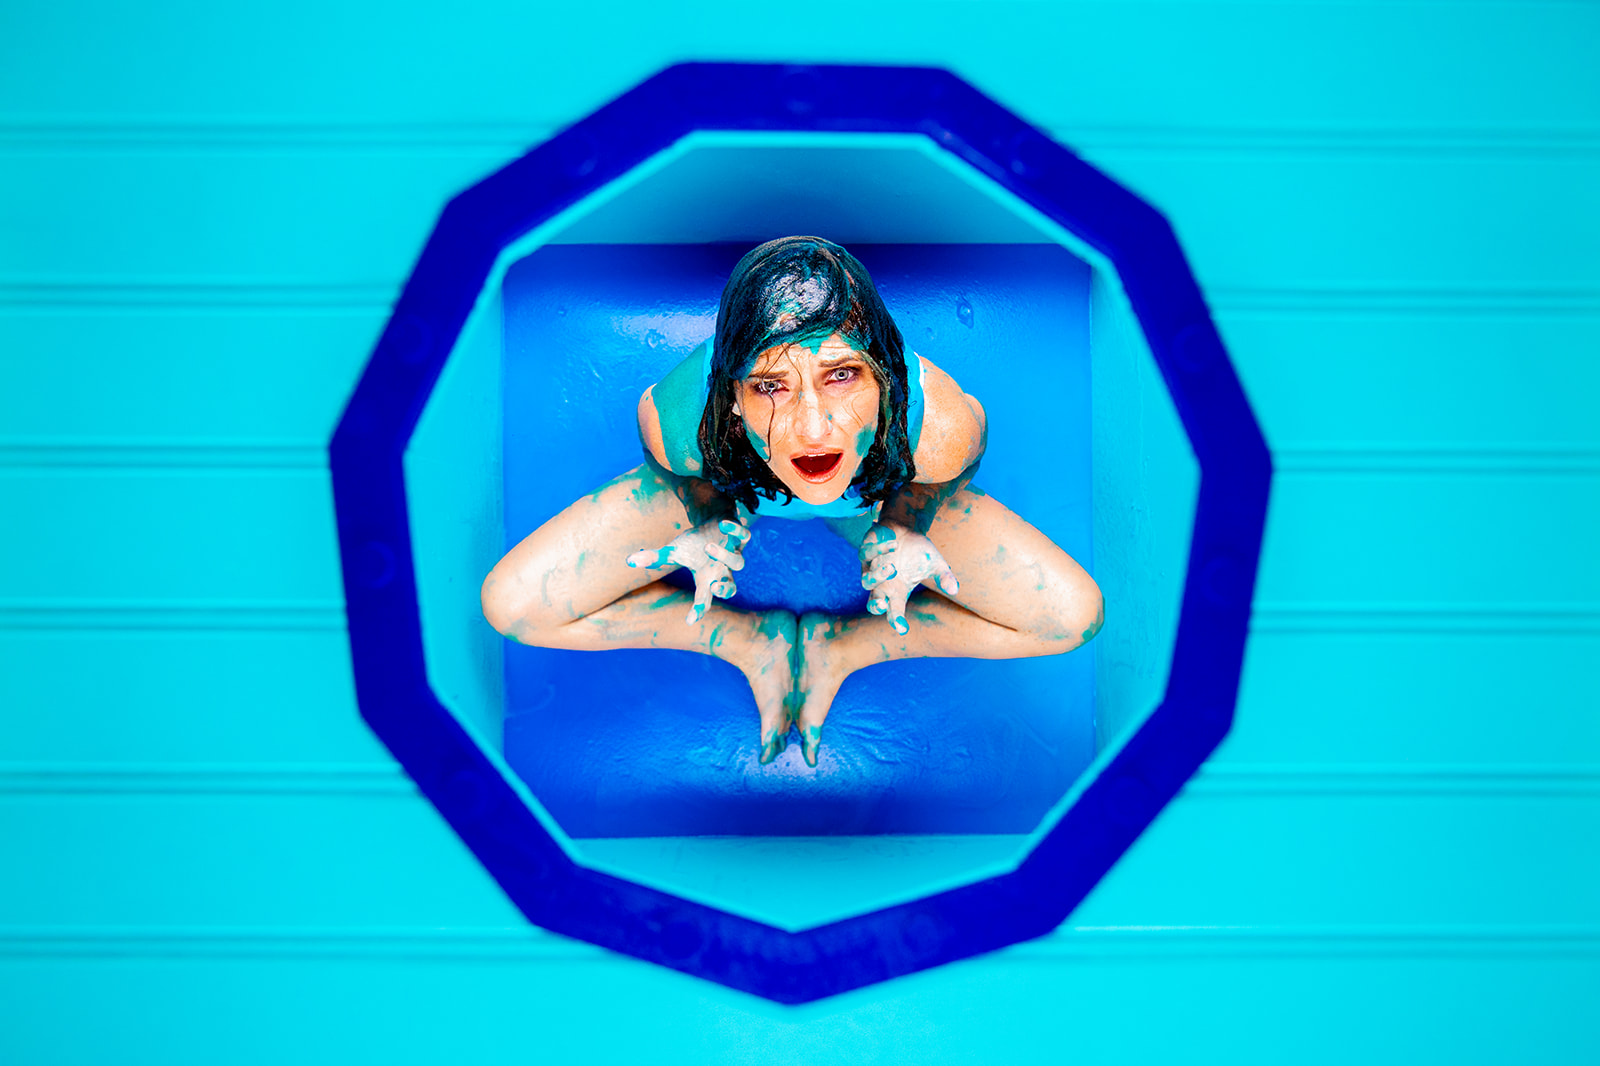
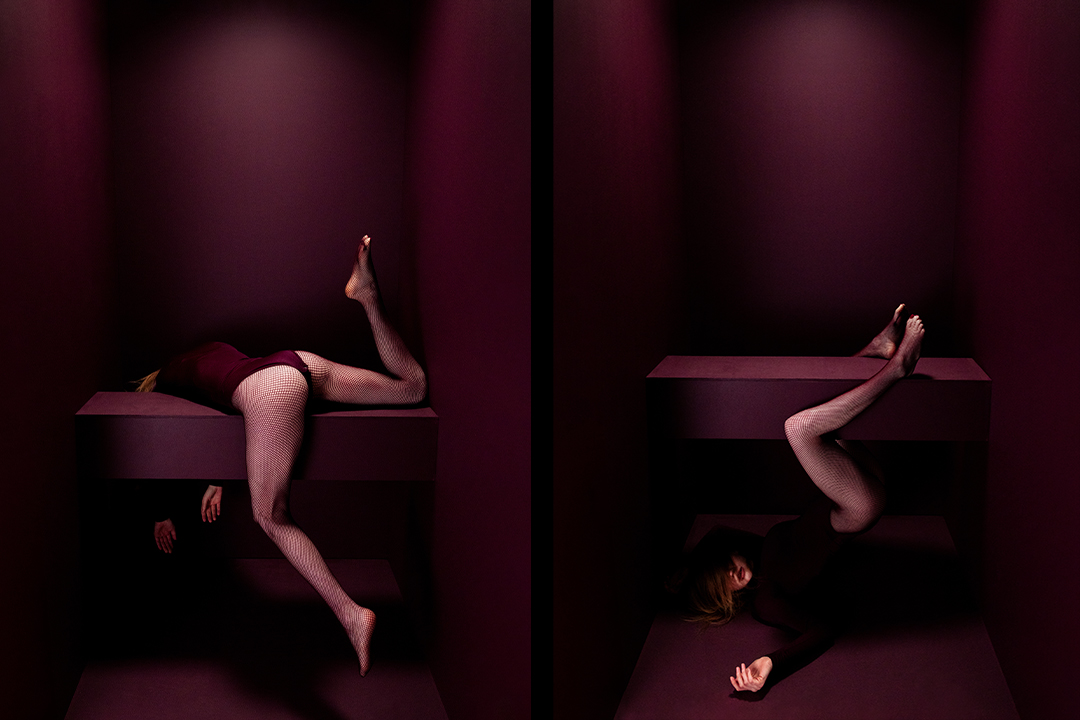
Using Slime In a Photoshoot
Blog by Jada Parrish | Article | 01/26/24
This year, one of David's and my goals is to explore as many new materials as possible. While we typically rely on wood and paint for our sets, our recent experiments into using new materials have led our creativity down exciting new paths. Introducing new materials always brings a mix of excitement and uncertainty. It's impossible to predict how a new material will impact our work or how effectively it will translate on camera. The more we engage with a new material, the better we become at manipulating and controlling it. Mastery only comes through practice
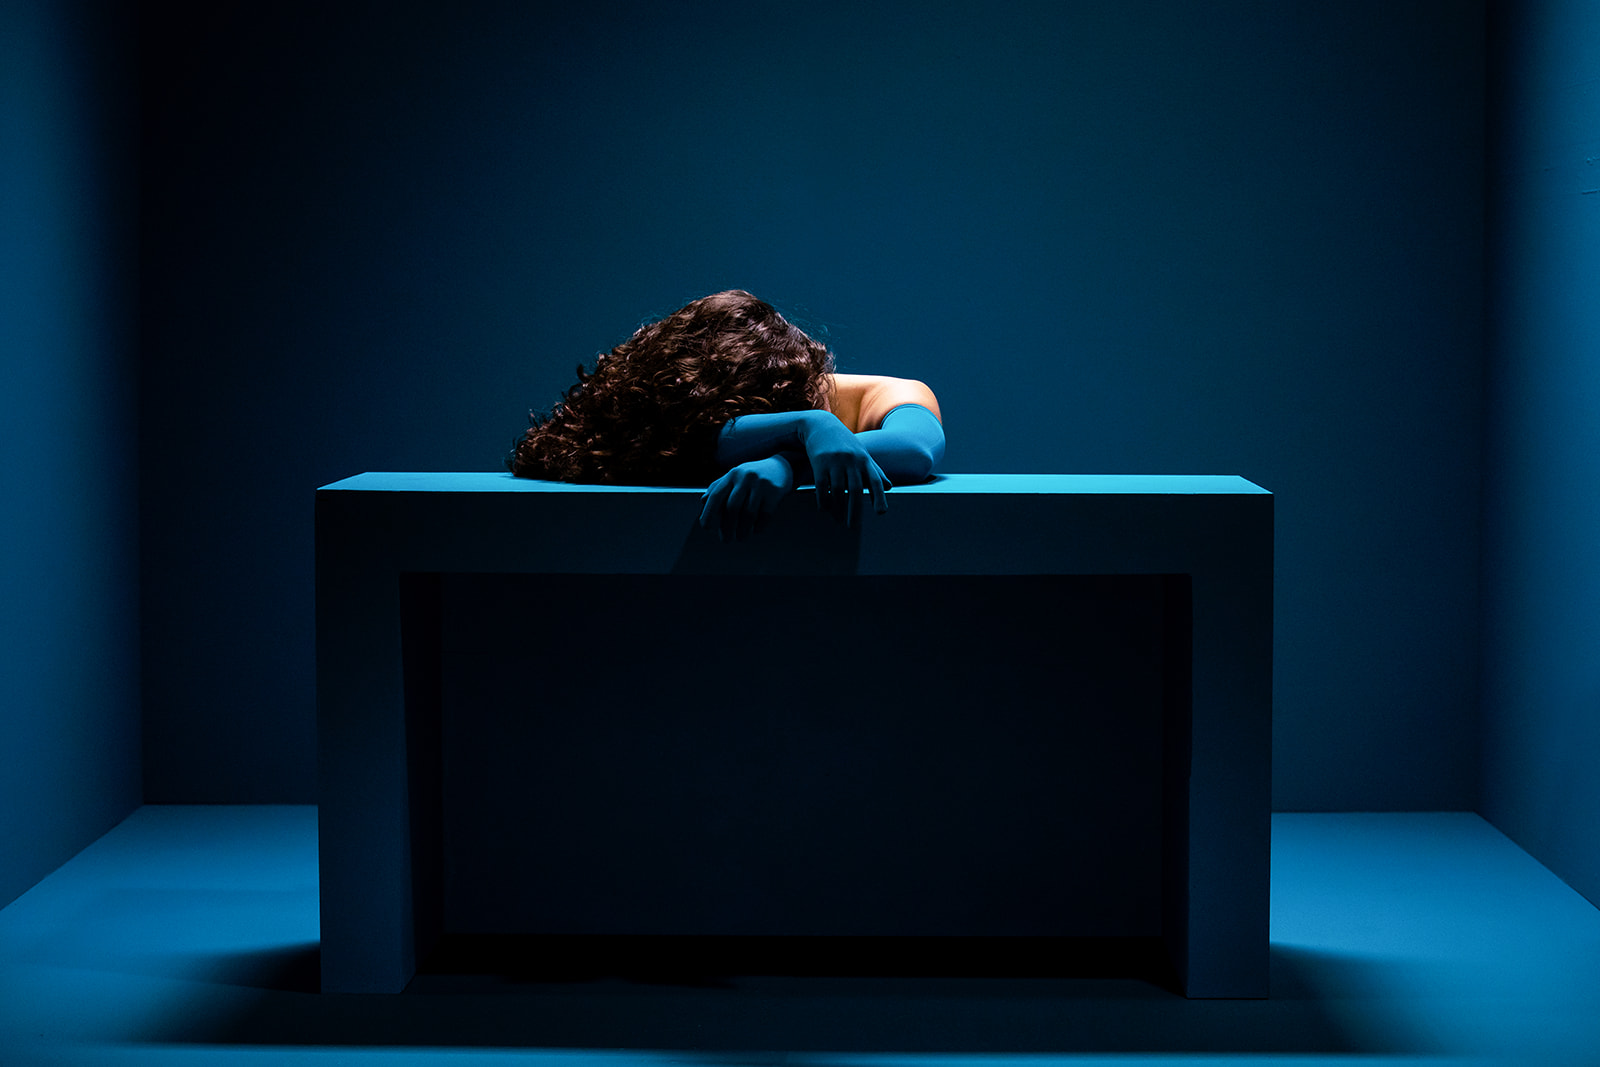
But to truly evolve and progress in art, we must continuously challenge ourselves. The introduction of new materials may induce a bit of anxiety for those who prefer planning and anticipation, but I'm setting that aside and embracing the unknown. It's about pushing boundaries and welcoming uncertainties. Enter blue slime.
Since I was a kid, I’ve had a secret dream of sliming someone thanks to Nickelodeon. So the idea of using slime in a photoshoot was pretty enticing.
How to Make Slime:
What you need:
- Large Plastic Buckets (we opted for 5-gallon buckets as we were making a substantial amount of slime)
- Water
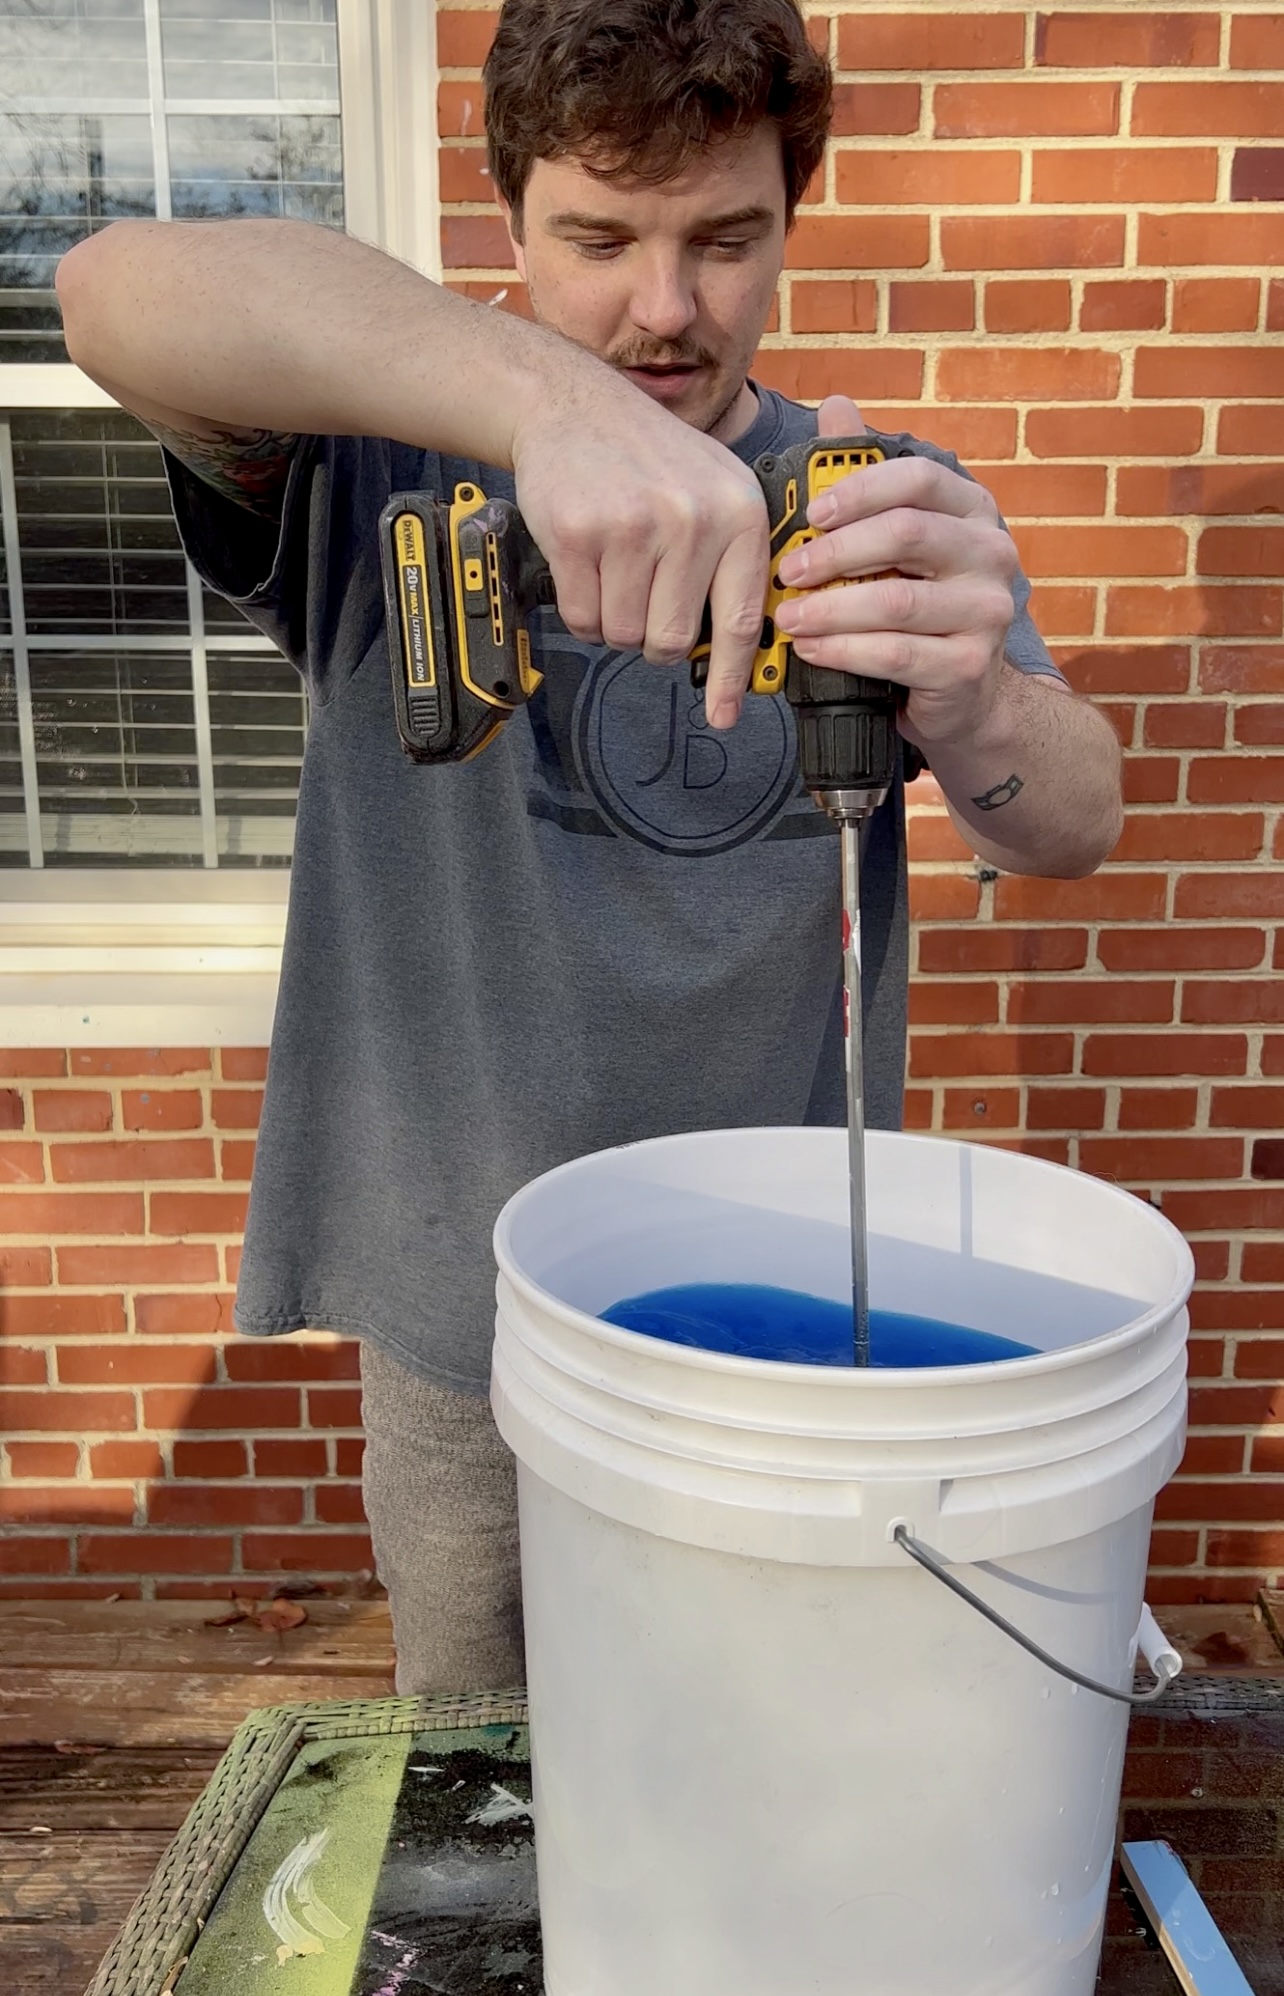
- Large mixing spoon OR a drill with this attachment (we chose the latter for efficiency)
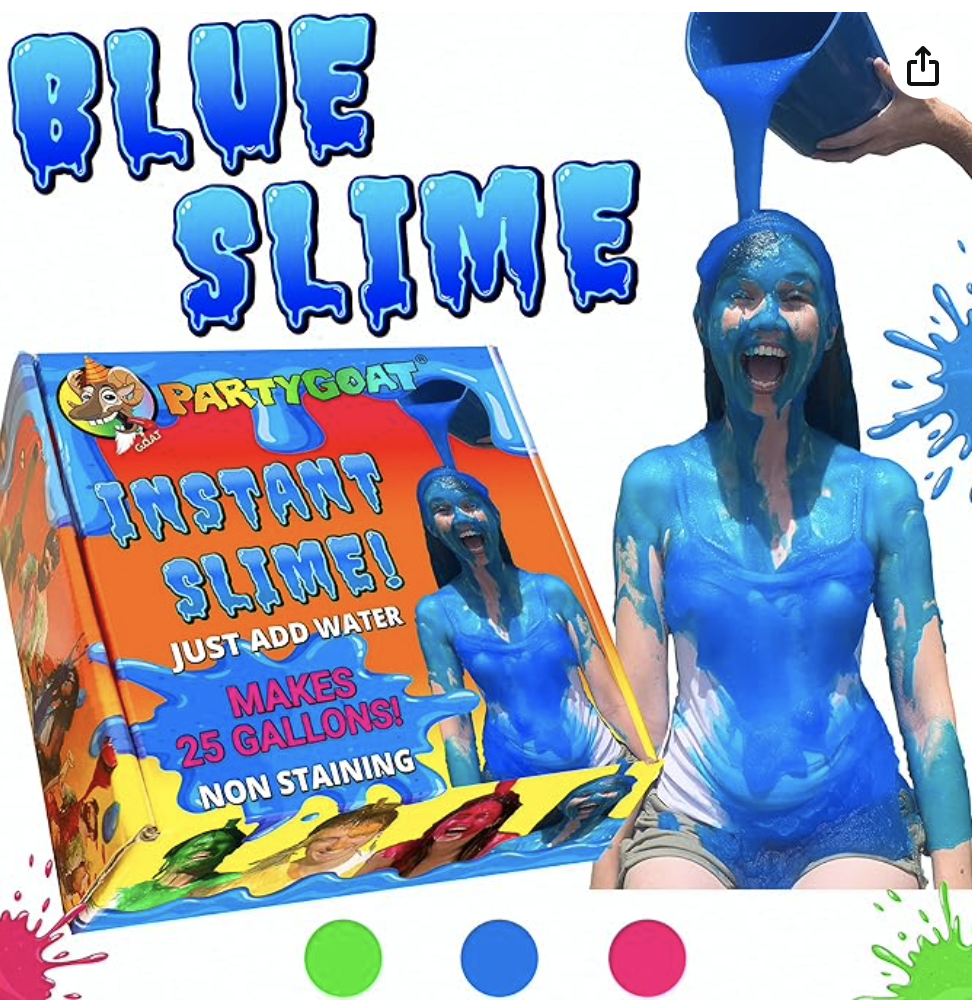
- DIY Slime Kit
Step-by-Step Guide:
Step One: Purchase the DIY Slime Kit
Step Two: Fill your bucket with water according to the desired slime quantity. We made 5 gallons of slime per bucket.
Pro tip: If you plan to pour slime on someone, use warm water, not cold water. We learned this the hard way – check out the YouTube video to see how our model reacted.
Step Three: Add the slime powder. One ounce of slime powder makes 1 gallon of slime. Adjust the quantity for thicker slime.
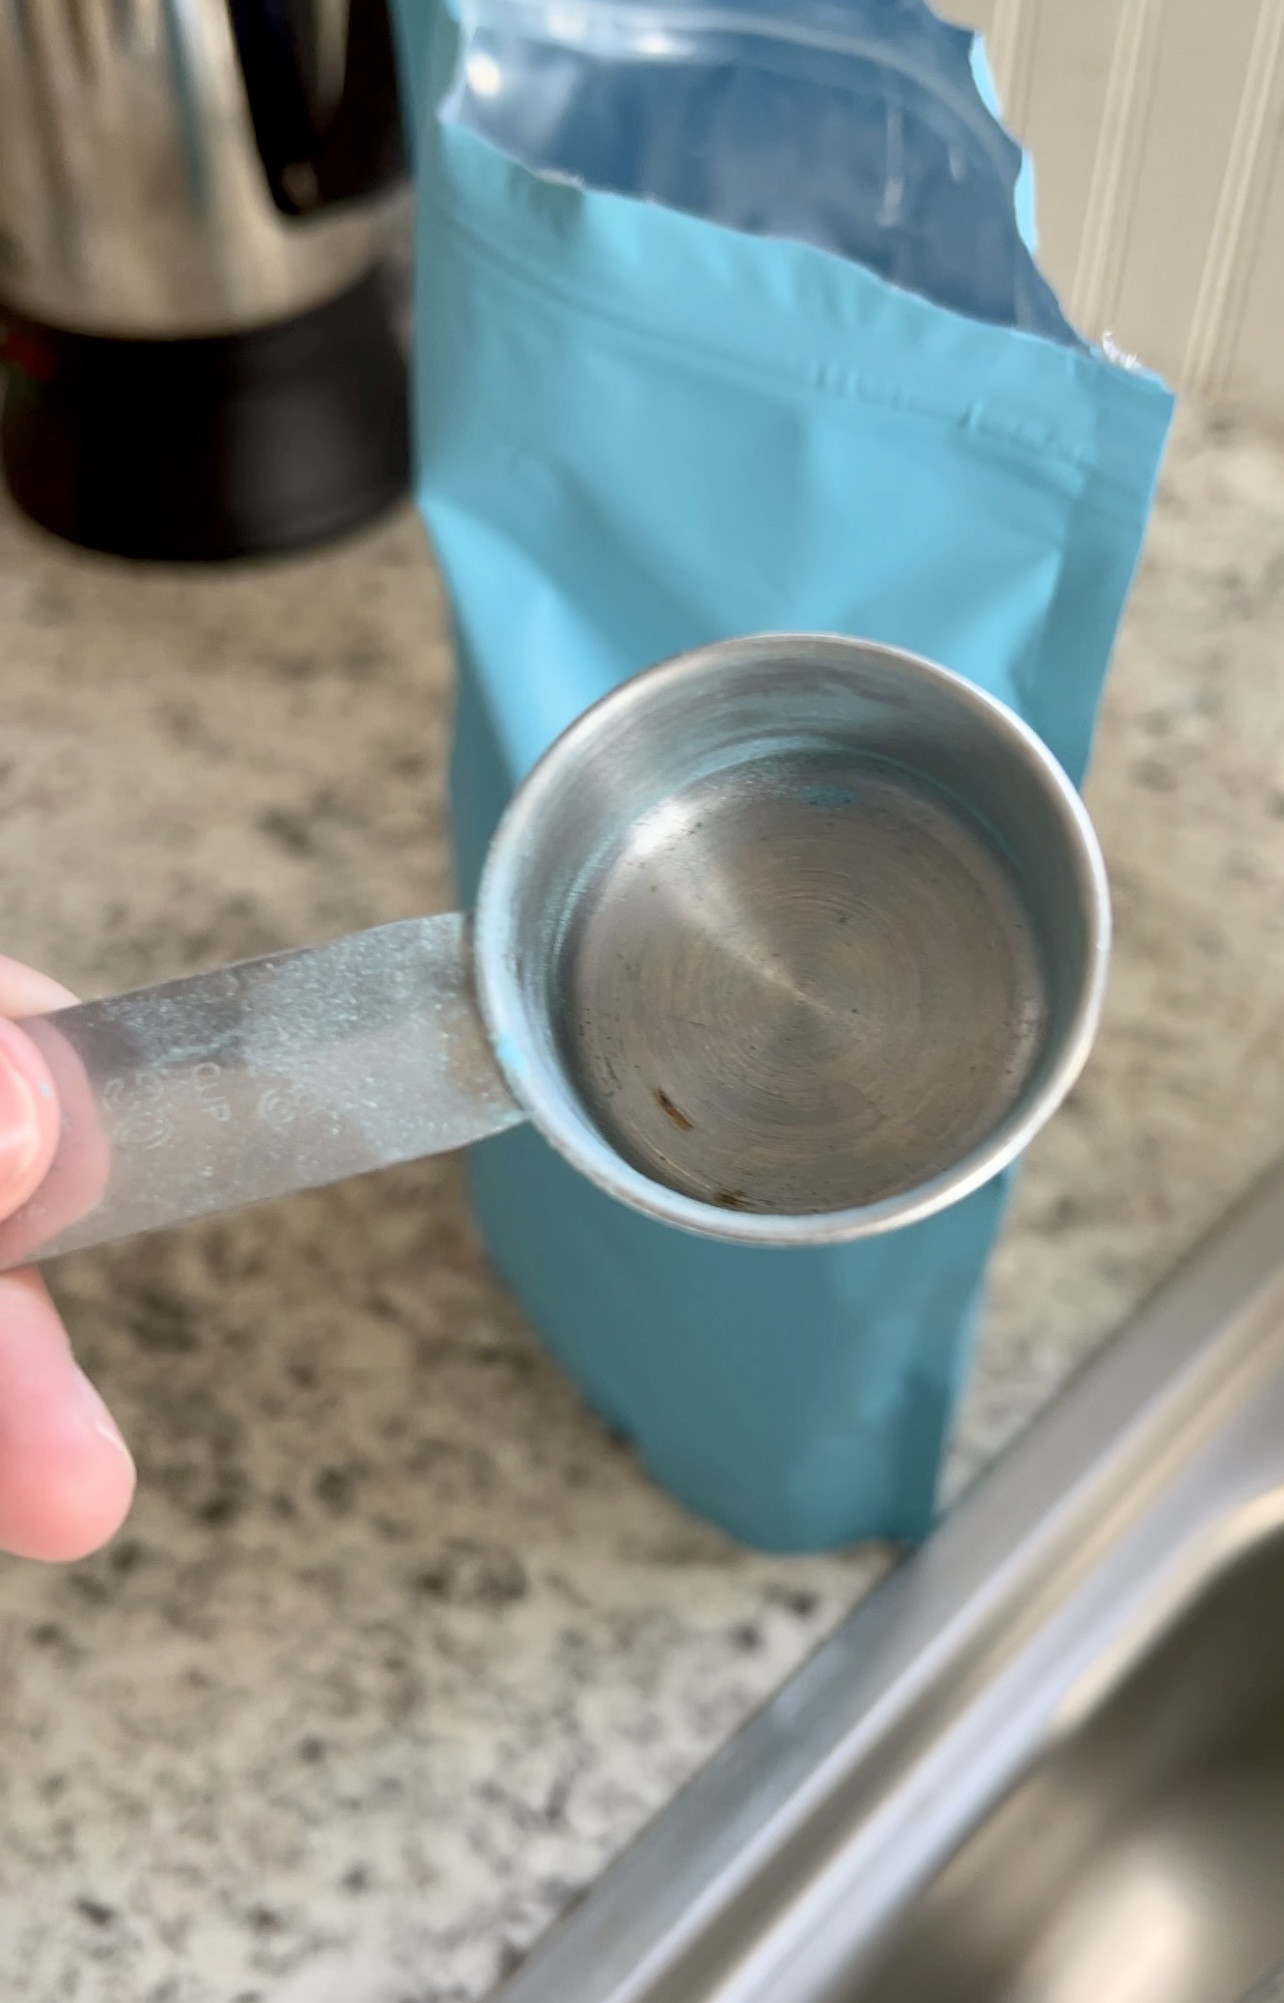
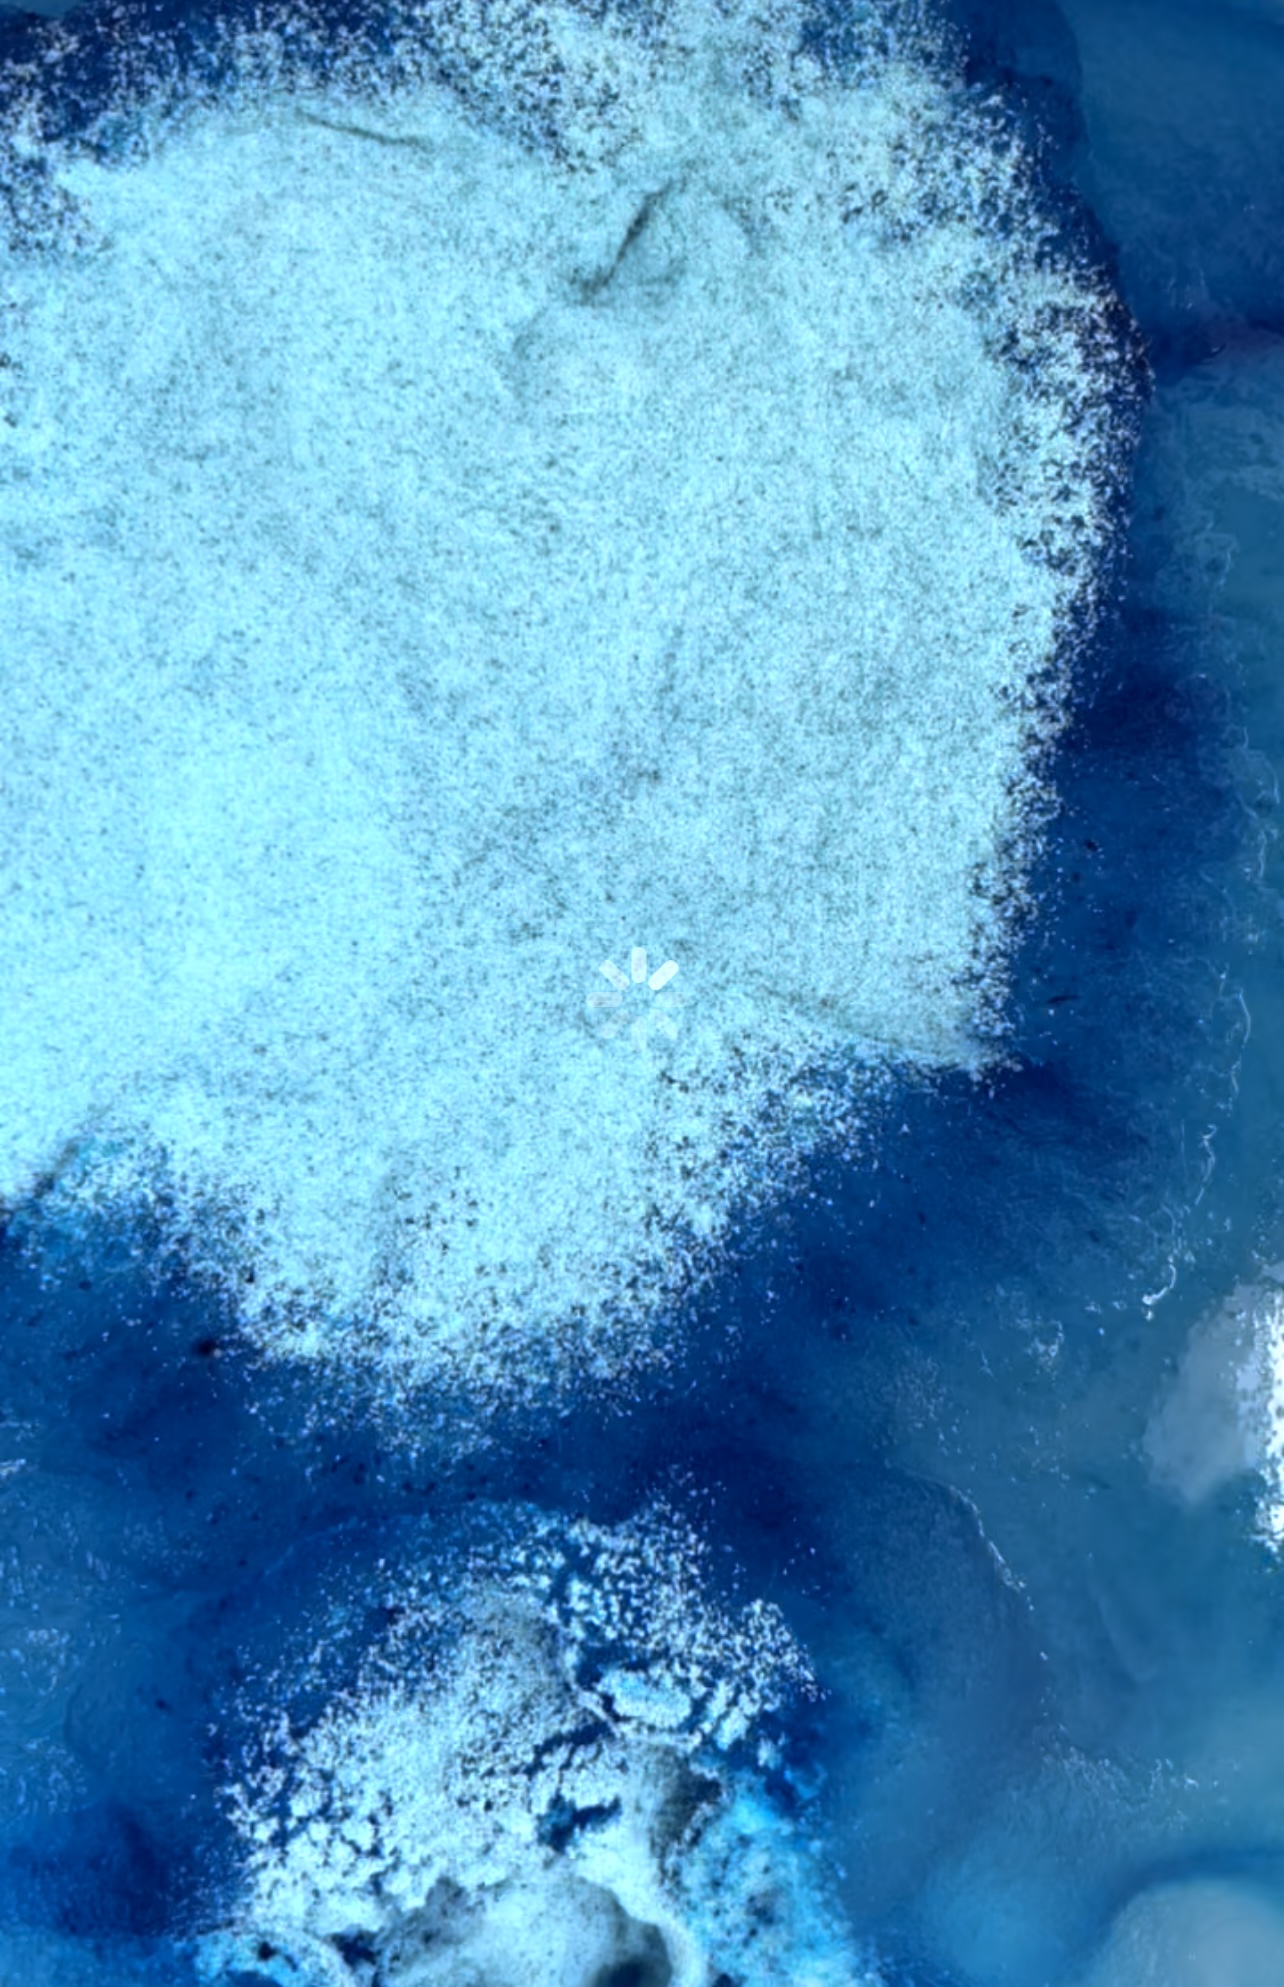
Step Four: Mix the slime. Using a drill and paint mixer is speeds up the process, especially when making larger quantities. For our photoshoot, David and I made 20 gallons of slime.
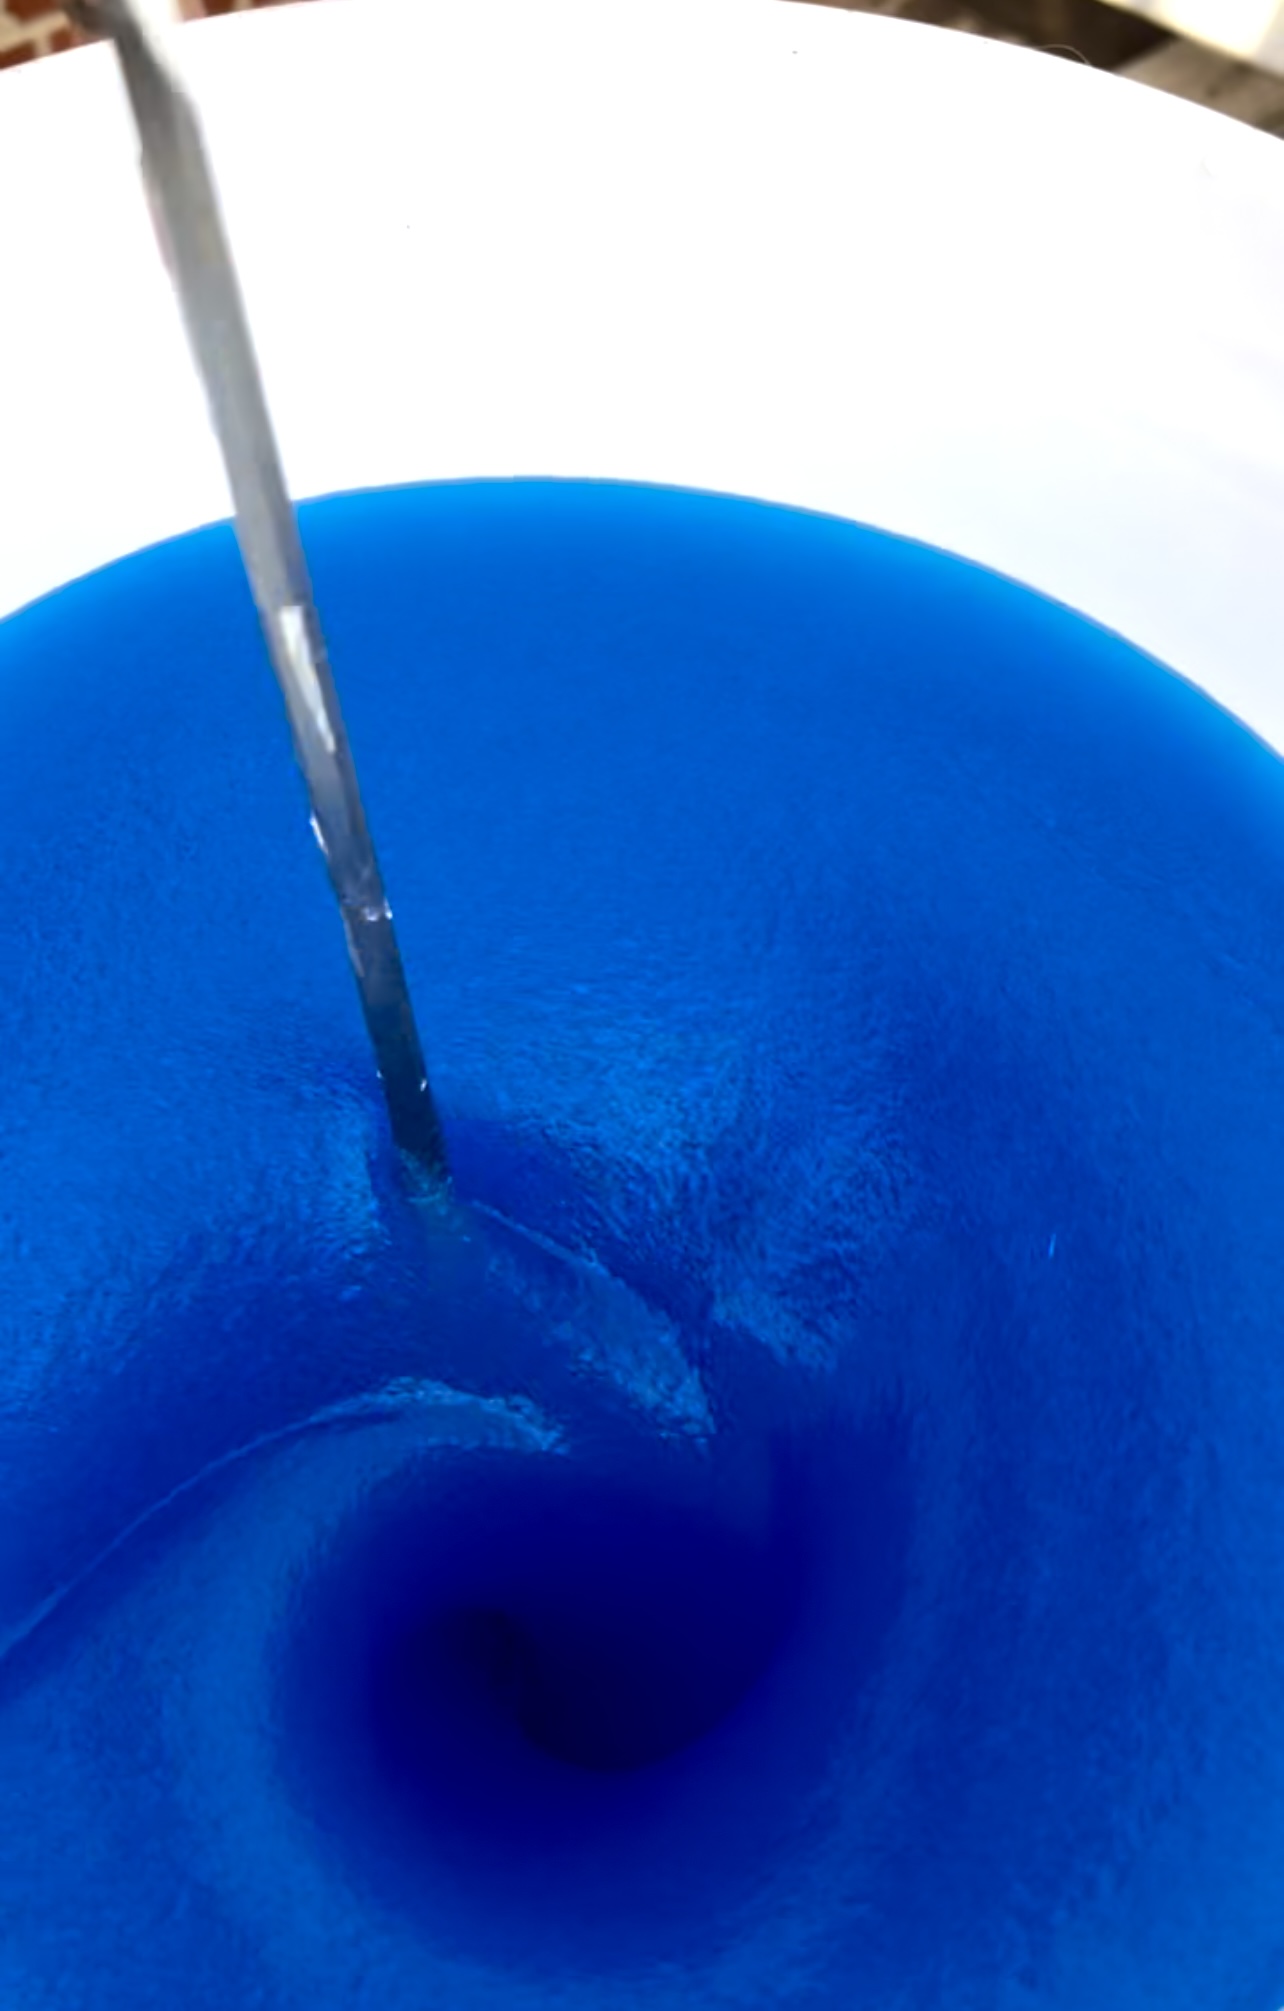
Step Five: Have an epic slime photoshoot.
Watch the youtube video to see the full shoot!
